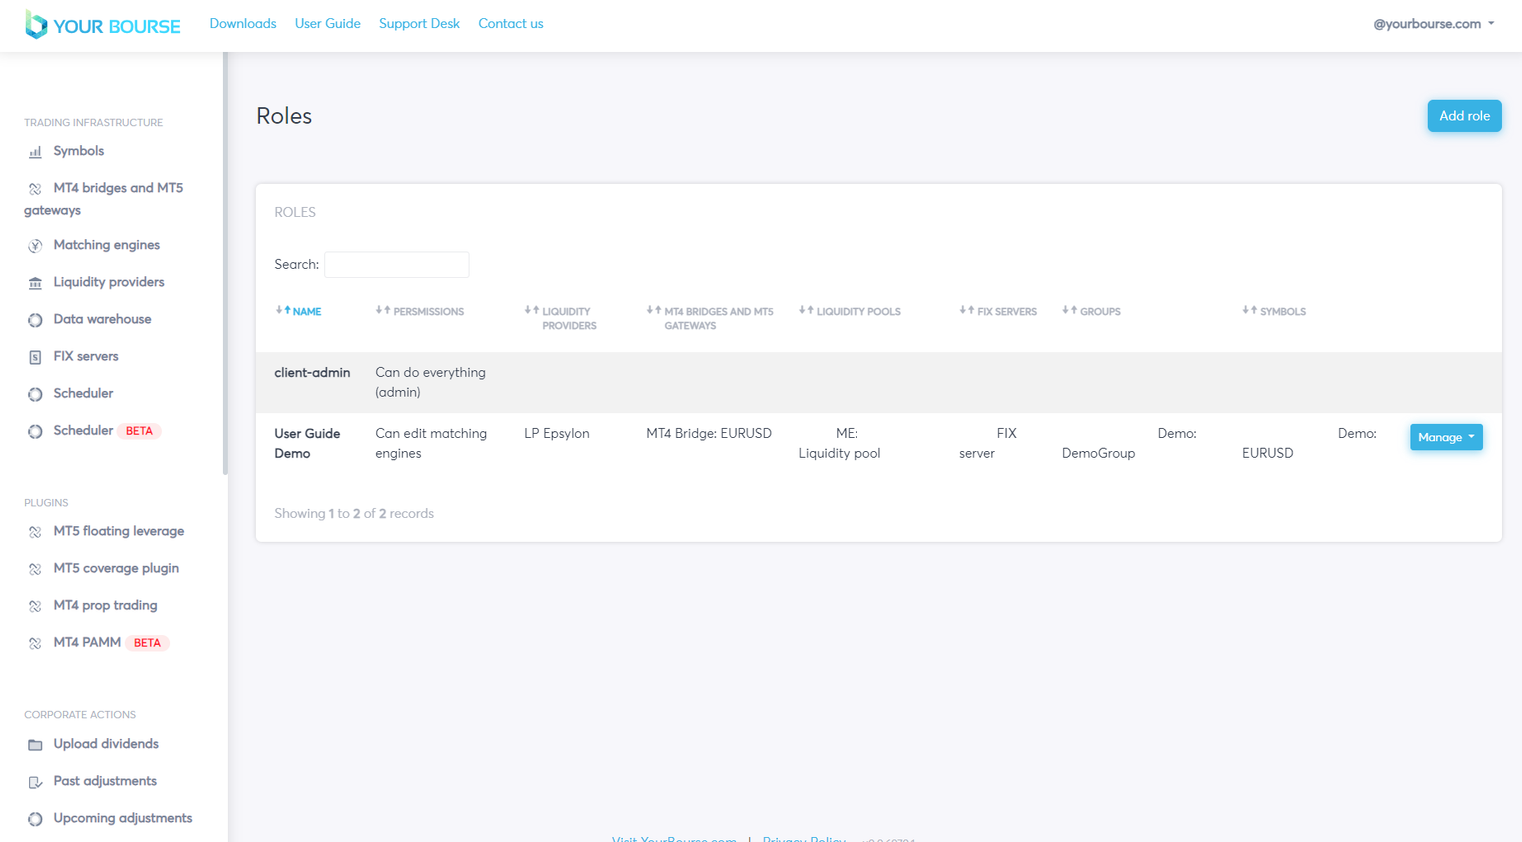
Role Management
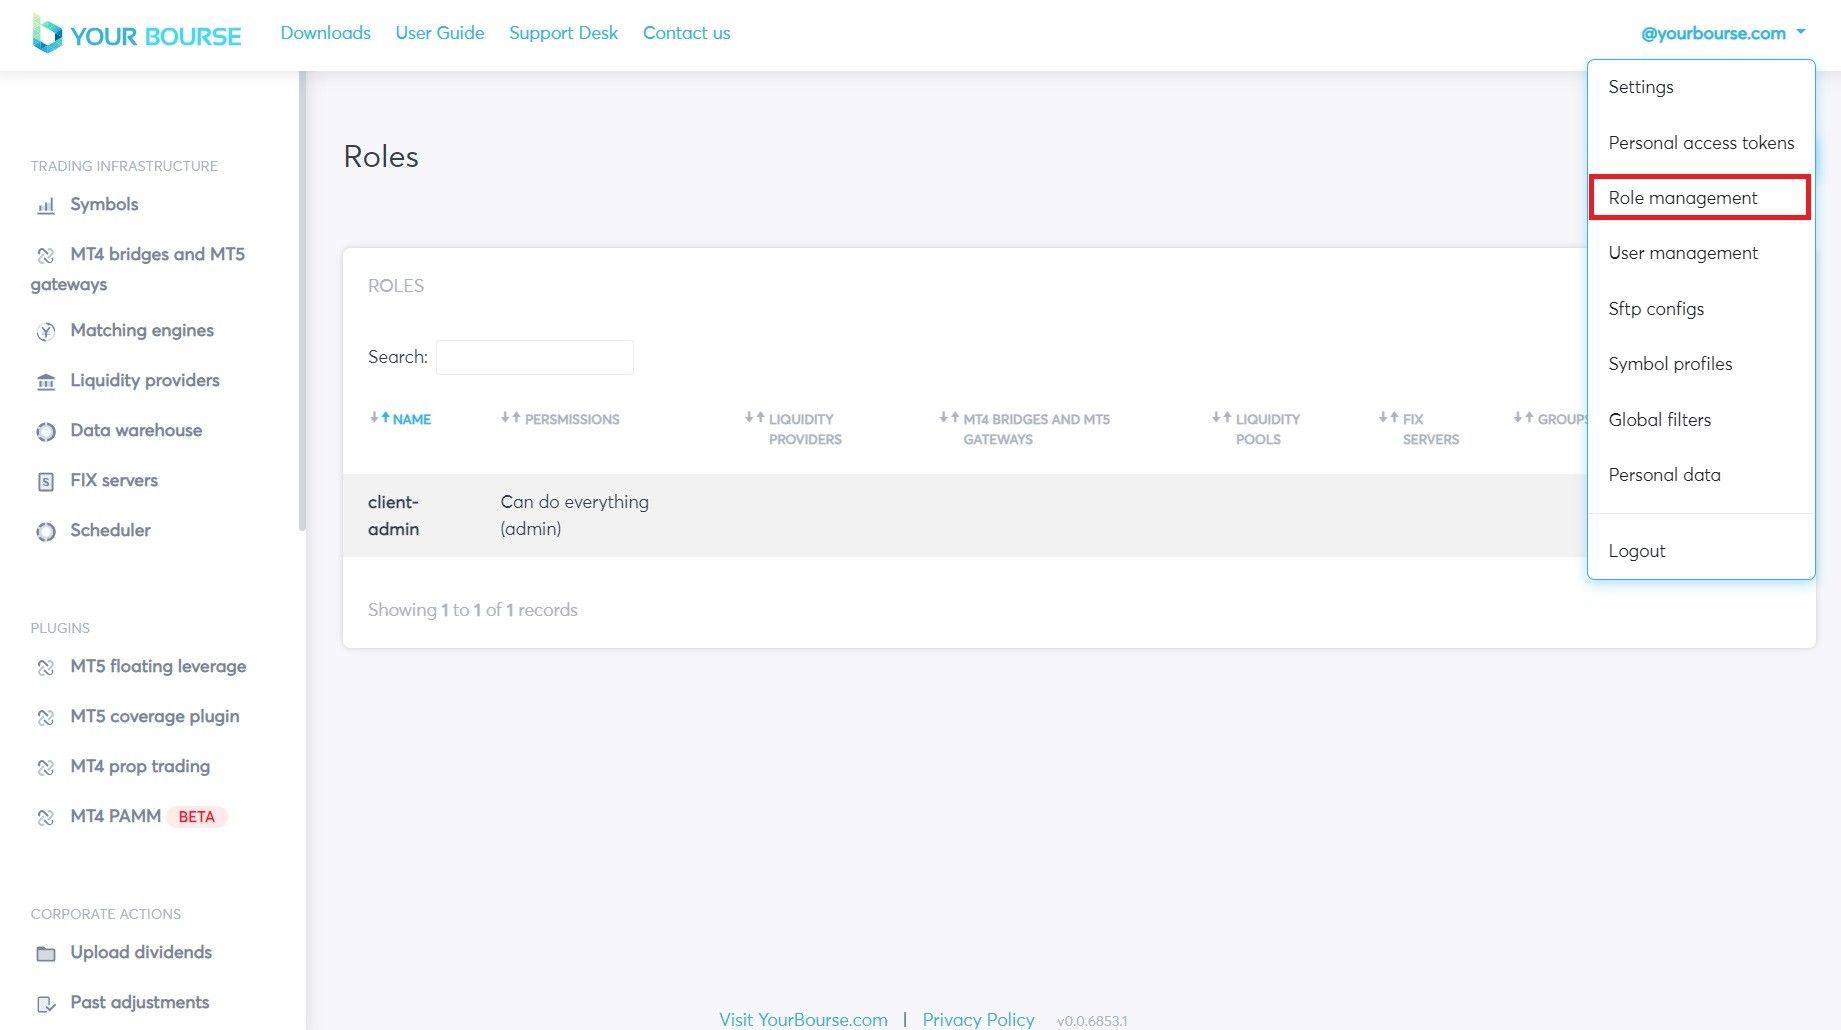
The role management feature allows the user to manage and allocate different access permissions to various 'roles'. It is found by selecting the users email address and then selecting the “Role management” section of the drop down menu.
Role Management Introduction
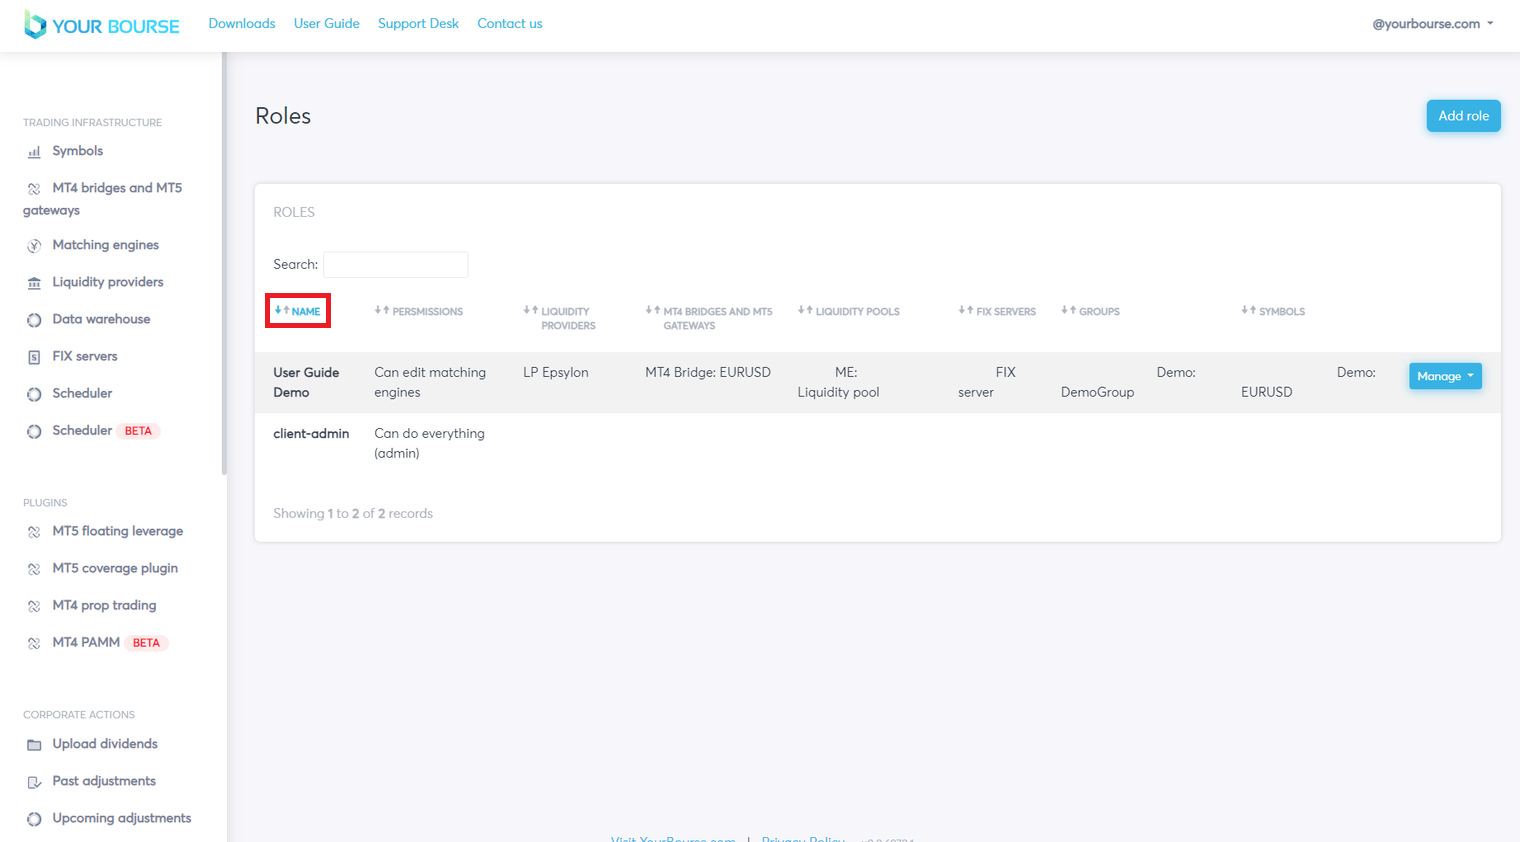
There are eight main conditions that are displayed in the main table describing the following:
-
Name - The name allocated to the role
-
Permissions - different permissions that the role has e.g. “Can edit Liquidity Providers”
-
Liquidity Providers - The liquidity providers available to the role
-
MT4 Bridges and MT5 Gateways - the MT4 Bridges and MT5 Gateways available to the role
-
Liquidity Pools - The liquidity pools available to the role
-
FIX Servers - The FIX servers available to the role
-
Groups - The different MT4/MT5 groups that can be accessed and potentially edited by the role
-
Symbols - The different core symbols that can be accessed and potentially edited by the role
The main table displays these eight main conditions for each individual role i.e. multiple roles can be displayed at once in the main table.
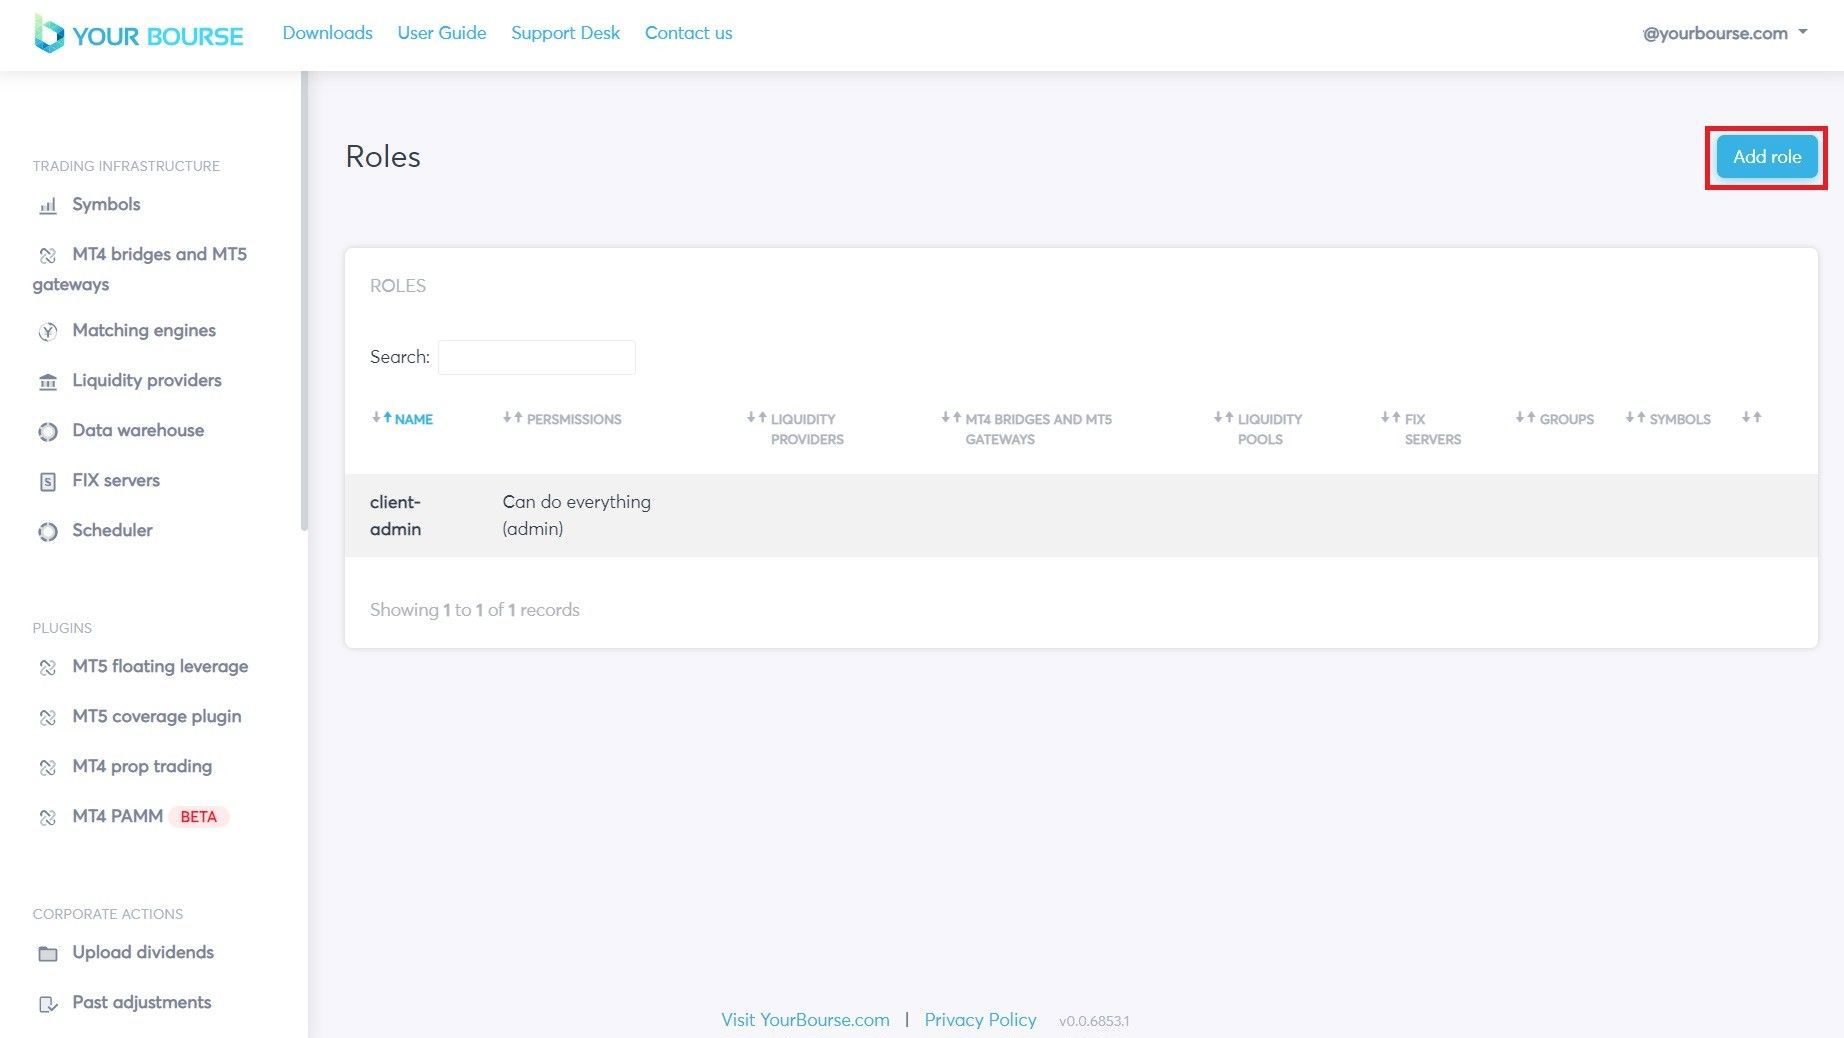
Adding a new role
A new role can be added by clicking the “Add role” button.
A new page is opened allowing the user to select different access permissions for different variables.
-
Name - The name allocated to the role
-
Permissions - The different permissions that the role has e.g. “Can edit Liquidity Providers”
-
Liquidity Providers - The liquidity providers available to the role
-
MT4 bridges and MT5 gateways symbols - The different MT4 bridges and MT5 gateways and their respected symbols
-
MT4 bridges and security groups - The different MT4 bridges and their respected groups
-
Liquidity pools - The liquidity pools available to the role
-
Report groups - The MT4/MT5 groups that can be accessed for a specific server
-
Report symbols - The core symbols that can be accessed for a specific server
-
FIX servers - The FIX servers available to the role
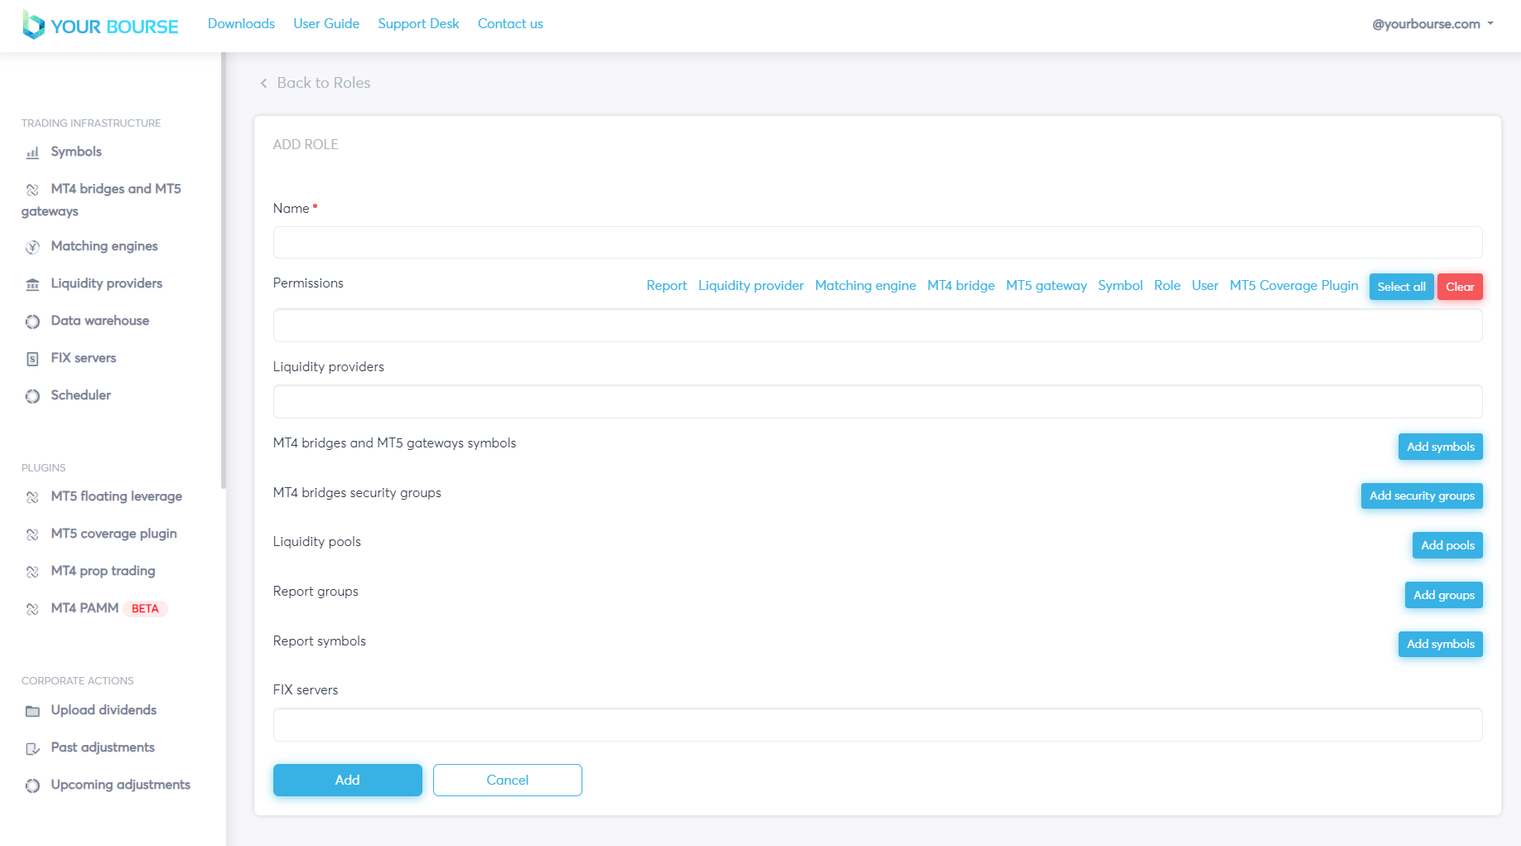
The first input is the “Name” input, by selecting the box the user can type in the name of the role.
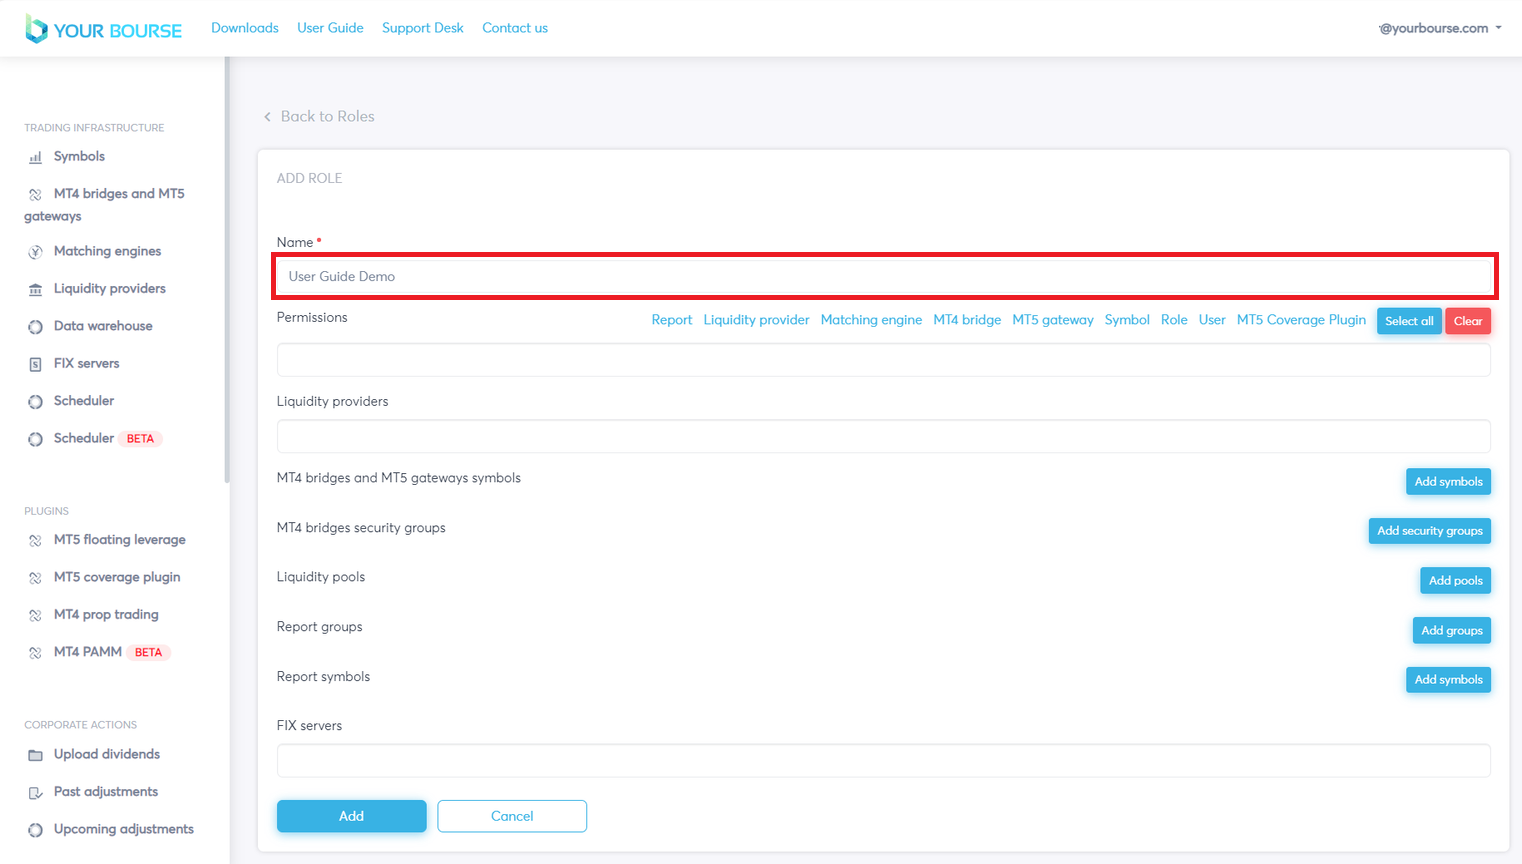
The next parameter is the “Permissions” parameter. This parameter will define what permissions the role has. Permissions include “Can edit matching engines”, “Can edit symbols” and many more.
There are two ways to configure the “Permissions” parameter. The first is to manually select each individual permission that you want the role to have.
This is done by clicking the permissions box, opening a drop down menu, and selecting the desired permissions.
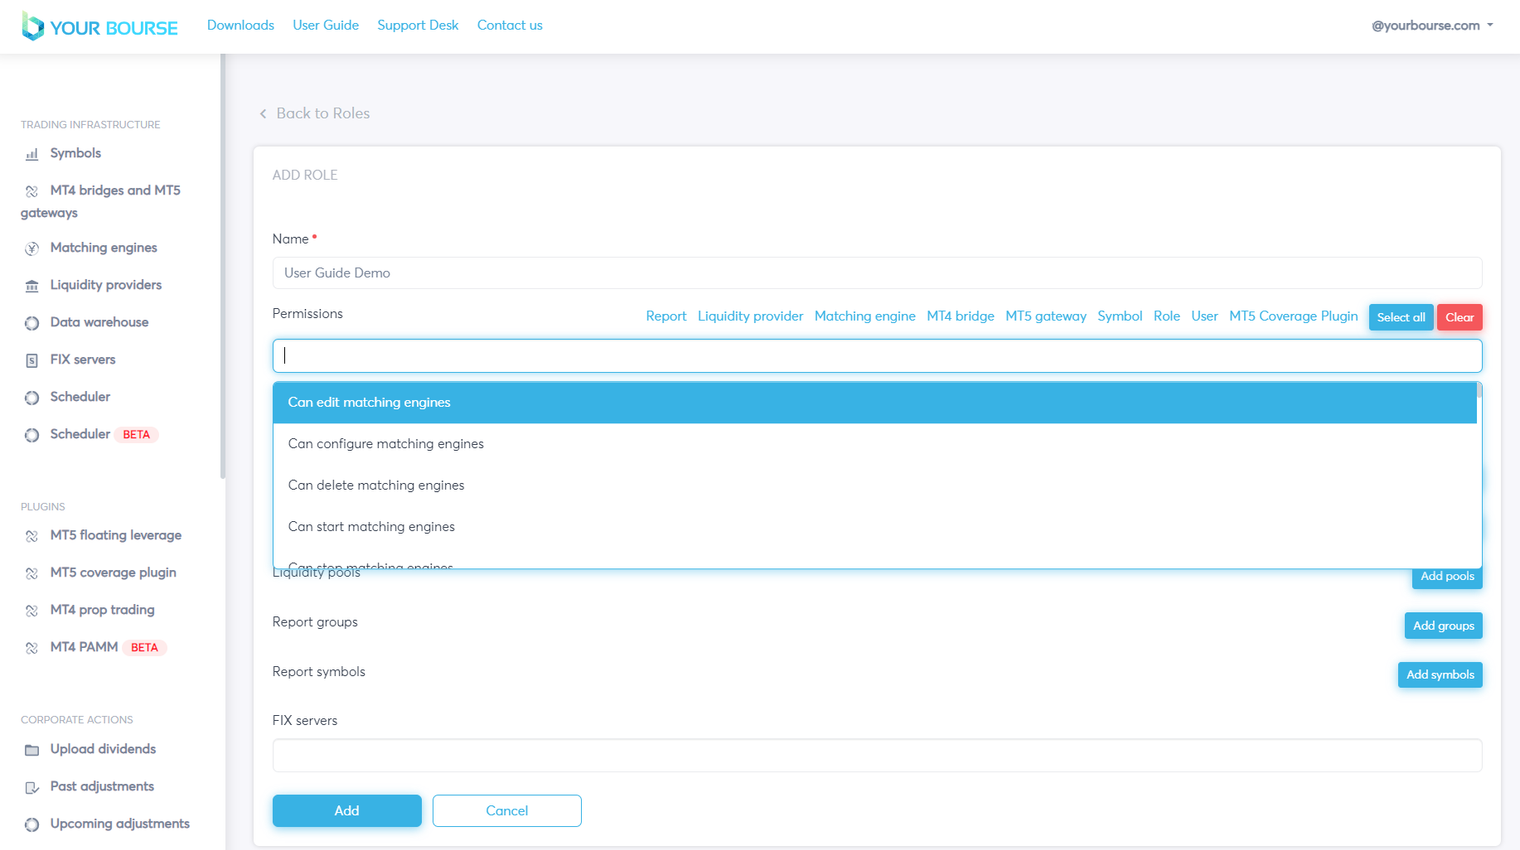
After the permission has been selected it should be seen as a blue shape in the box.
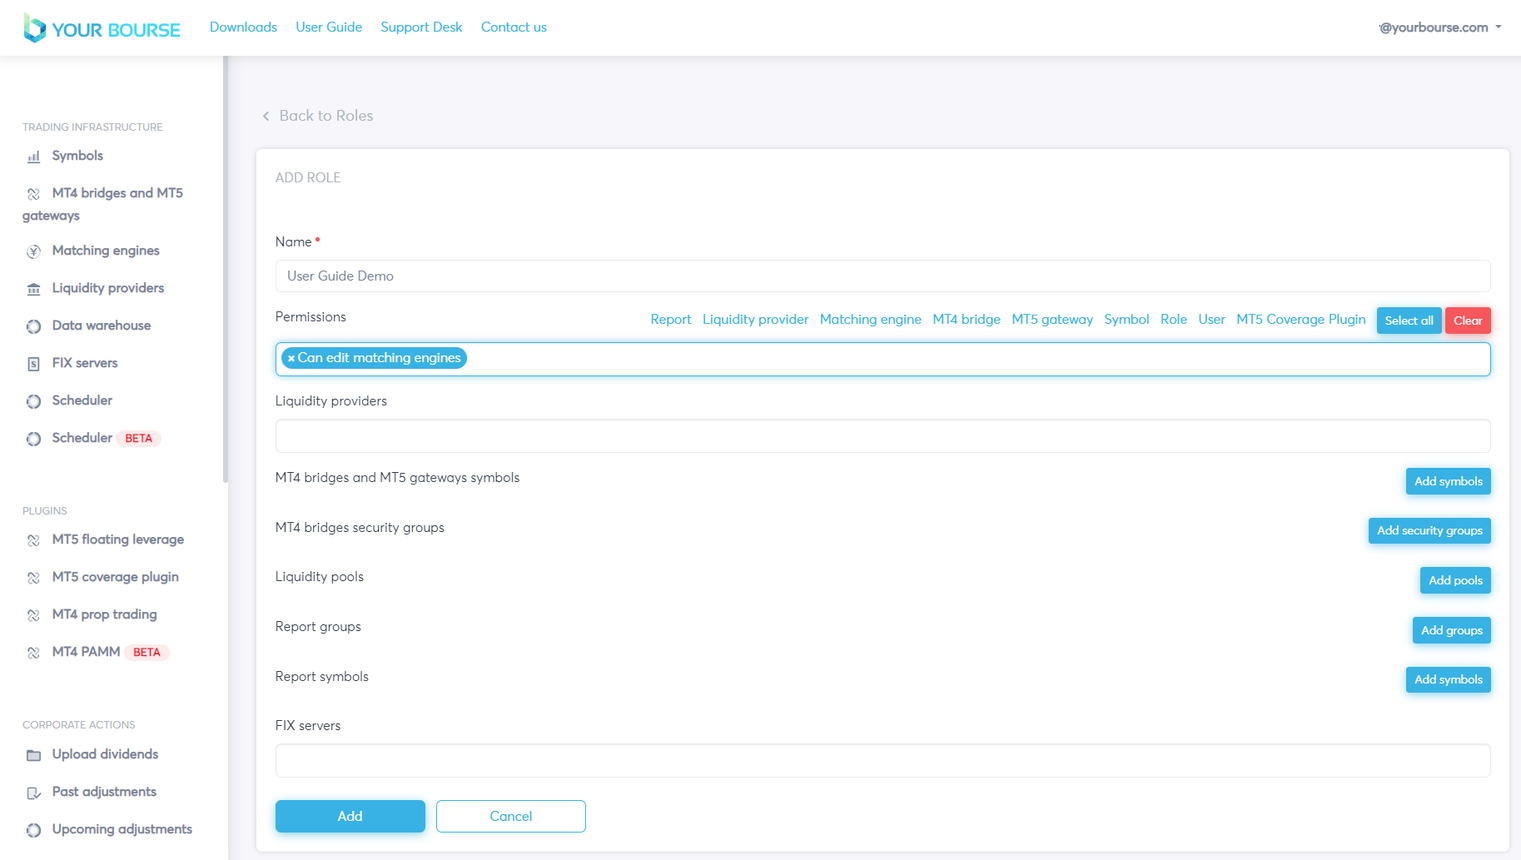
This process can be repeated so that multiple permissions are allocated.
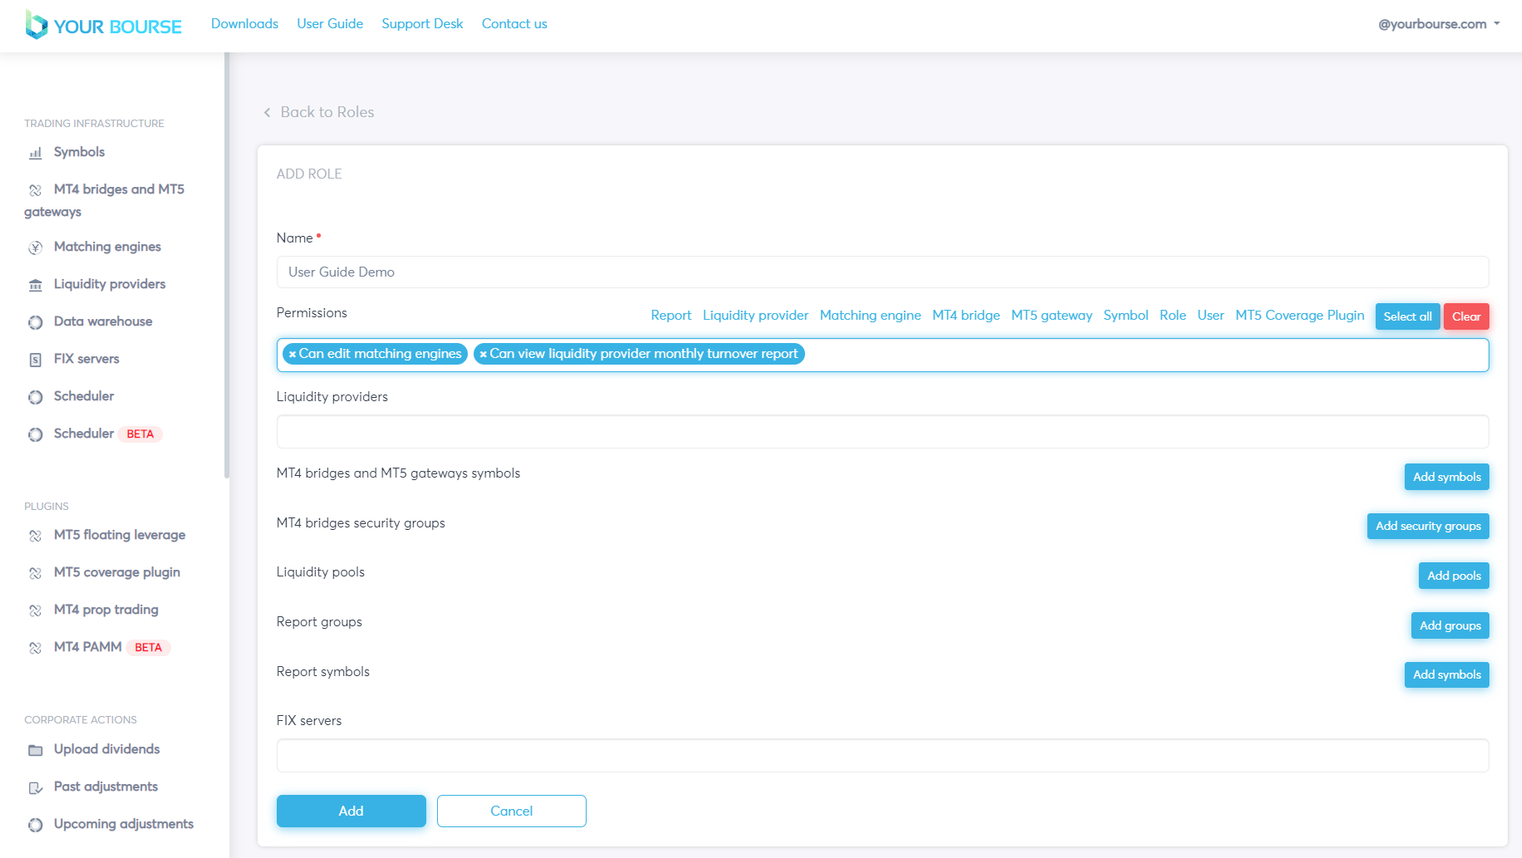
To remove a permission the cross can be selected.

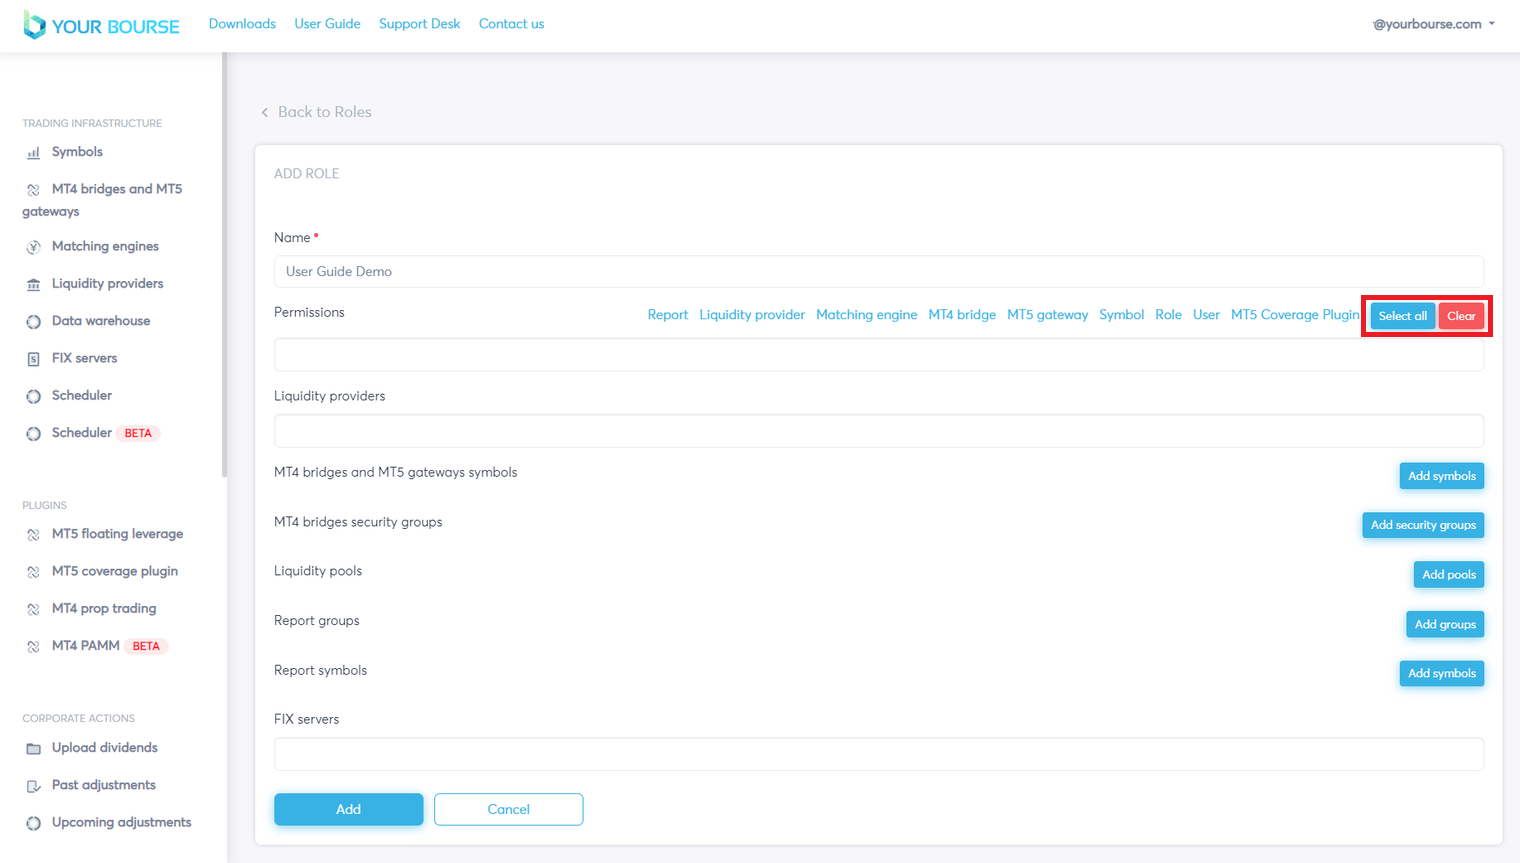
The second quicker way to allocate permissions is to use the pre-set permissions seen in blue.
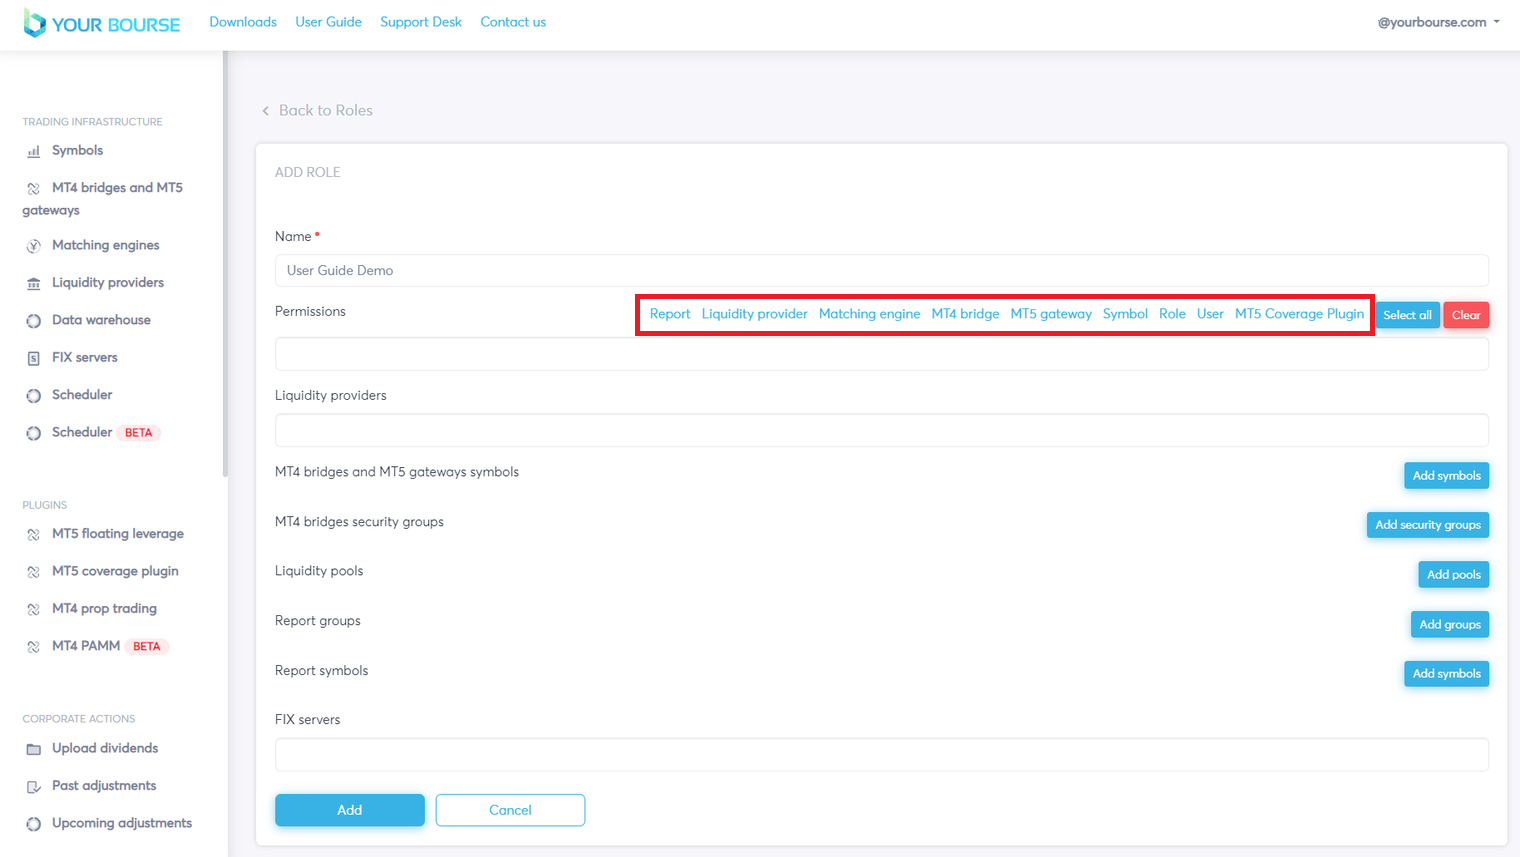
By selecting a pre-set all the permissions for that specific area are allocated. e.g. here all the permissions to do with the “Report” area are selected. Similar to the first selection method the permissions can be removed by clicking the cross.
Note permissions have been hidden for the purpose of the user guide.
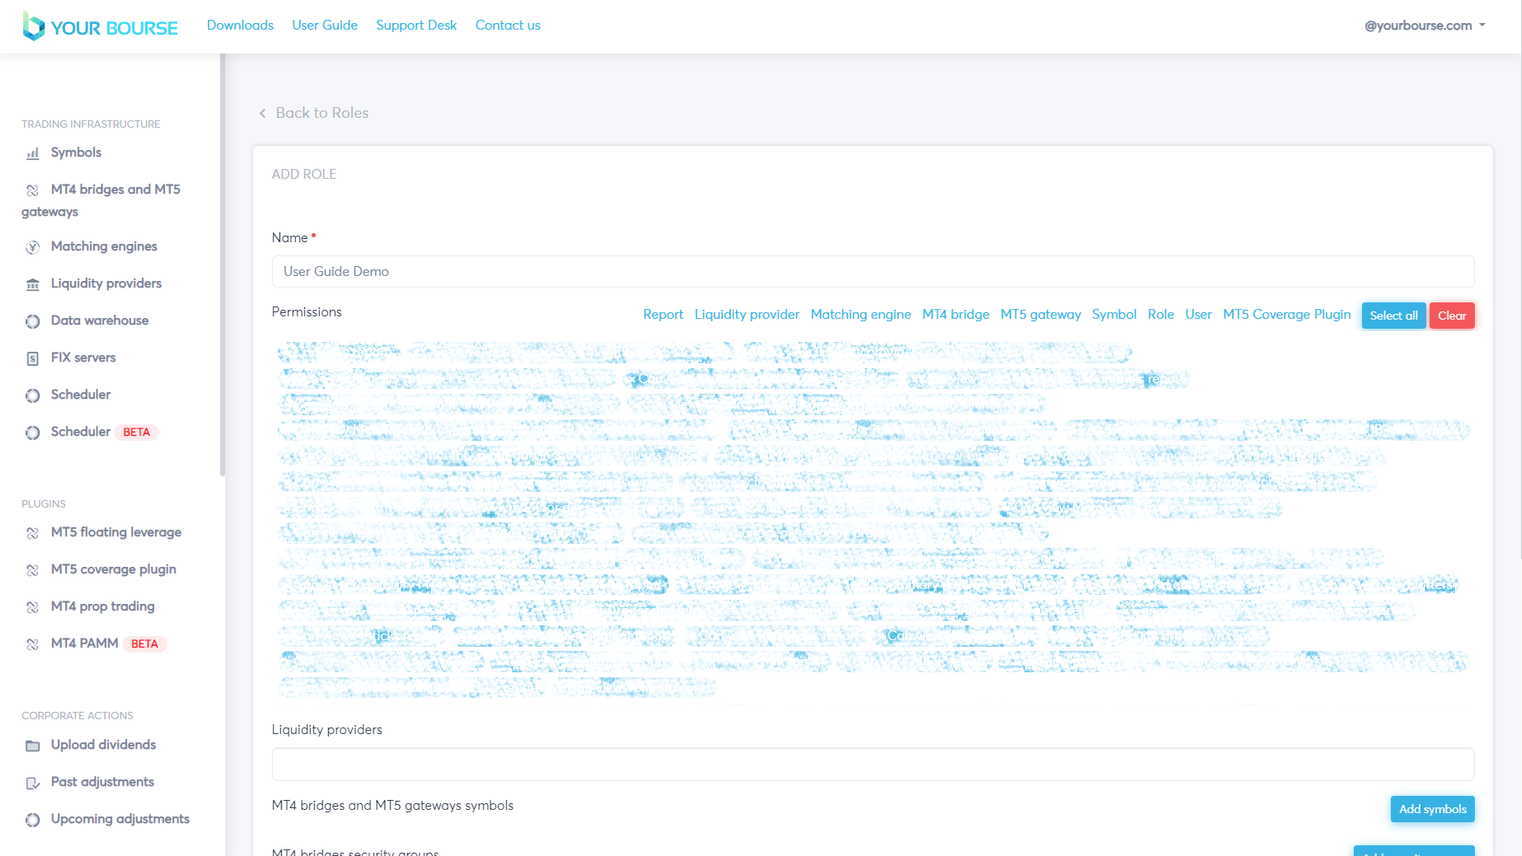
If the user wants to select more than one area they can simply click the new pre-set area and it will add the new permissions to the existing permissions.
e.g. here the “Liquidity Provider” pre-set is selected after the “Report” pre-set has already been selected. Permissions to do with the “Liquidity Provider” area are added.
Note permissions have been hidden for the purpose of the user guide.
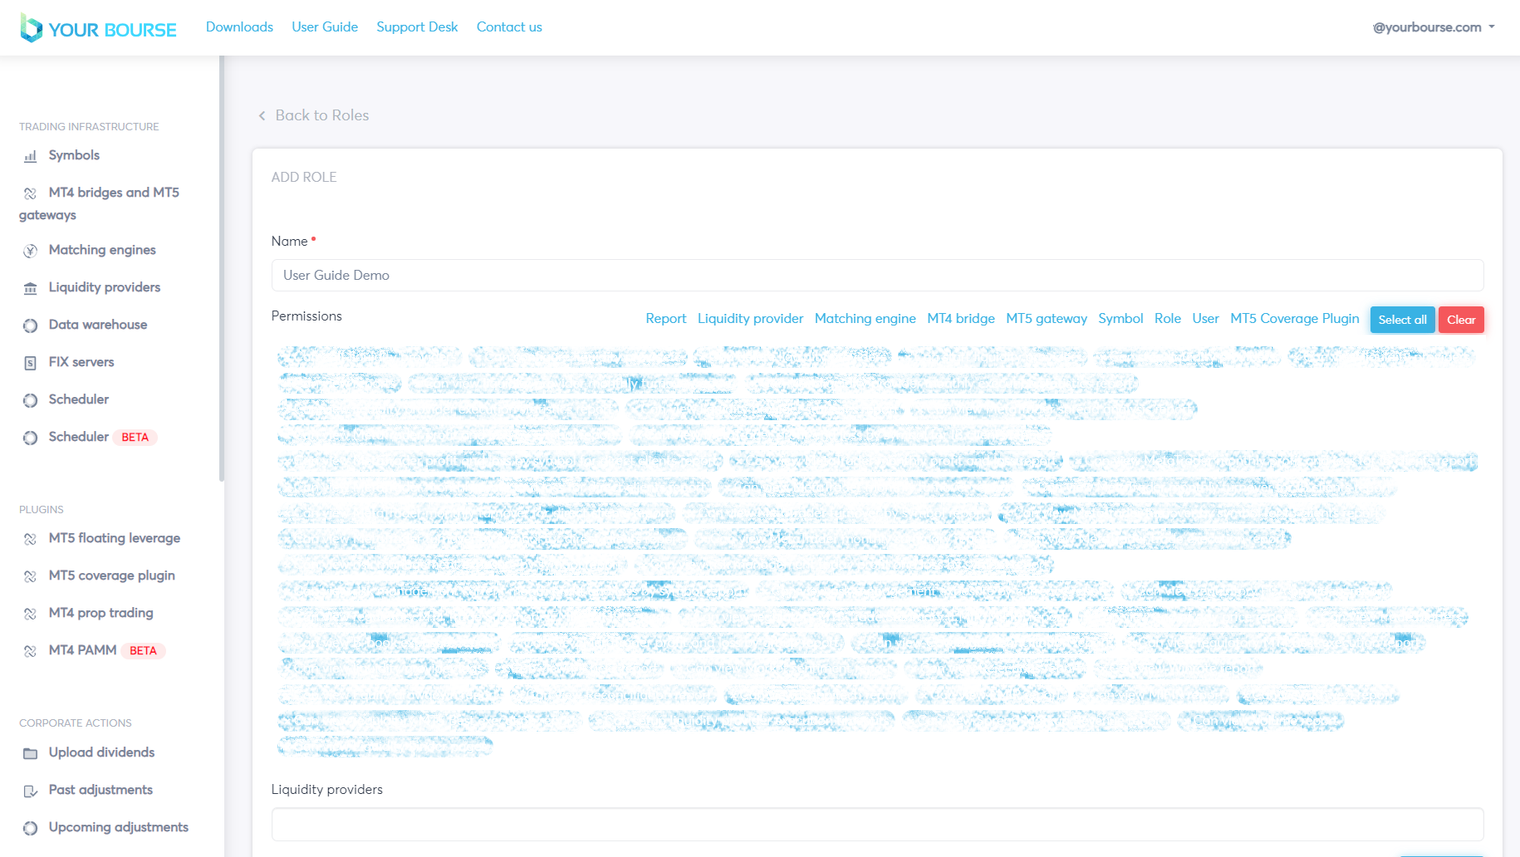
To select all the pre-sets the user can click the “Select all” button, to delete all permissions the “Clear” button can be pressed.
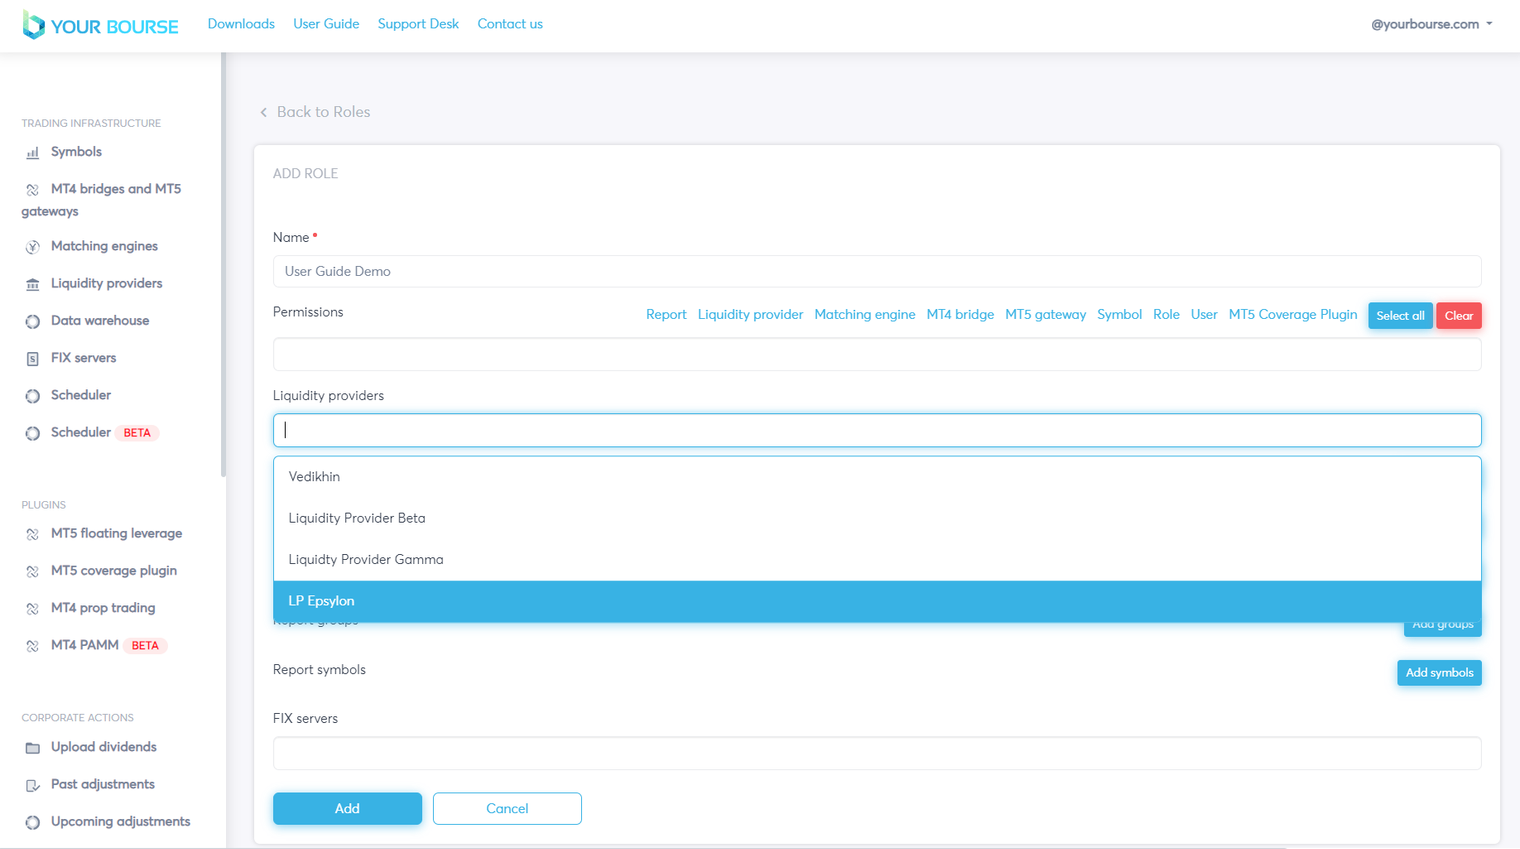
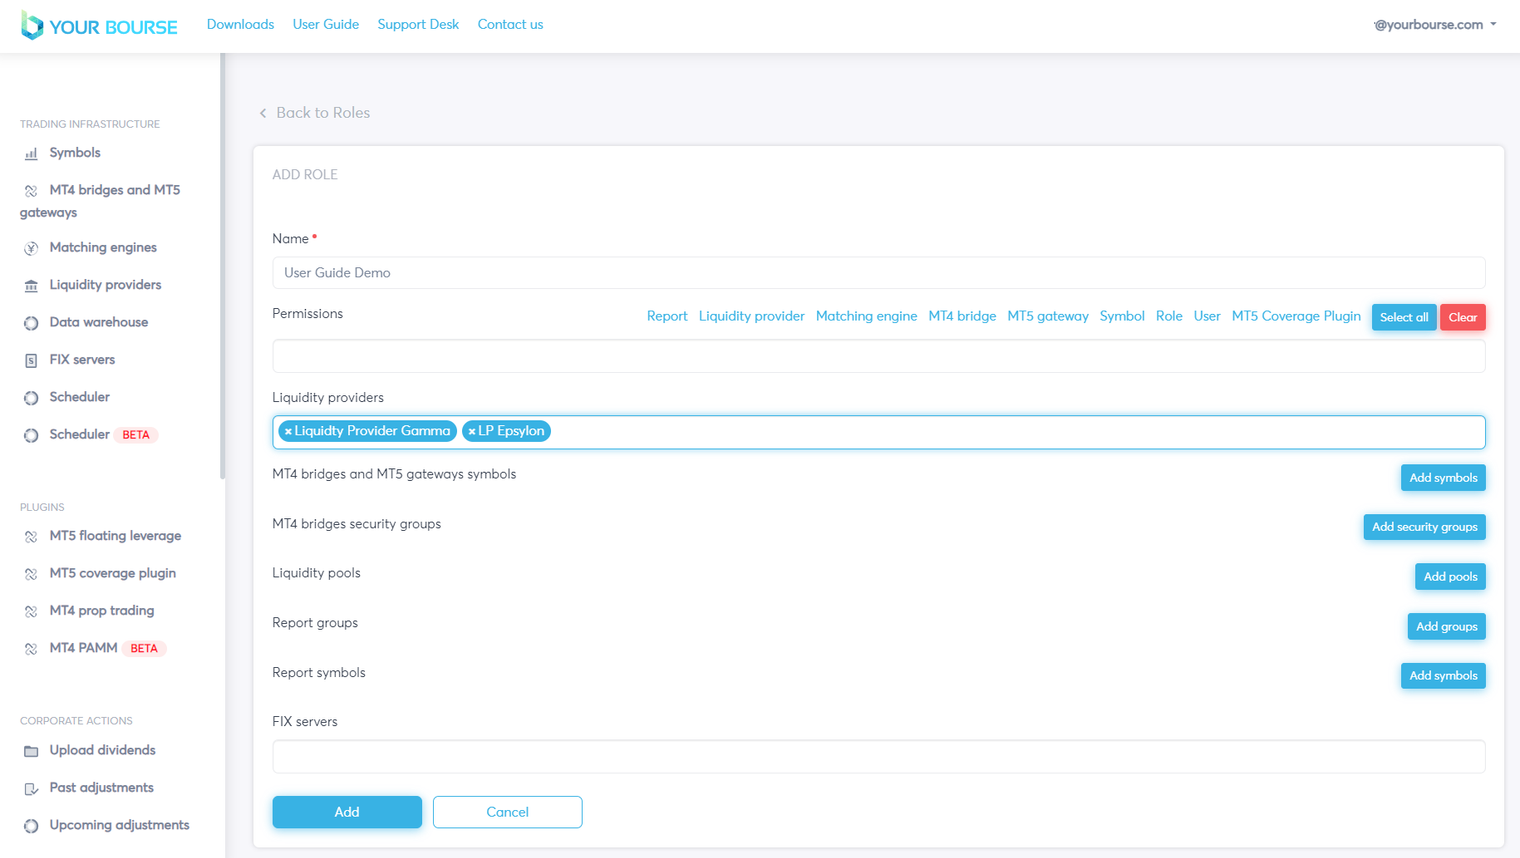
Another parameter that can be configured is the liquidity providers that can be accessed by the role. Similar to “Permissions” by clicking the “Liquidity Providers” box a drop down menu is opened. The desired liquidity provider or providers can then be configured just like the “Permissions”.
MT4 bridges and MT5 gateways symbols can also by configured by selecting the “Add symbols” button.
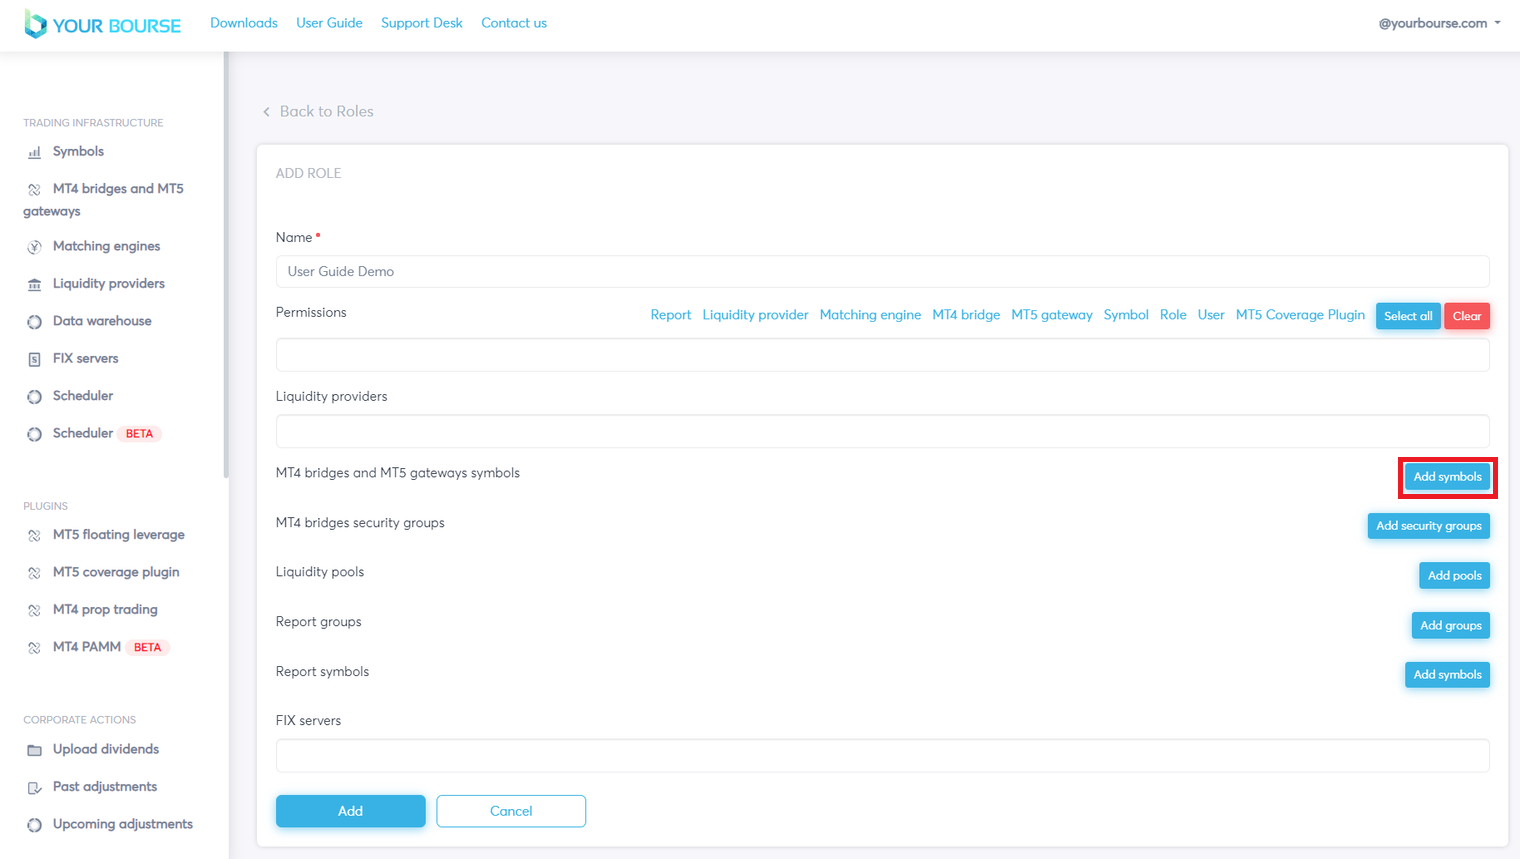
A small table is created that consists of two variables “MT4 bridge/MT5 gateway” and “Symbol”. The first describes which bridge or gateway is to be used and the second describes the symbol.
To configure the variables click on the first box to open a drop down menu.
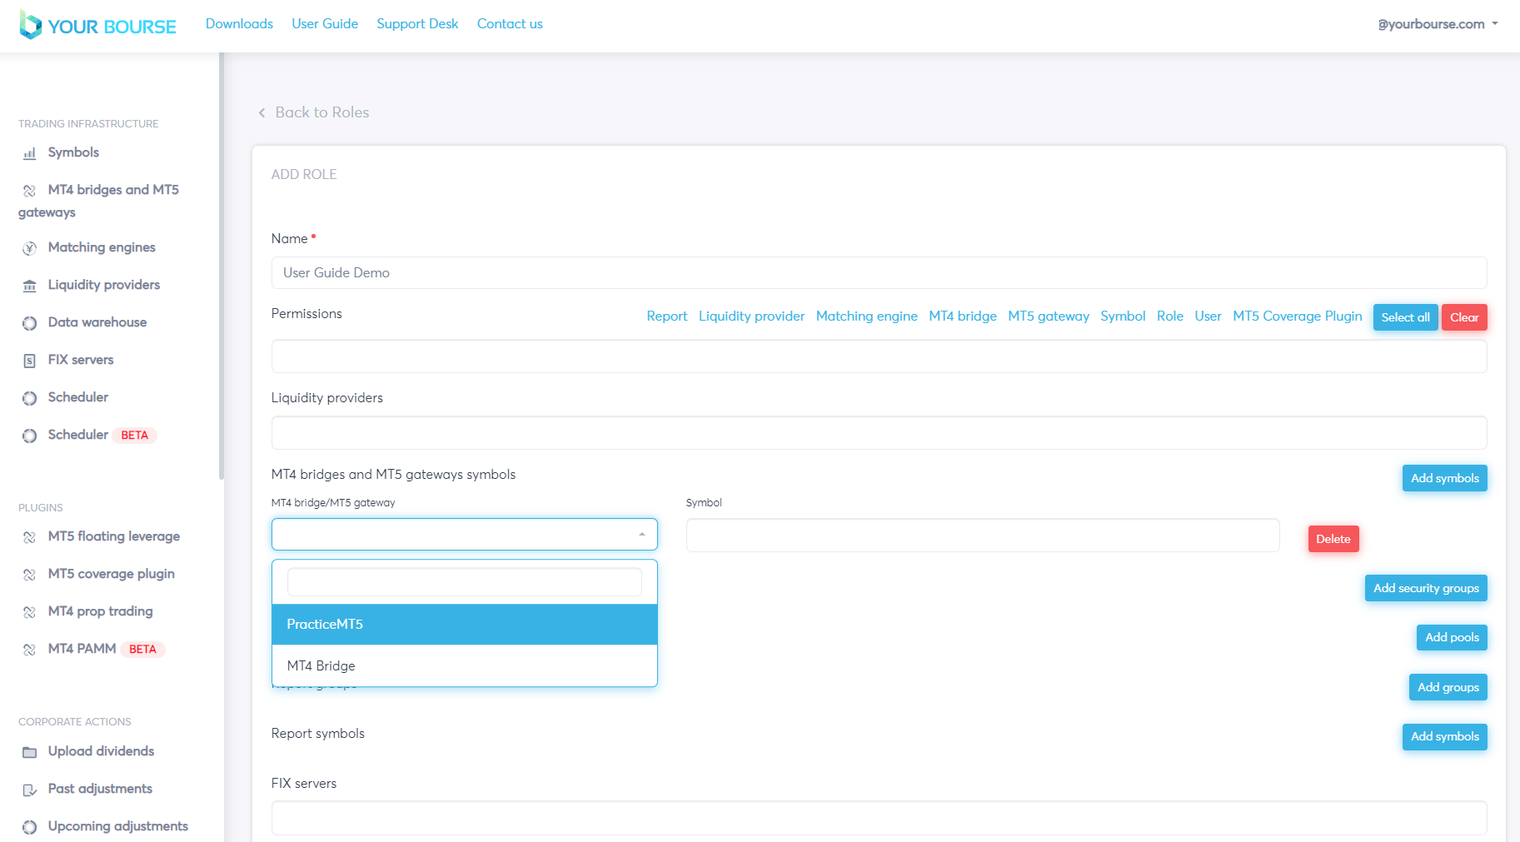
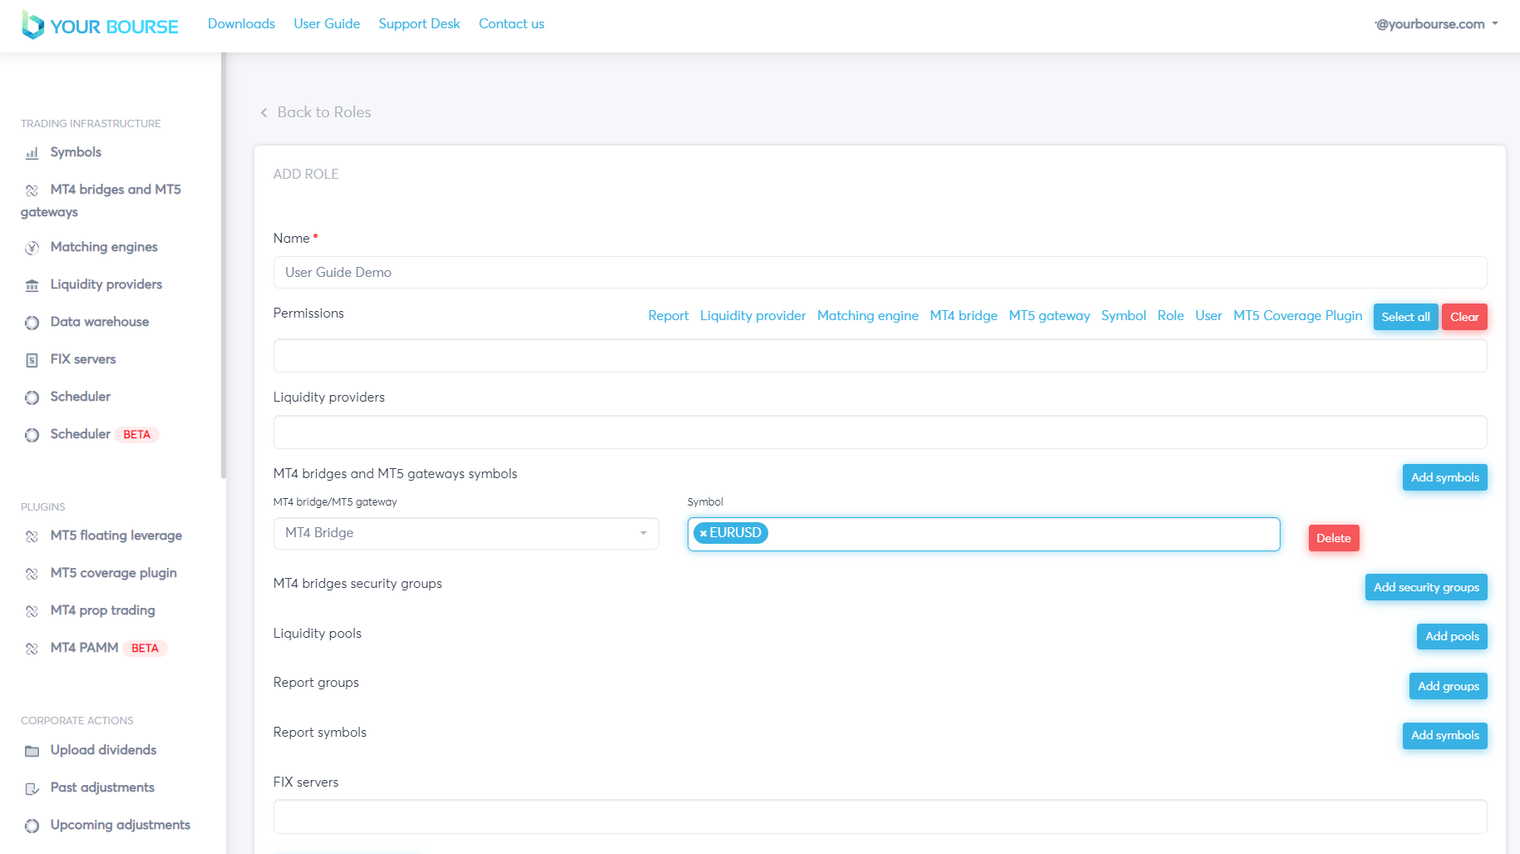
Bridges and Gateways can then be configured. To configure the symbols click on the symbols box, type the chosen symbol and click enter.
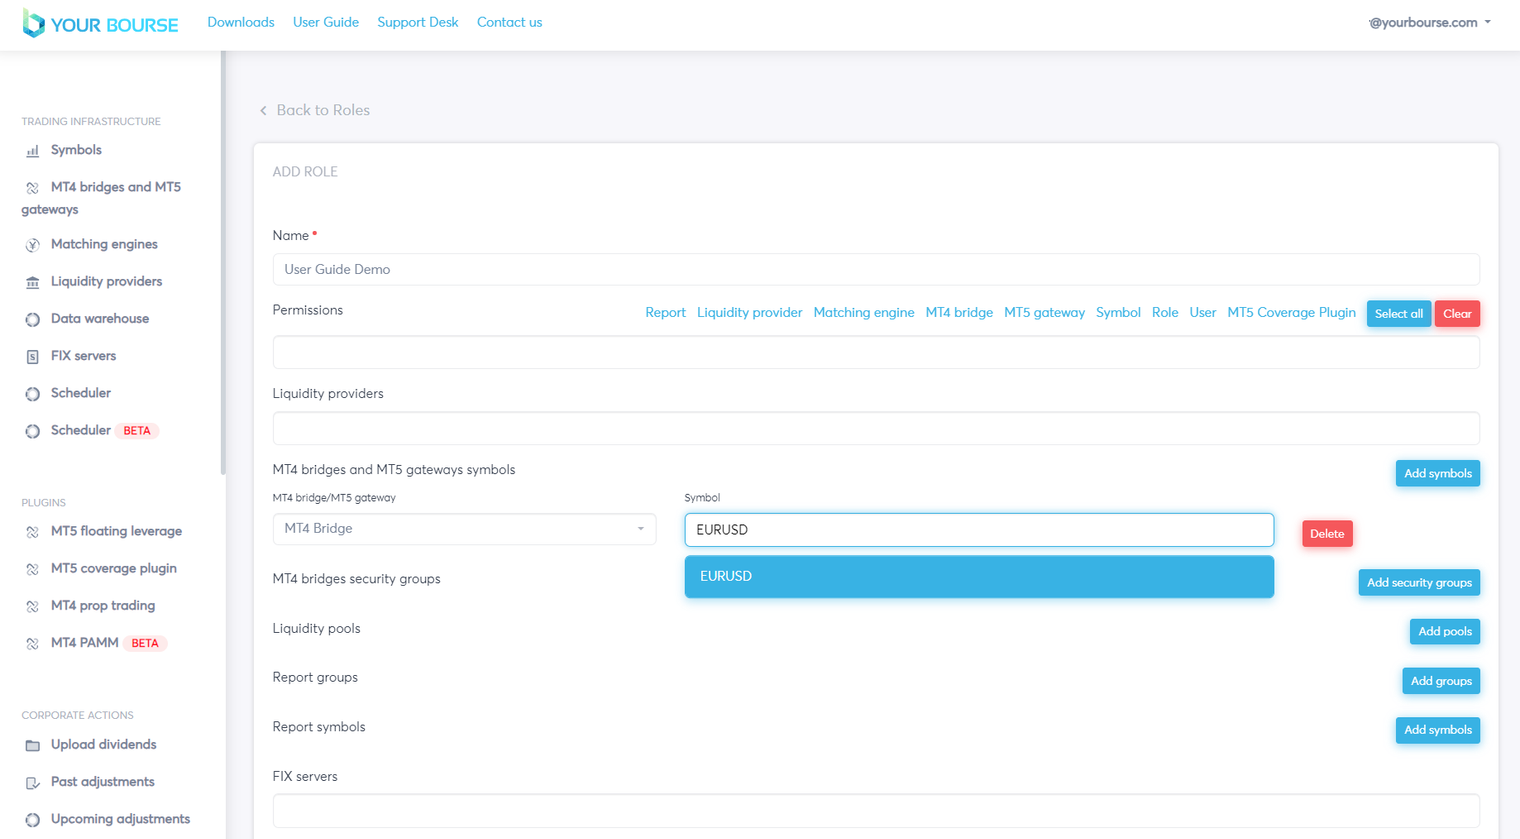
Multiple configurations are possible by selecting the “Add symbols” button again.
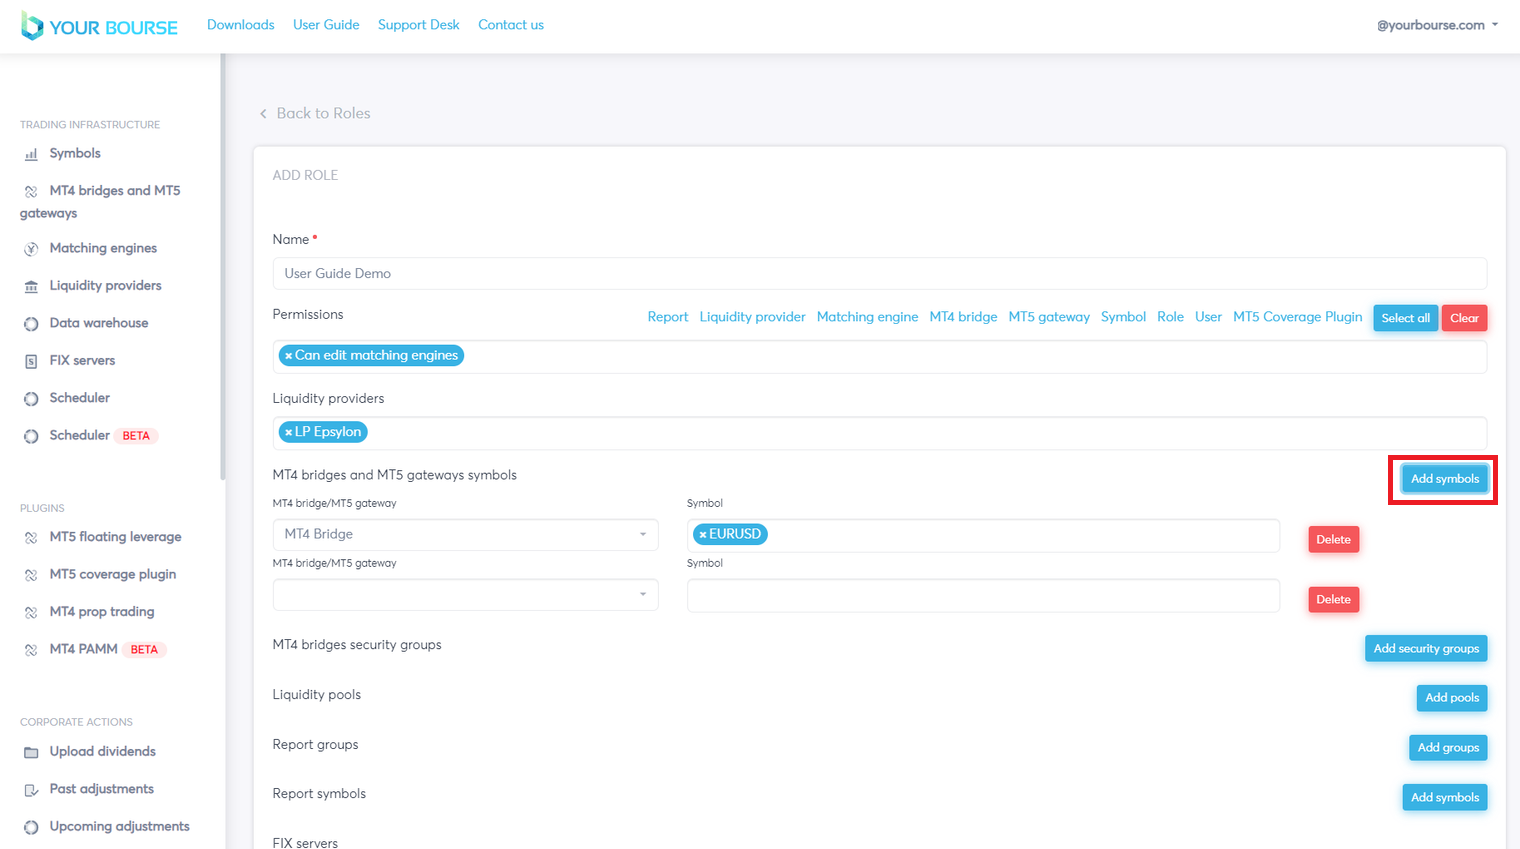
Individual configurations can be deleted by selecting the “Delete” button.
“MT4 bridges security groups” works in an identical way to the “MT4 bridges and MT5 gateways symbols” by selecting the “Add security groups” button then clicking the “MT4 bridges” box and selecting the desired bridge. The Security group is configured in an identical way to the “Symbol” by selecting the box, typing in the name of the group and clicking enter.
Instead of a particular name, the masks “*“ (include all), and “!“ (exclude the group with the following name) can be used as well.
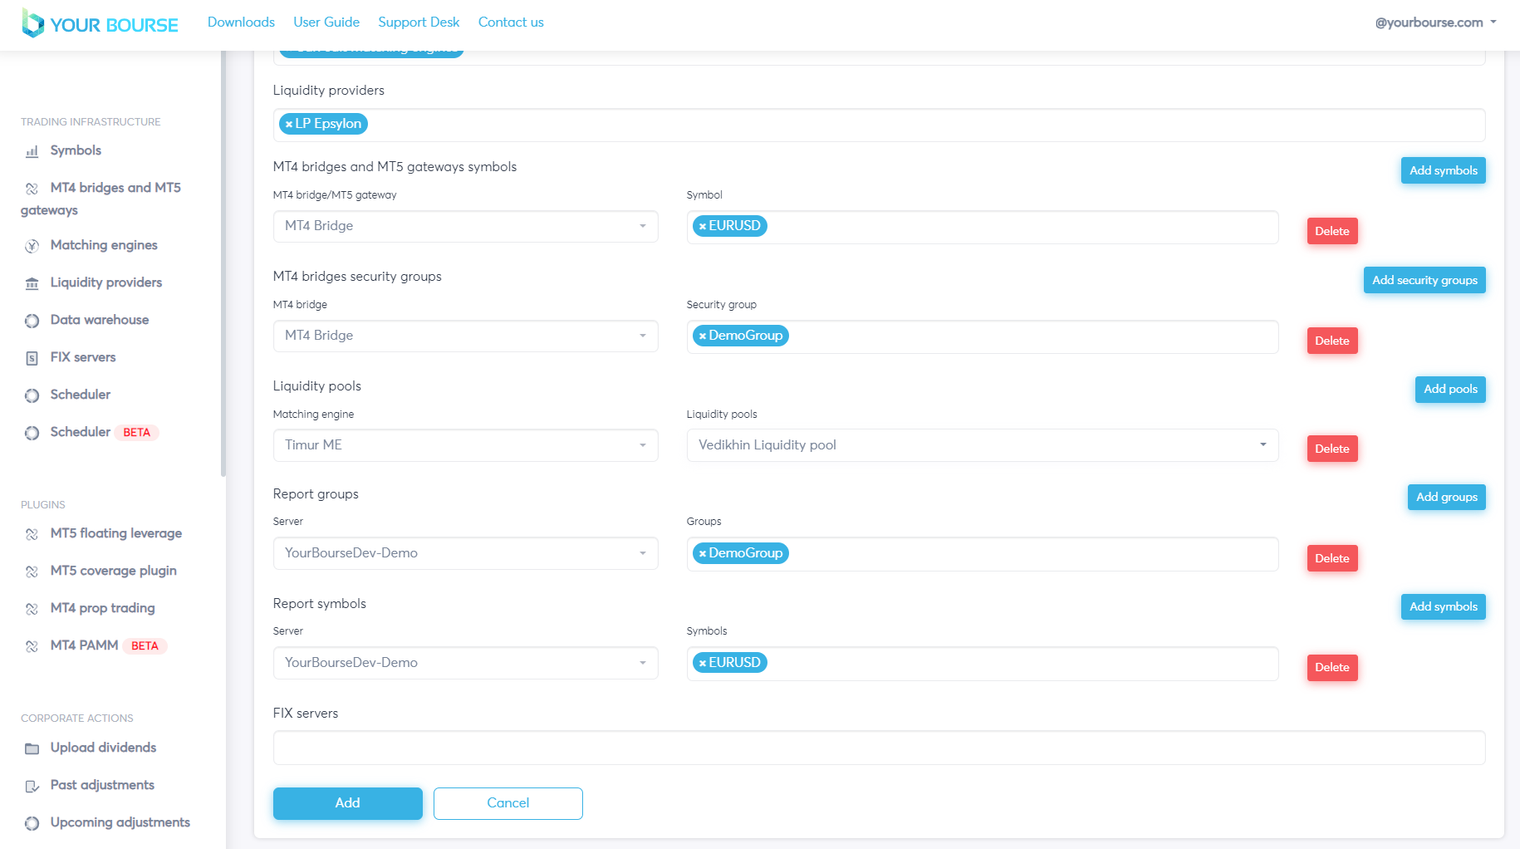
The “Liquidity pools”, “Report Groups” and “Report symbols” are all configured in an identical way.
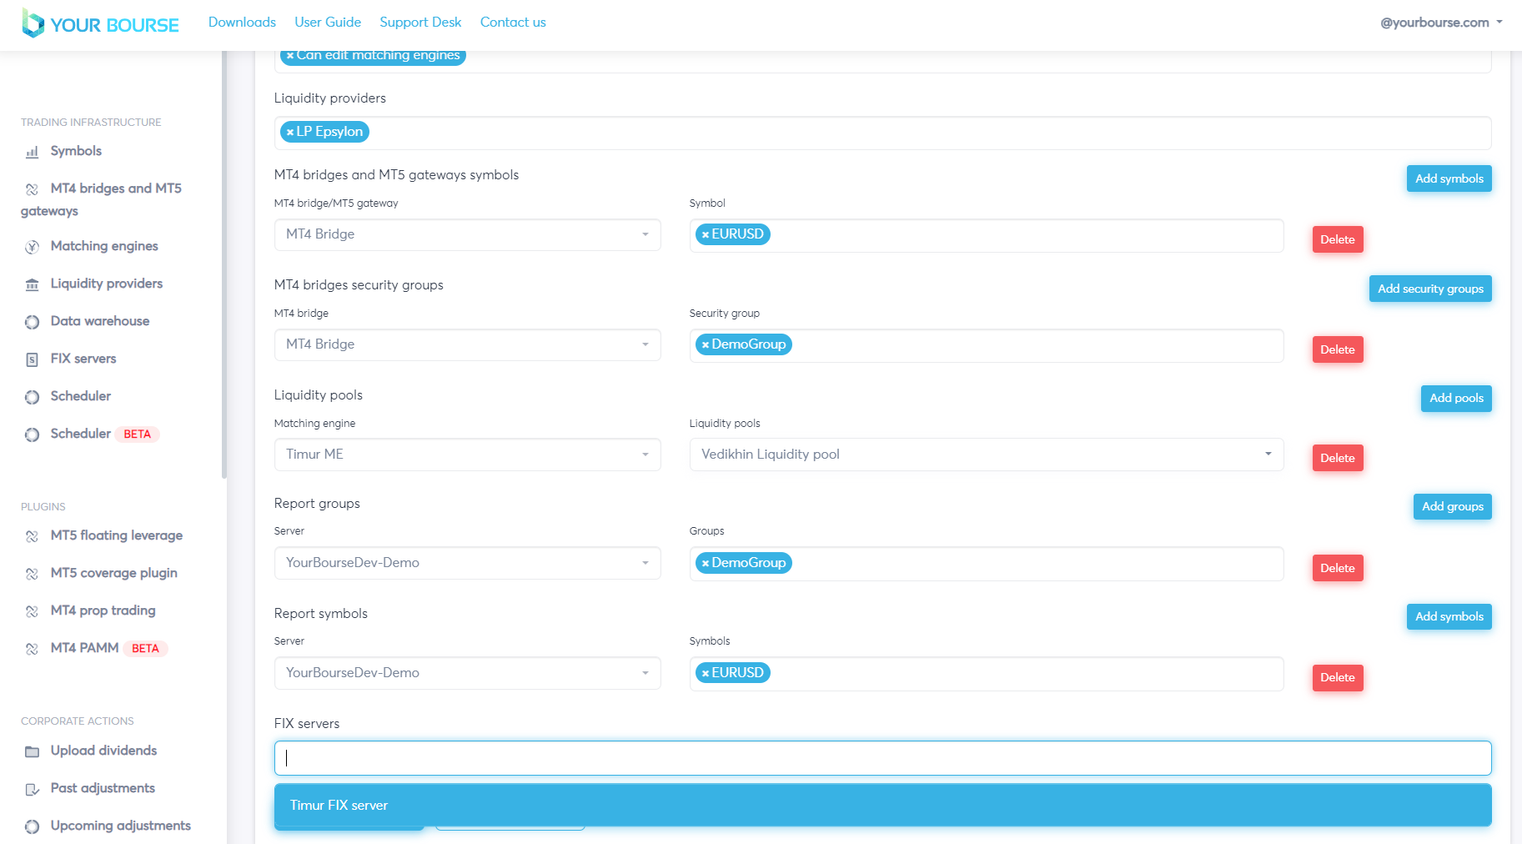
FIX servers can be configured by selecting the respective box and selecting the desired FIX server.
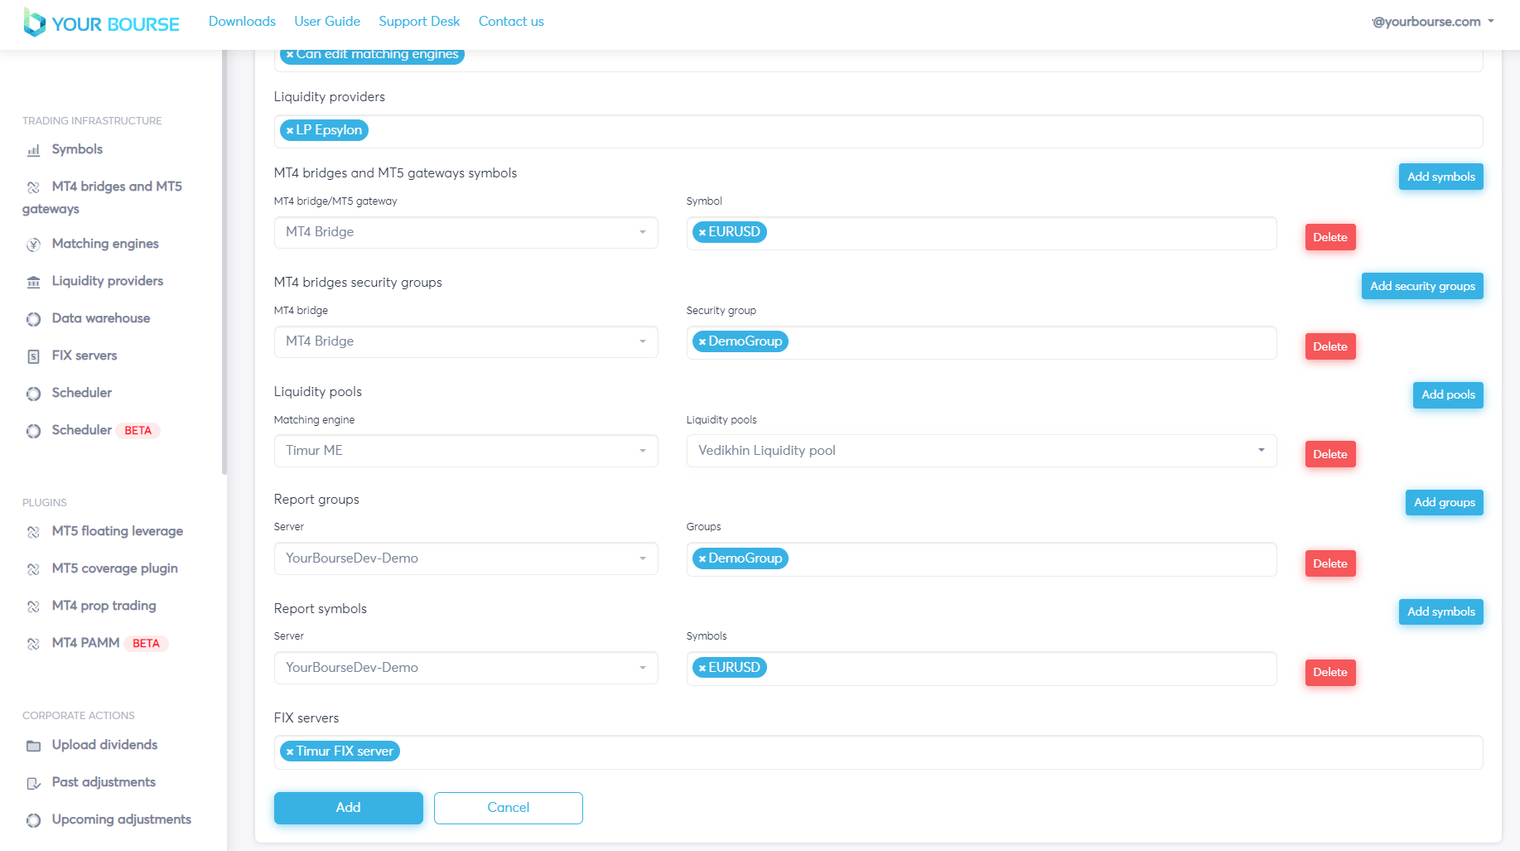
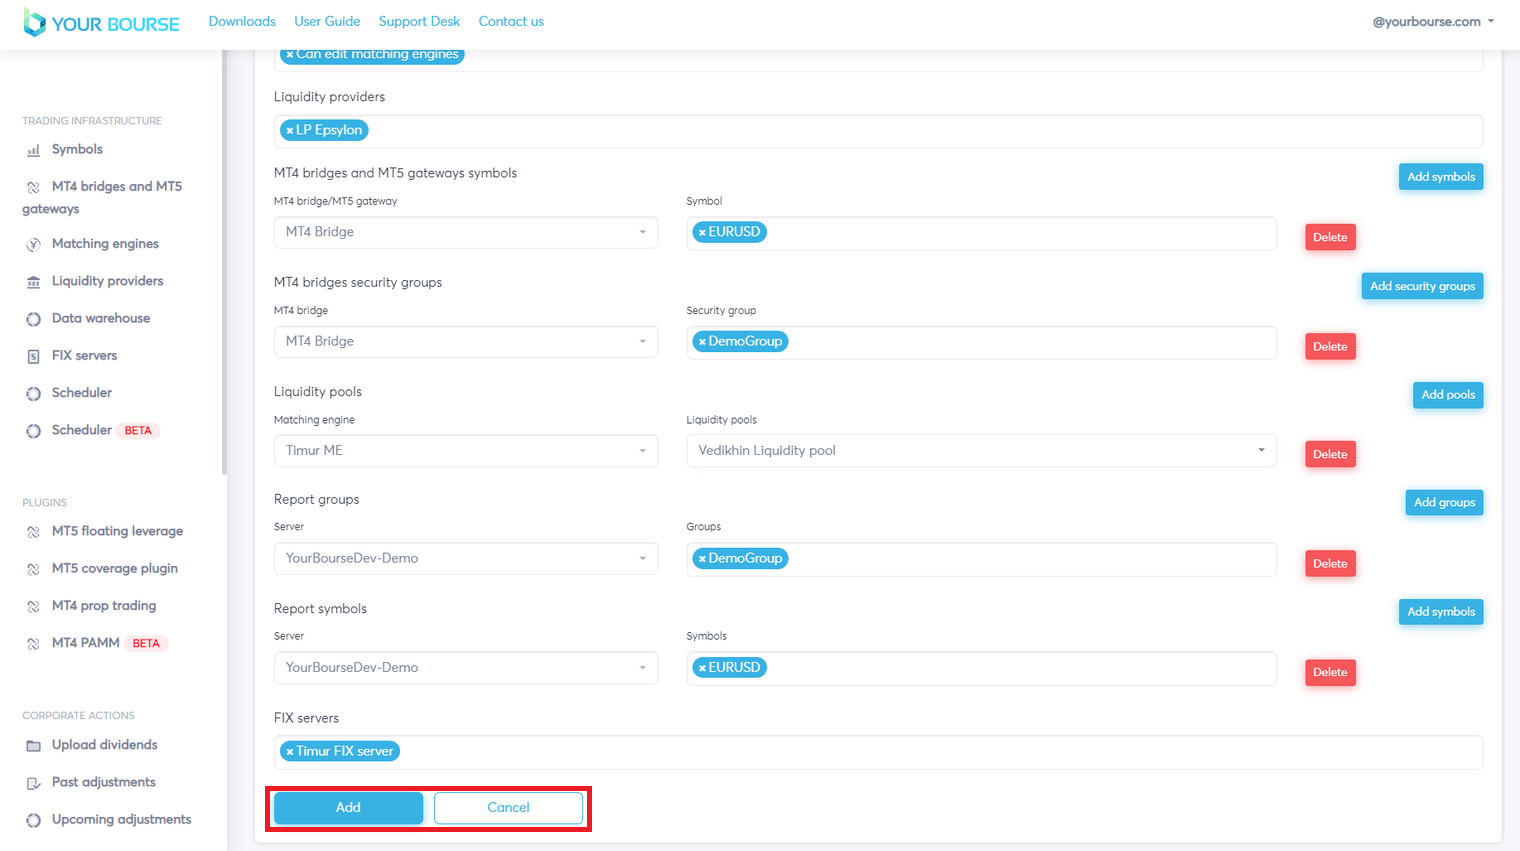
Once all the parameters have been configured the “Add” button can be pressed which will add the role.
By clicking “Cancel” all changes are reverted and not saved.
The new role will be displayed in the main table.
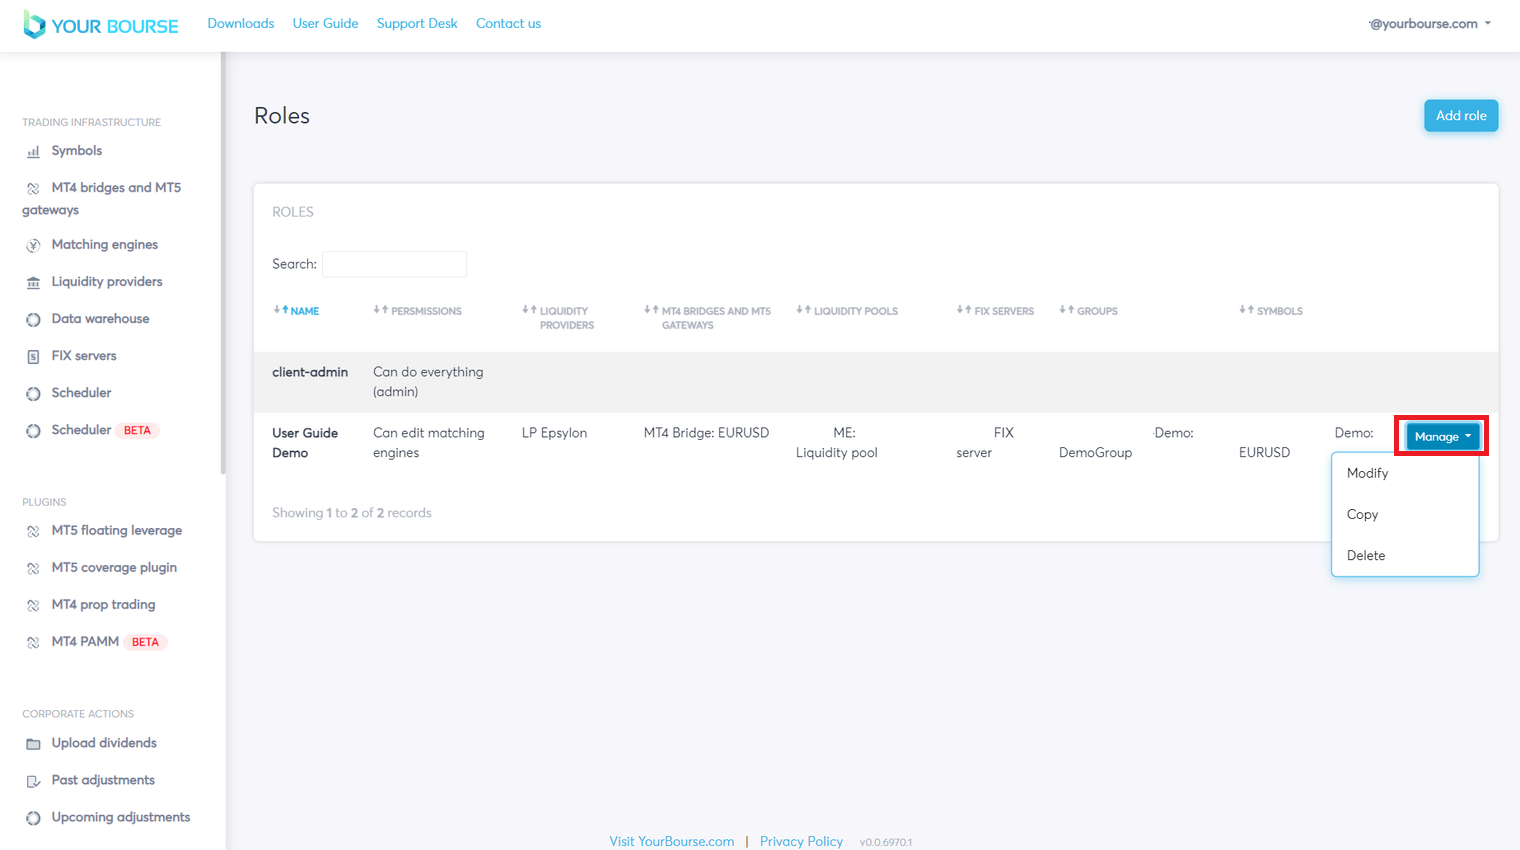
Main table management
Once a role has been configured the permissions can still be modified. This is achieved by selecting the “Manage” button. A drop down menu is opened with three options.
-
Modify - Allows the user to modify existing permissions for the specific role.
-
Copy - Allows the user to create a duplicate of the role
-
Delete - Deletes the selected role
The main table can also be manipulated in its display, specific roles can be searched for by selecting the ”Search” box.
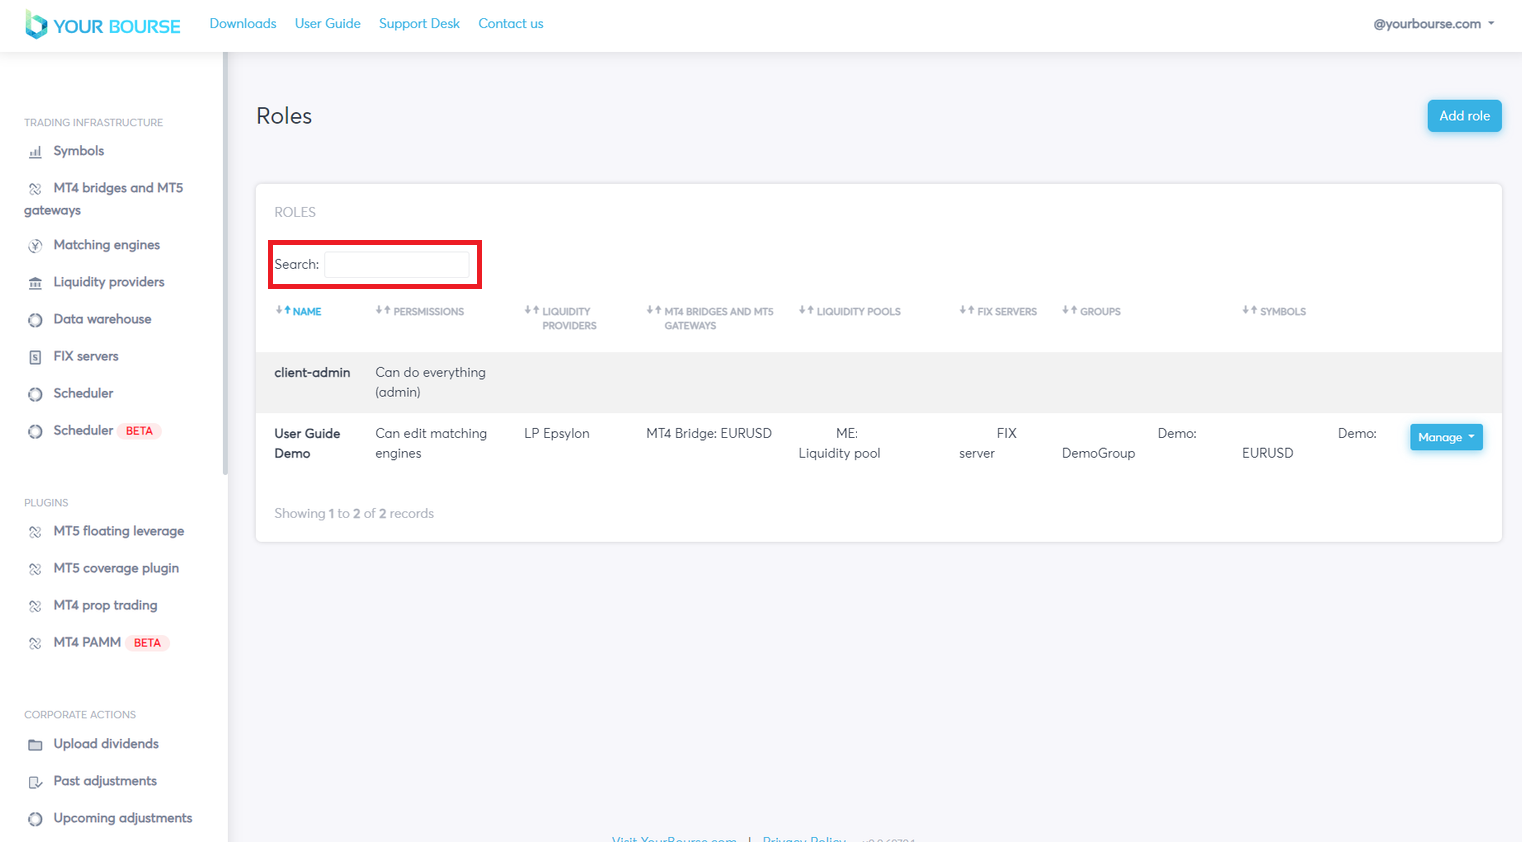
Similarly the order of roles can be changed by manipulation the arrows by each parameter.
e.g. here the “Name” parameter is selected, now listing the roles in non-alphabetical order.