User Management
The YourBourse cloud portal allows the user to configure multiple different “users” to the portal. It is found by selecting the users email address in the top right corner of the Your Bourse platform then selecting the “User management” button.
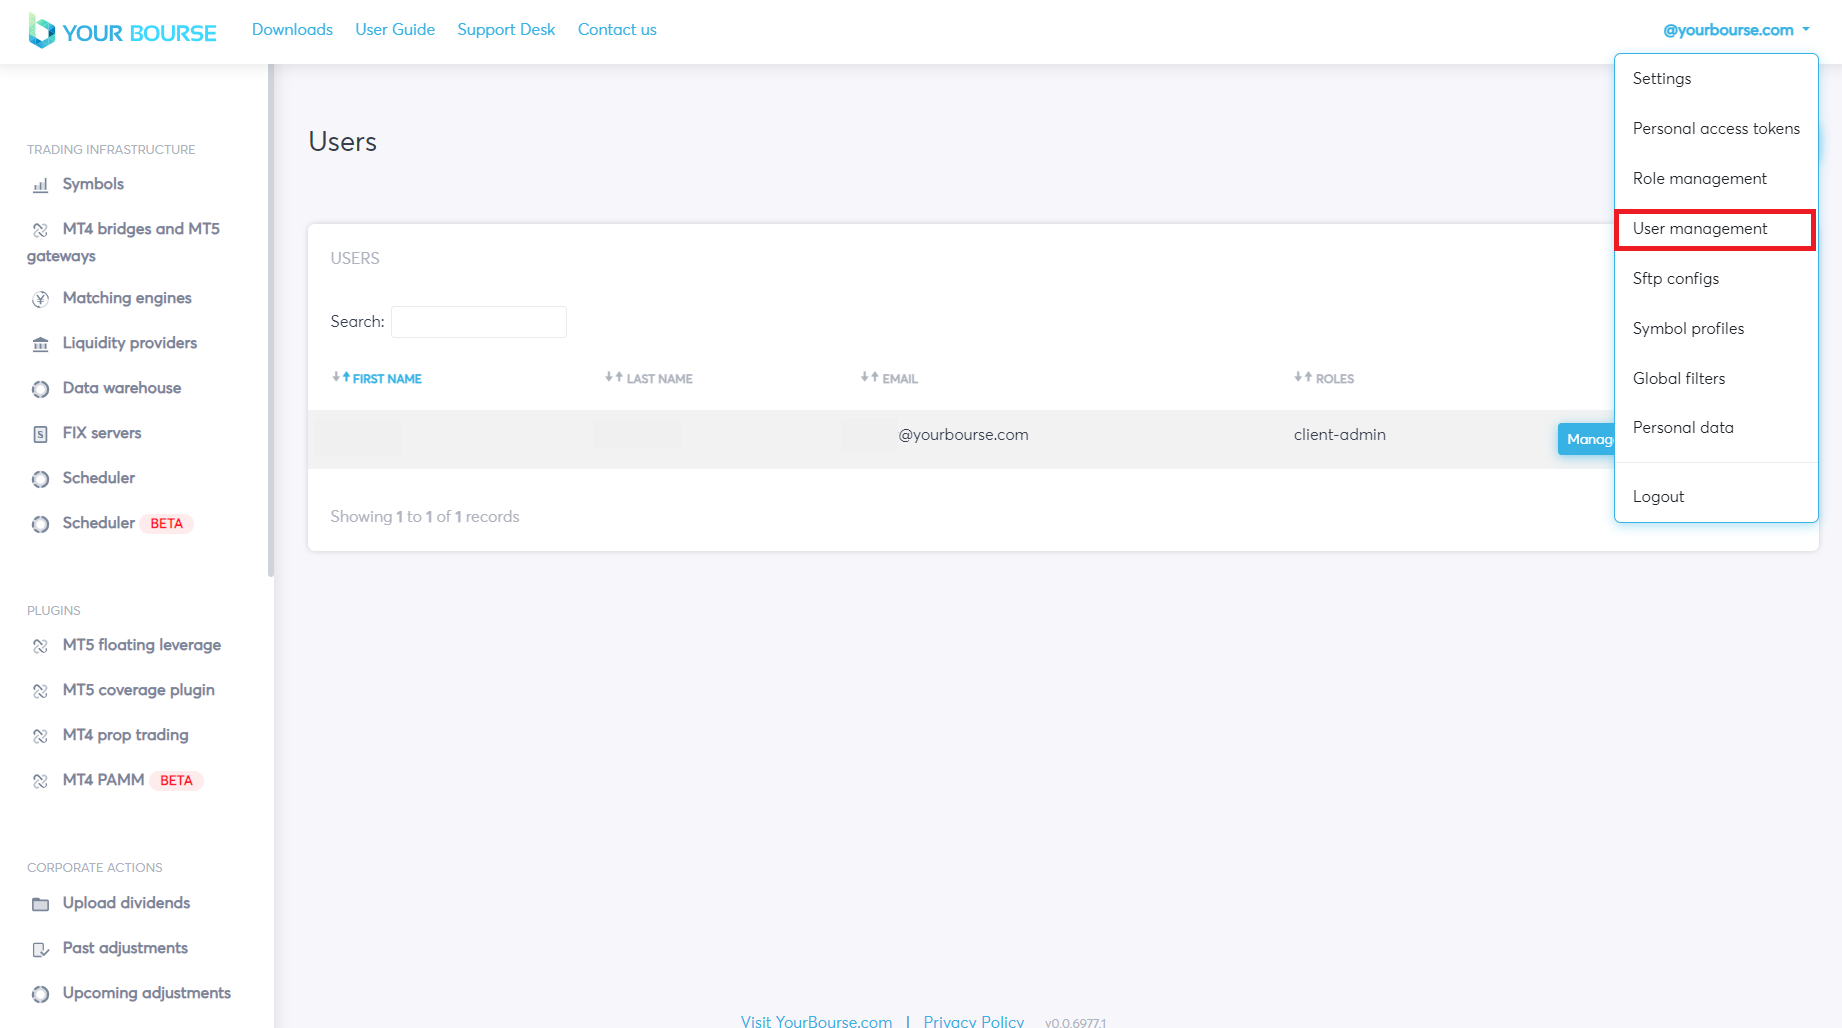
User management introduction
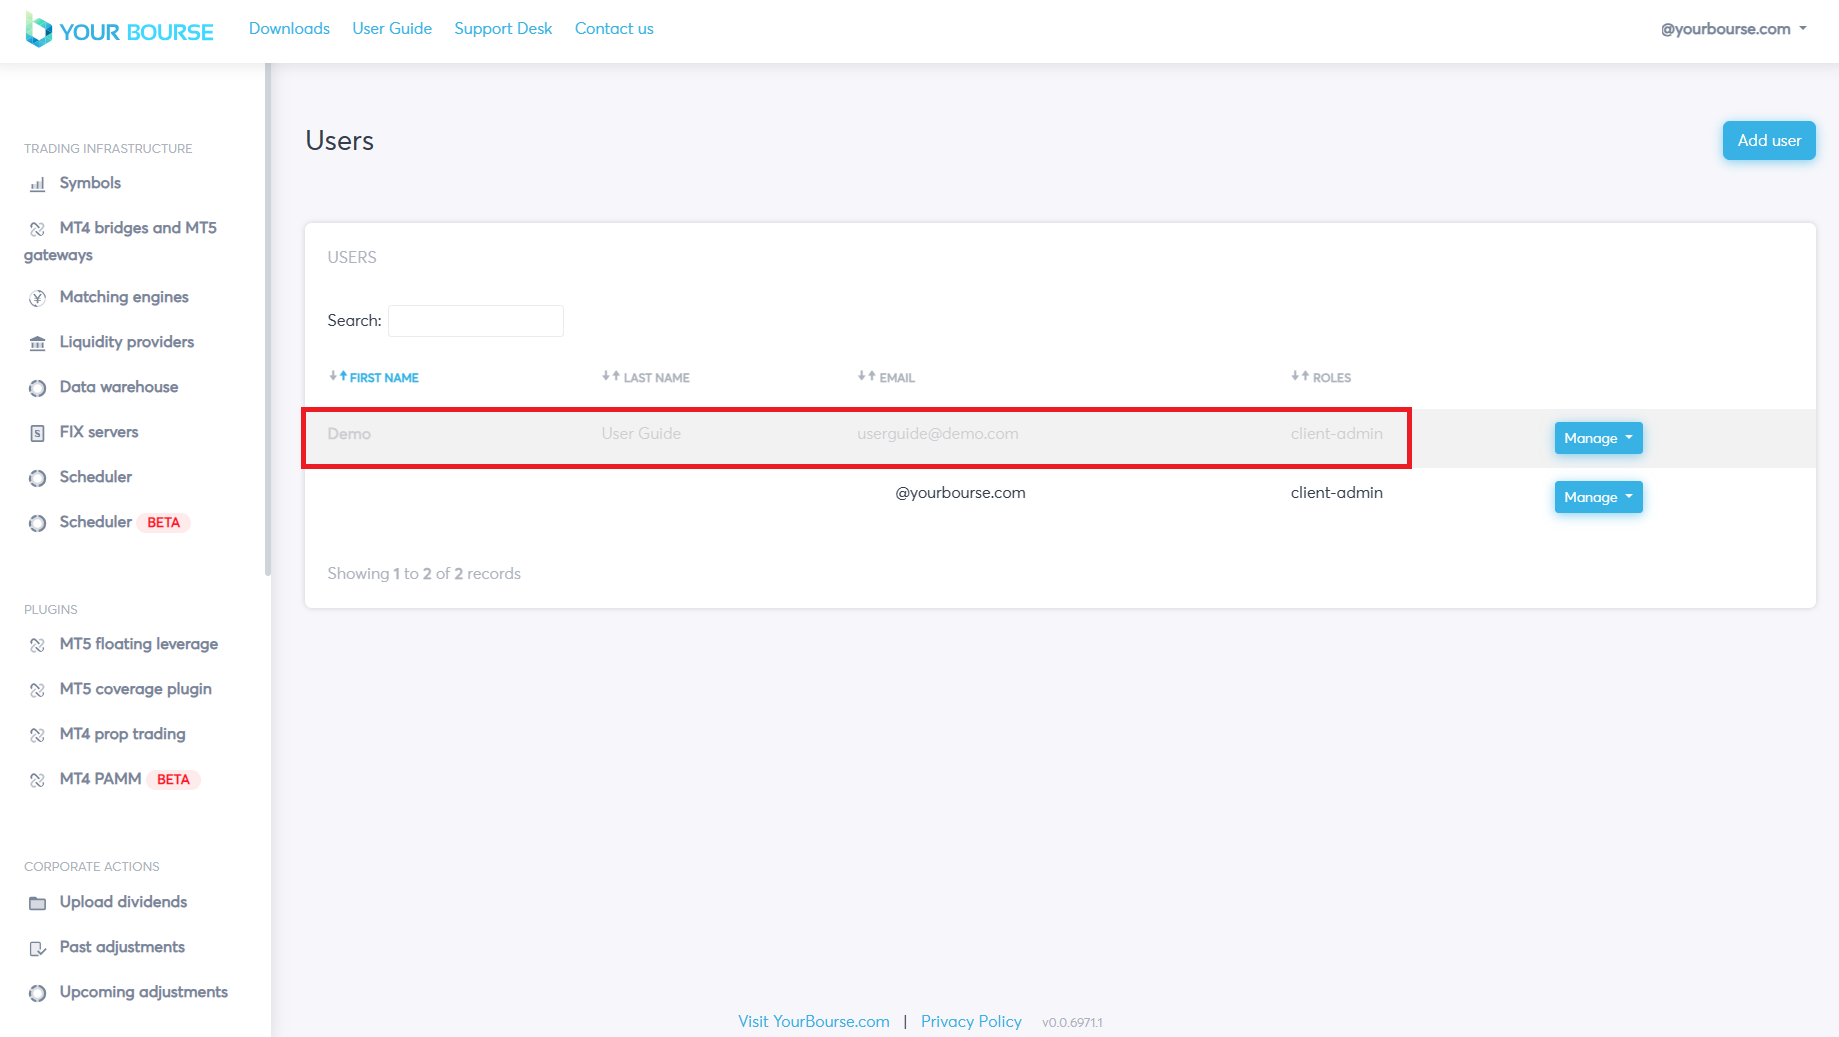
There are four main parameters that are displayed in the main table describing the following:
-
First Name - The first name of the user
-
Last Name - The last name of the user
-
Email - The email address of the user
-
Roles - The role/roles allocated to the user
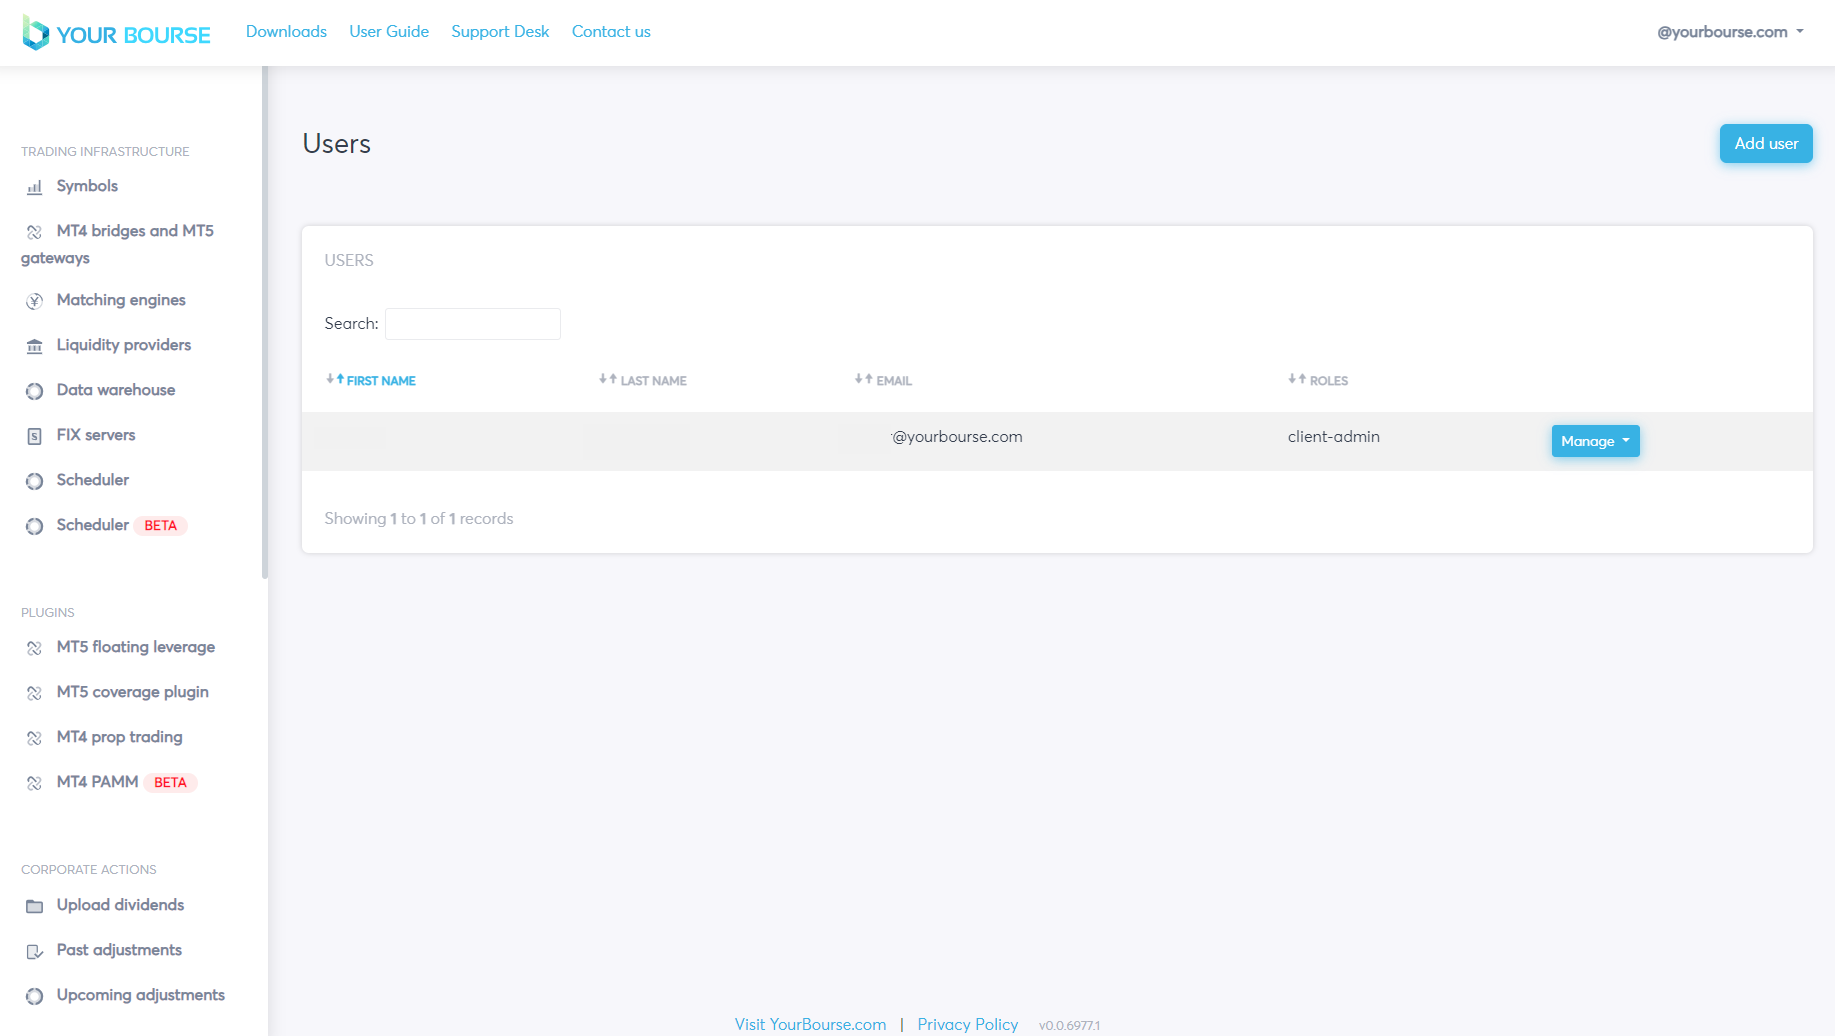
The main table displays these four main parameters for each individual user i.e. multiple users can be displayed at once in the main table.
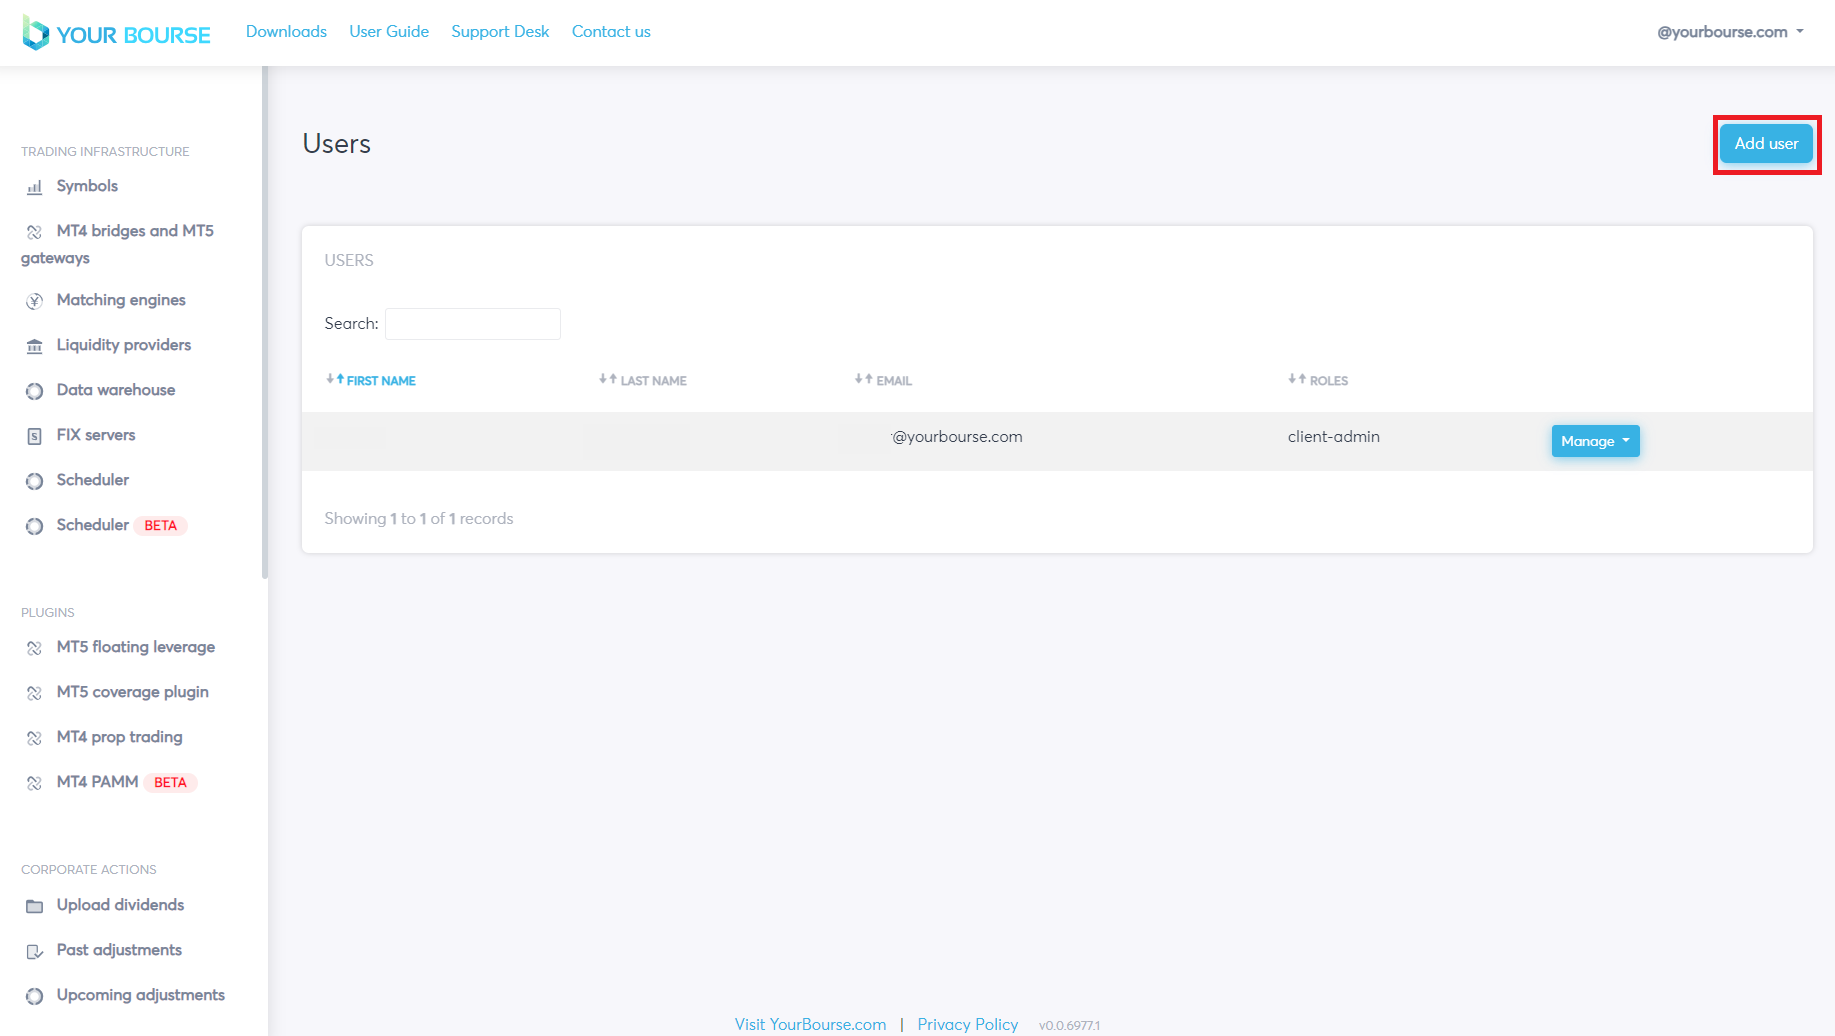
Adding a new user
A new user can be added by clicking the “Add user” button.
A new page is opened allowing the user to configure seven specific parameters for the user.
-
Title - The allocated title of the user e.g. Mr, Mrs etc..
-
First name - The first name given to the user
-
Last name - The last name given to the user
-
Email - The users email address
-
Phone - The users phone number
-
Password - The users password
-
Roles - The role/roles allocated to the user
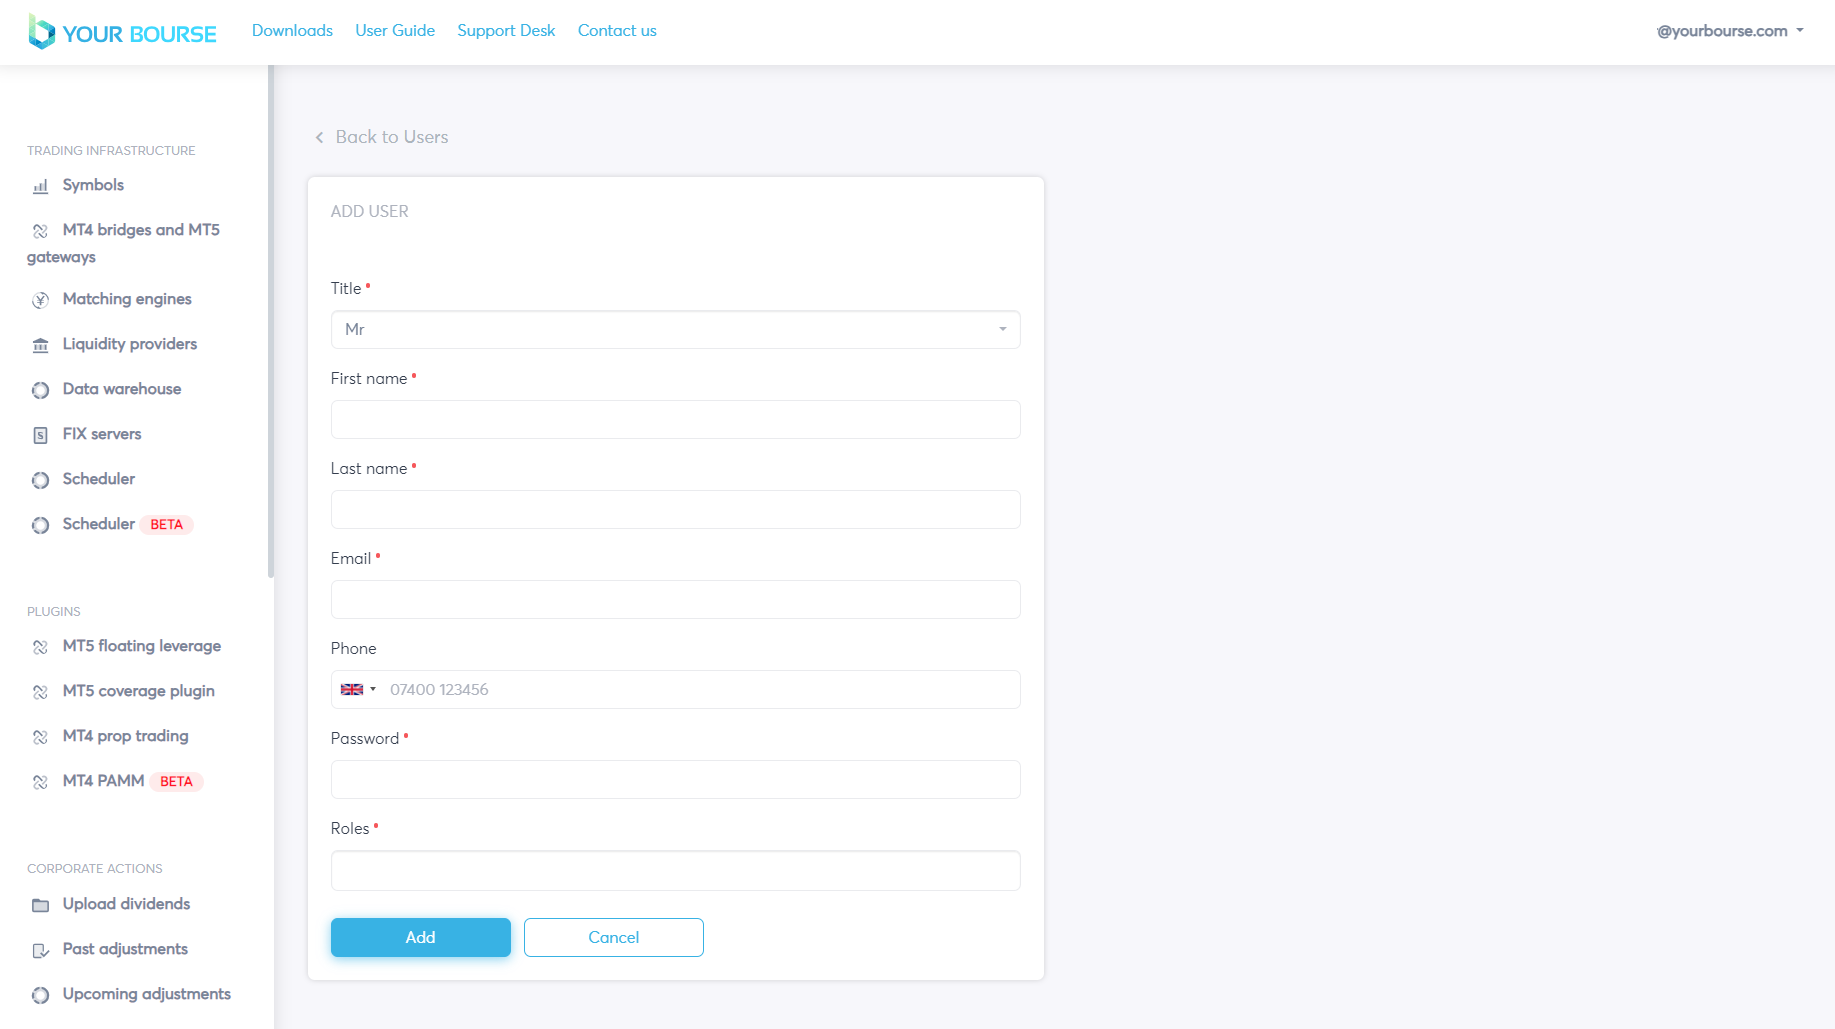
The first parameter is the “Title” parameter, this is configured by selecting the title box opening a drop down menu. To select a specific title click on the desired title and it will be seen in the Title Box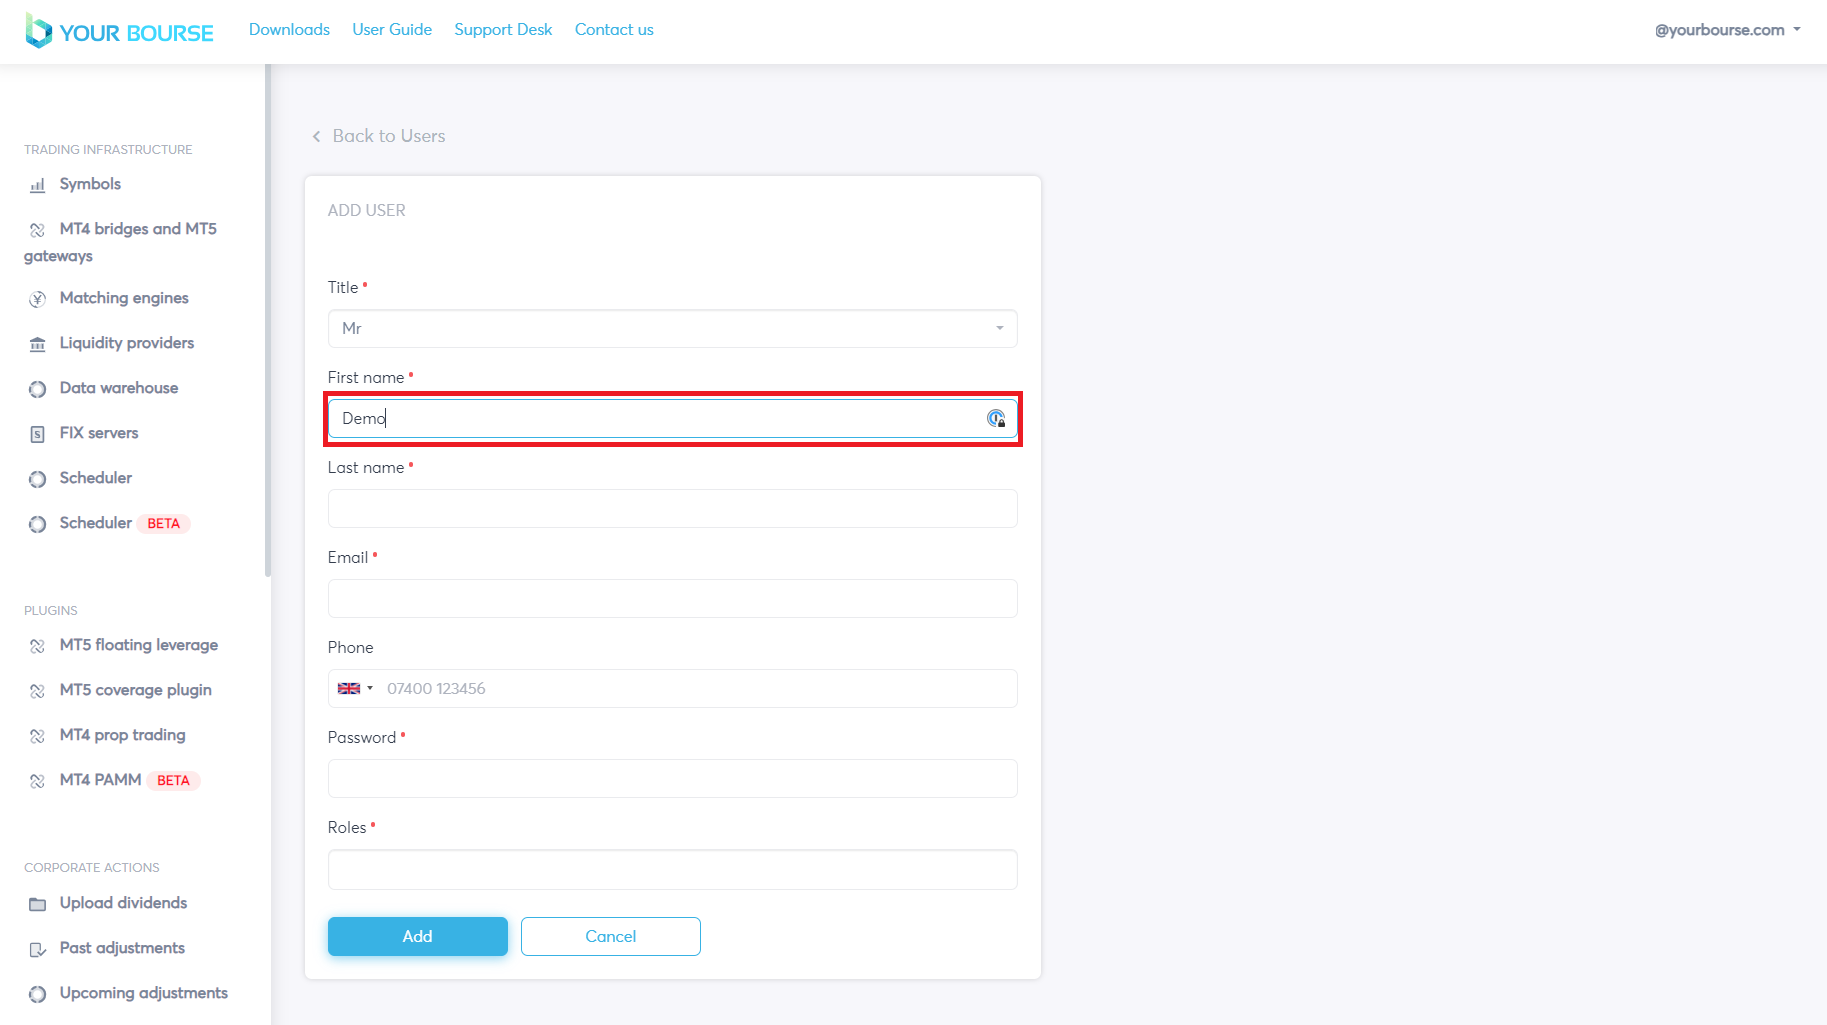
The “First name” , “Last name” and “Email” can all be configured by selecting their respected boxes and entering the specific information. e.g. for this example the First name box is selected and “Demo” is typed in.
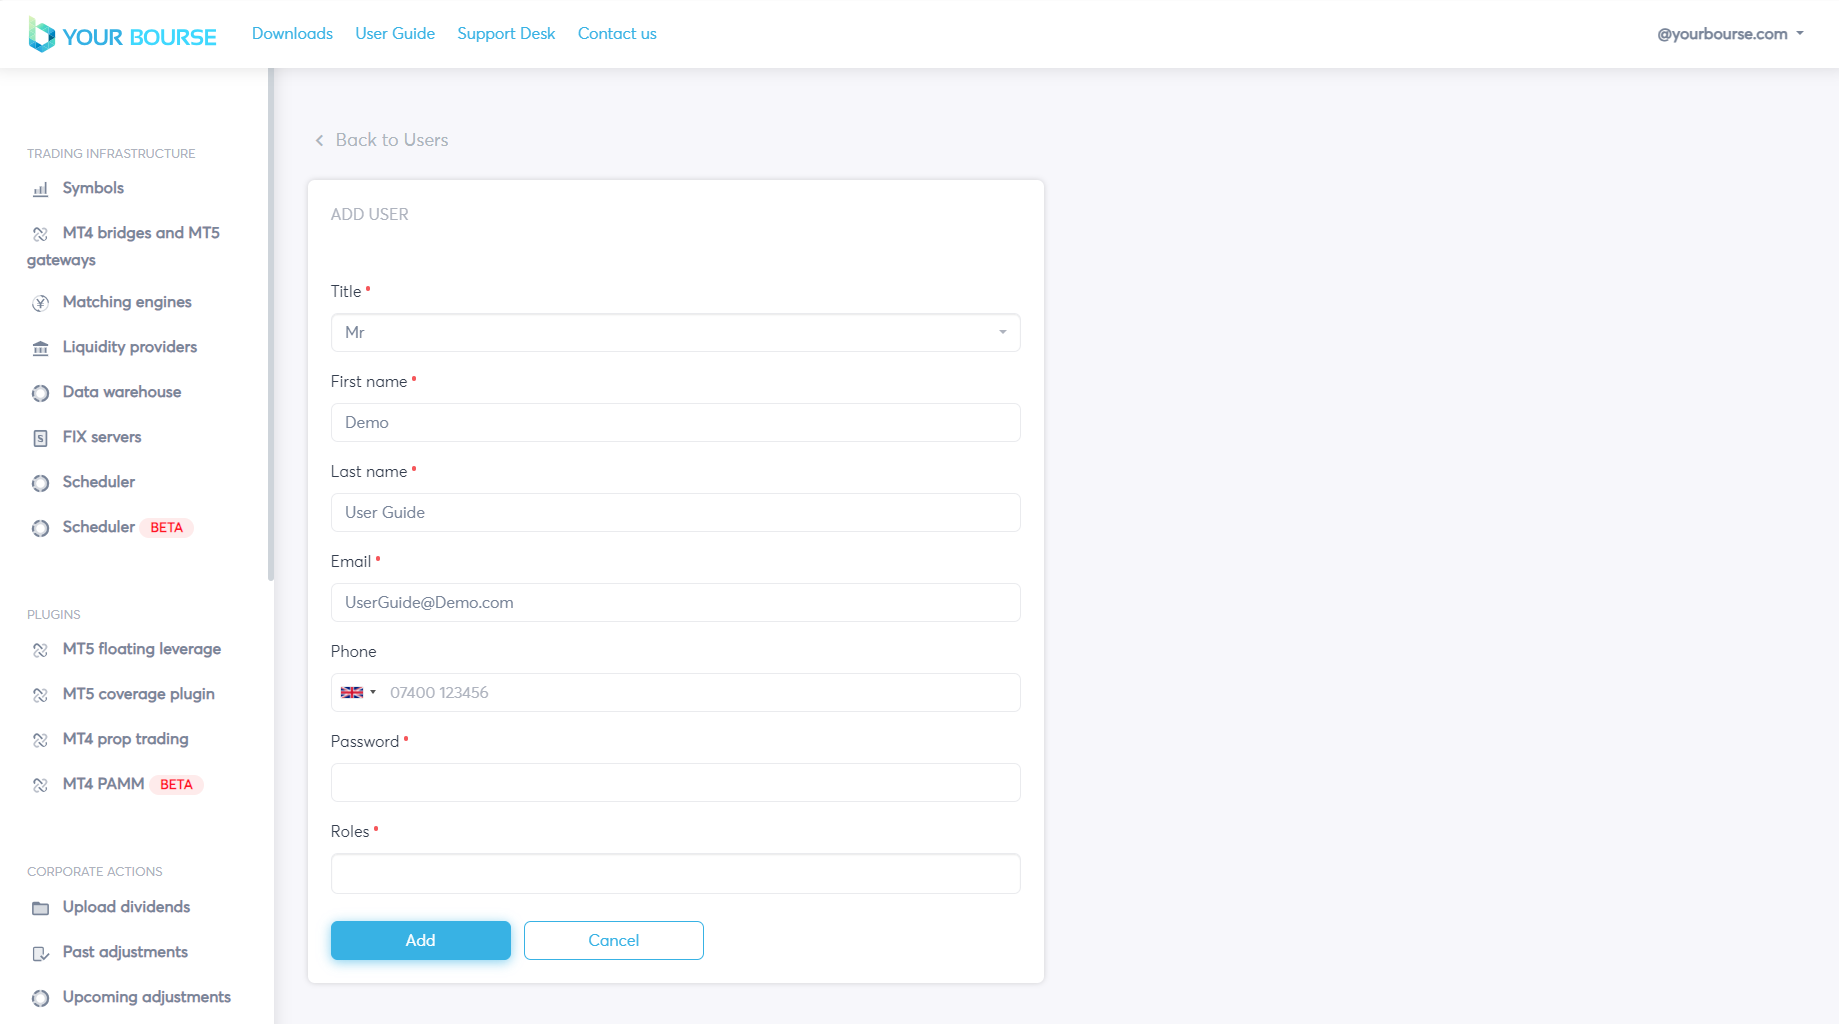
The process is repeated for “Last name” and “Email”.
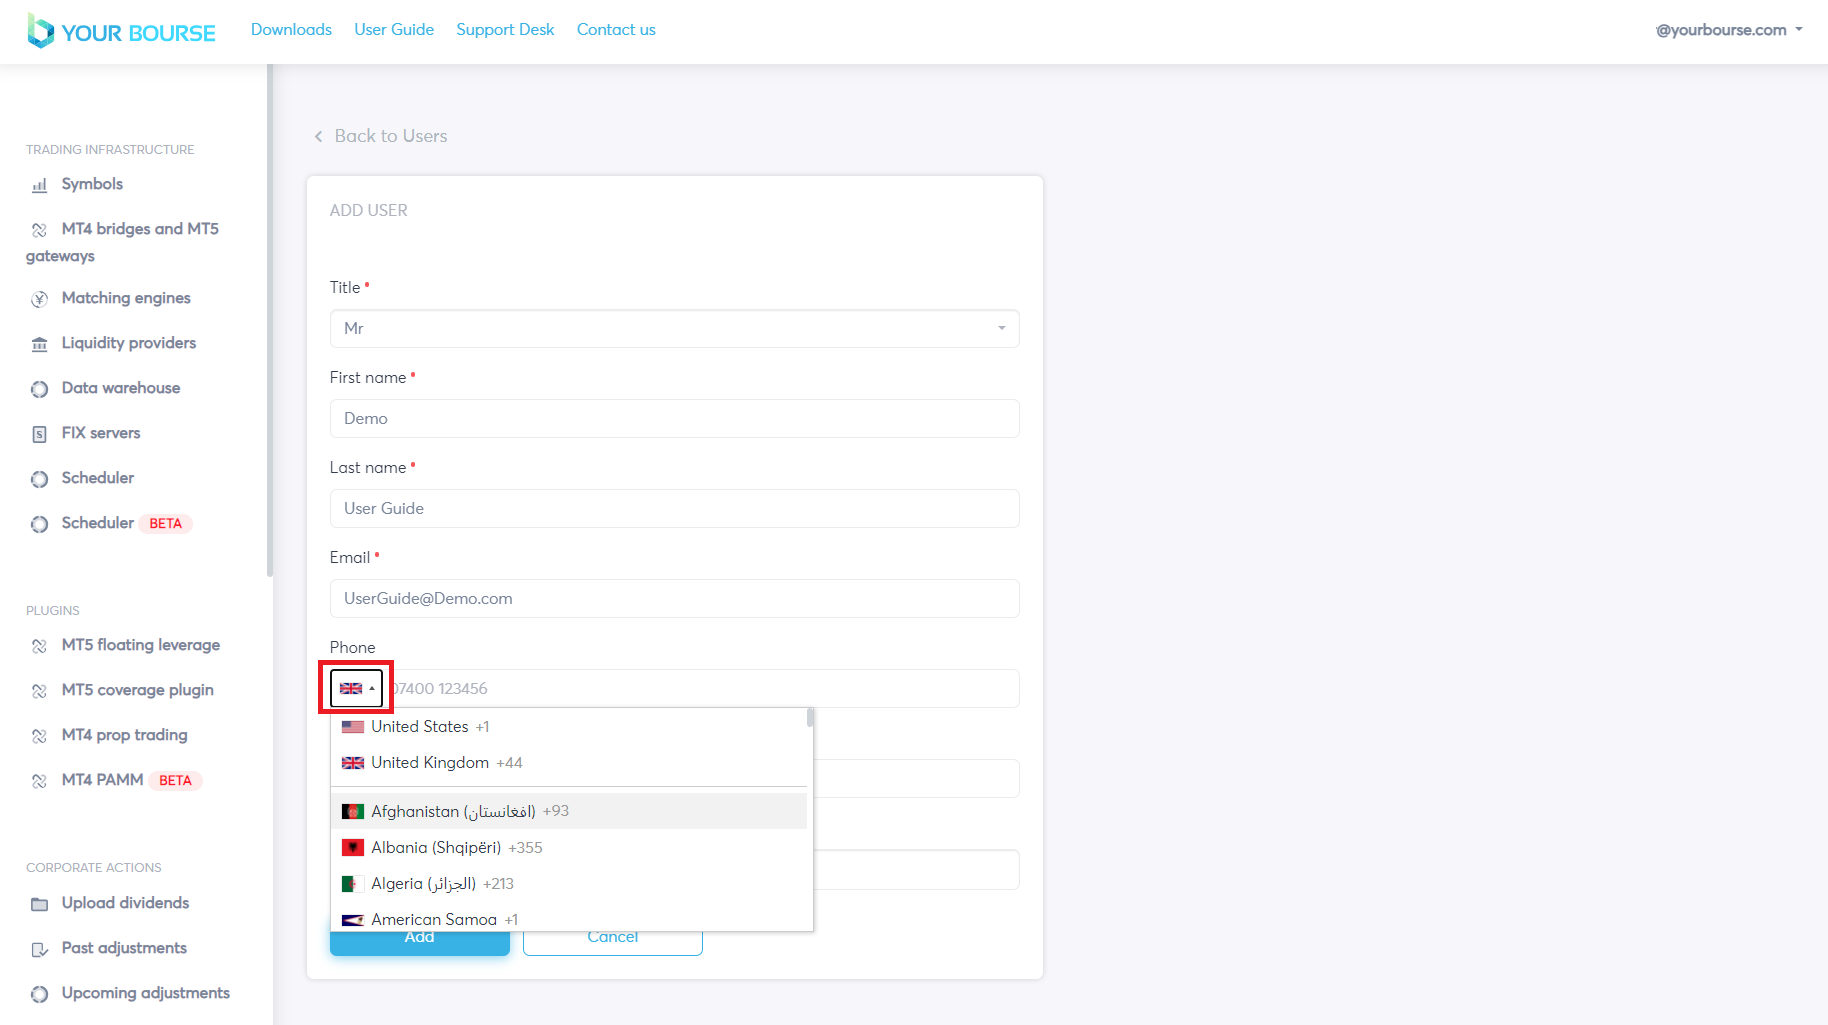
The “Phone” parameter can likewise be configured by first selecting the country, by clicking the flag box which opens a drop down menu, and then typing in the desired phone number.
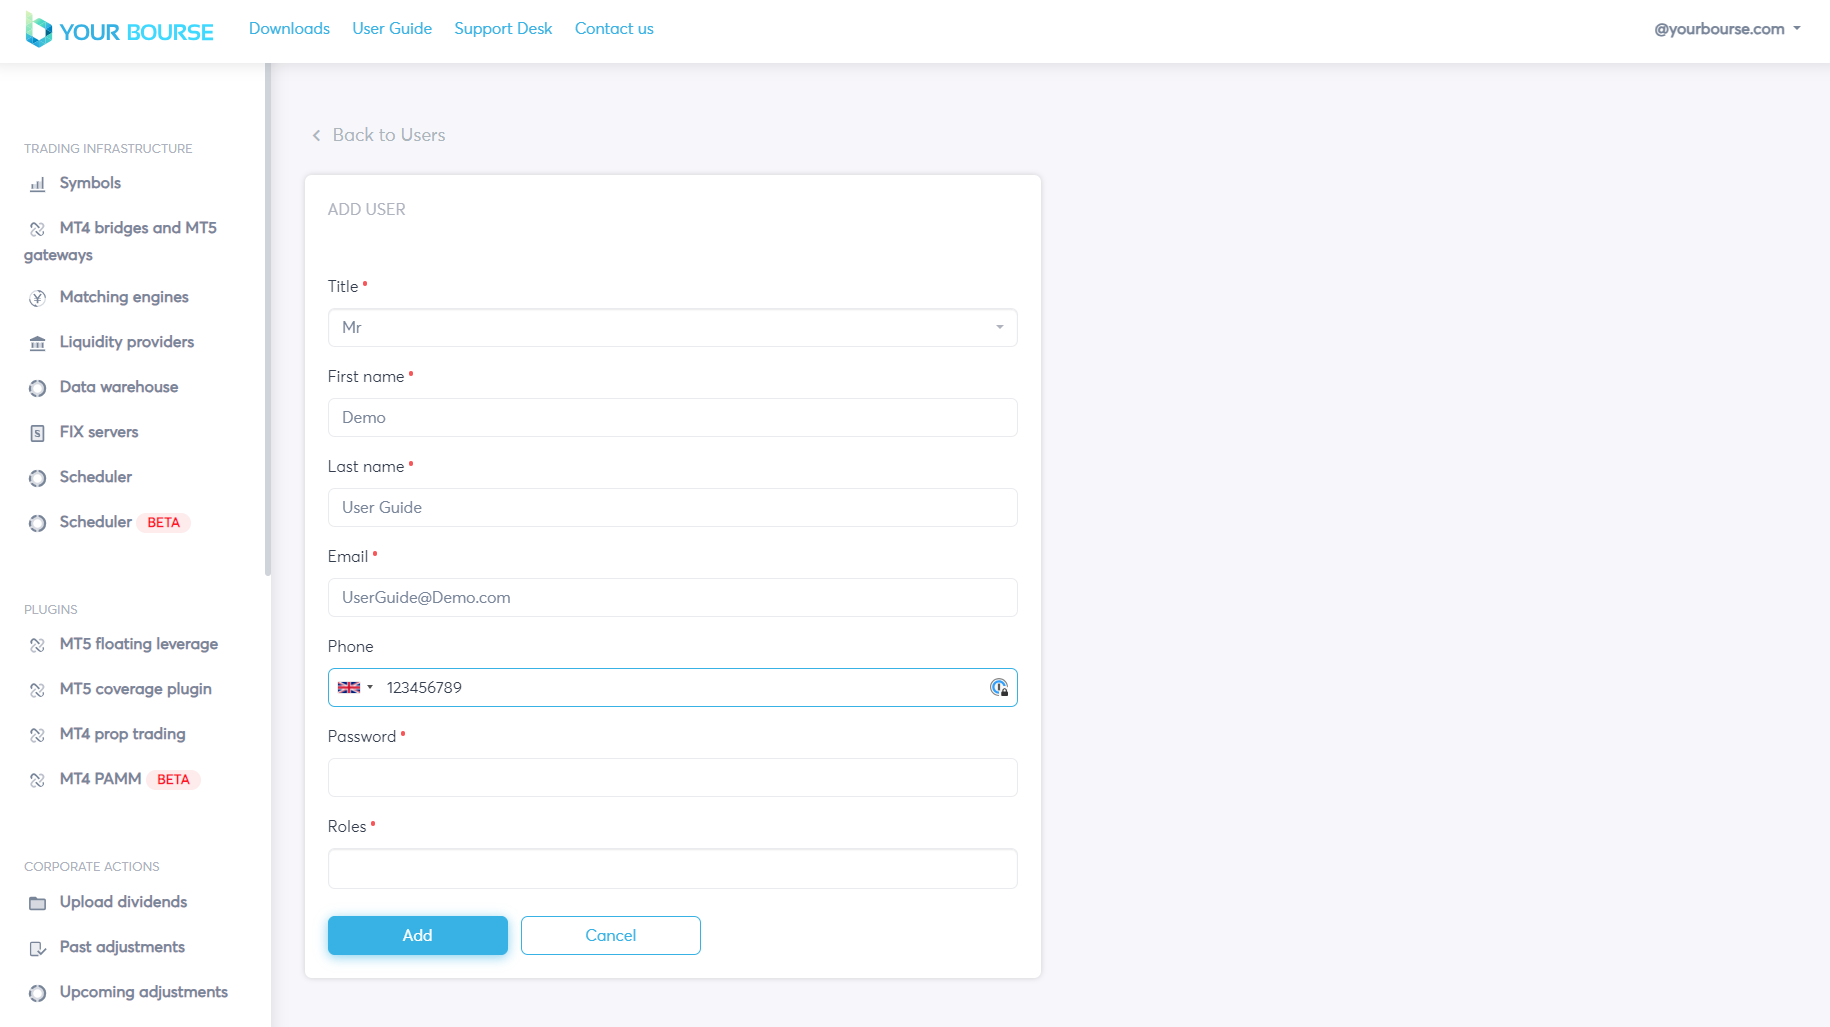
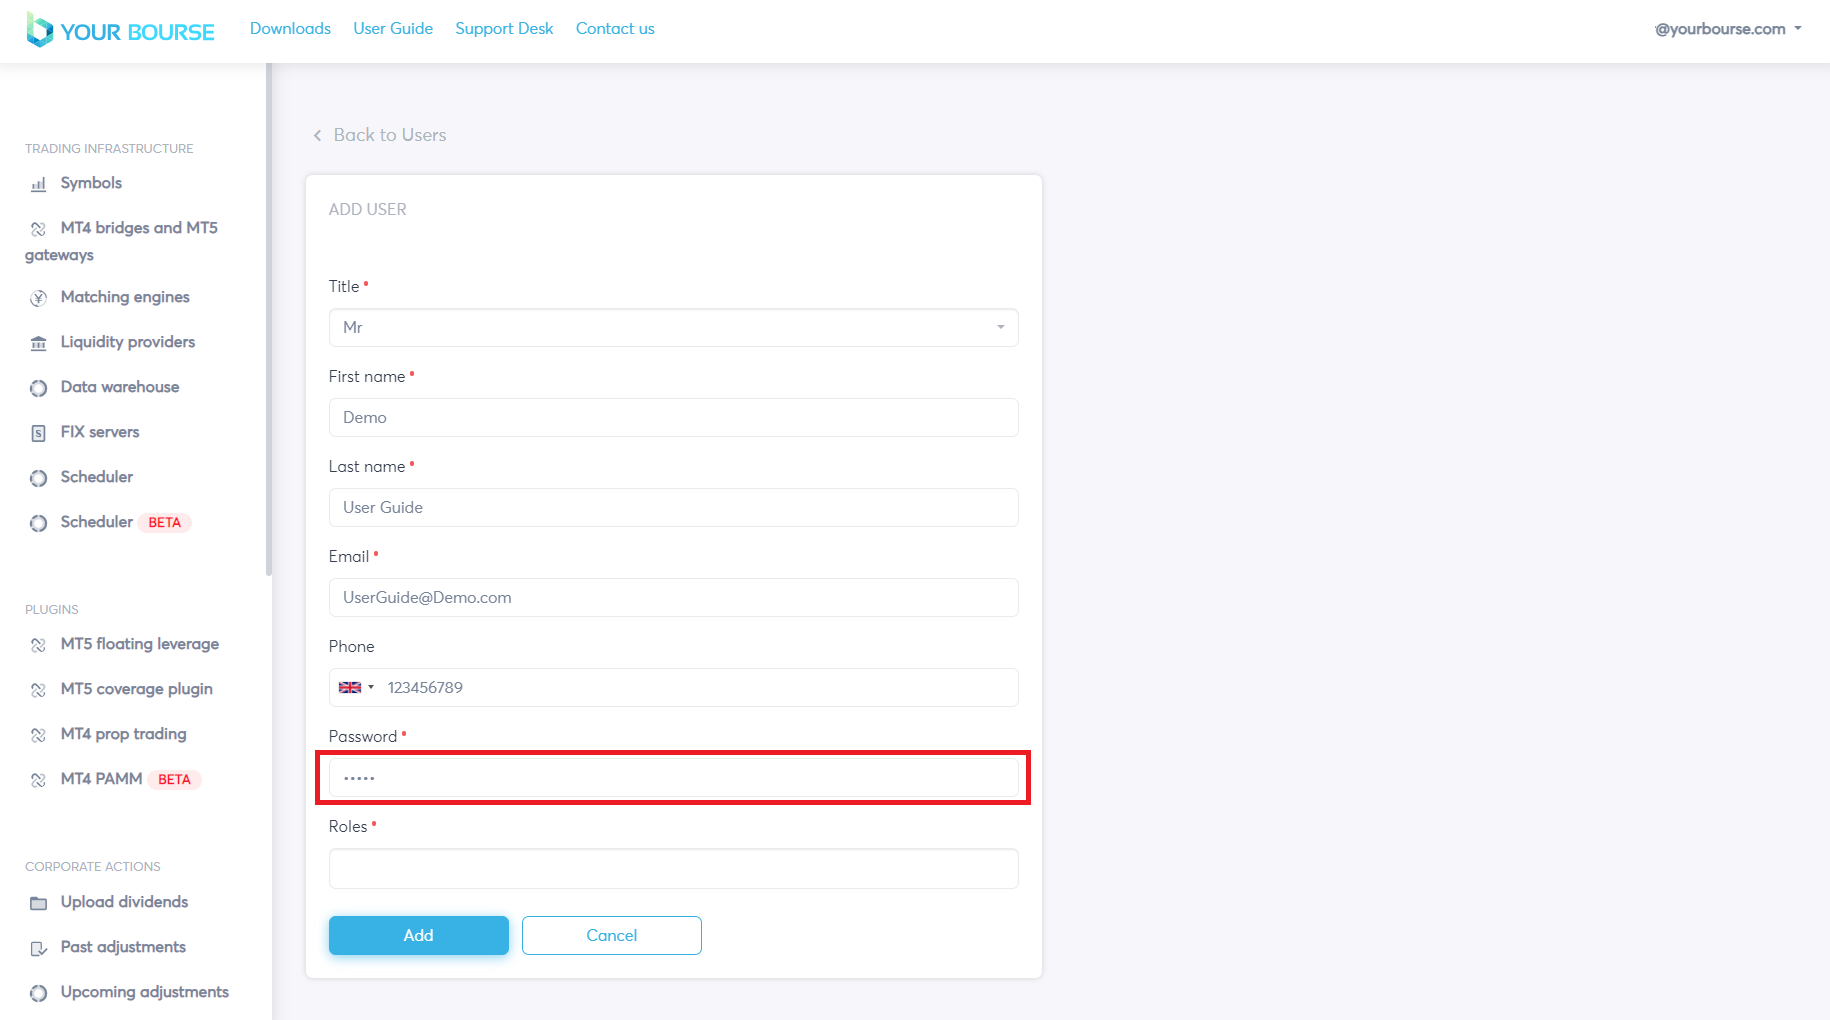
The “Password” parameter can be configured by selecting the “Password” box and then typing in the desired password.
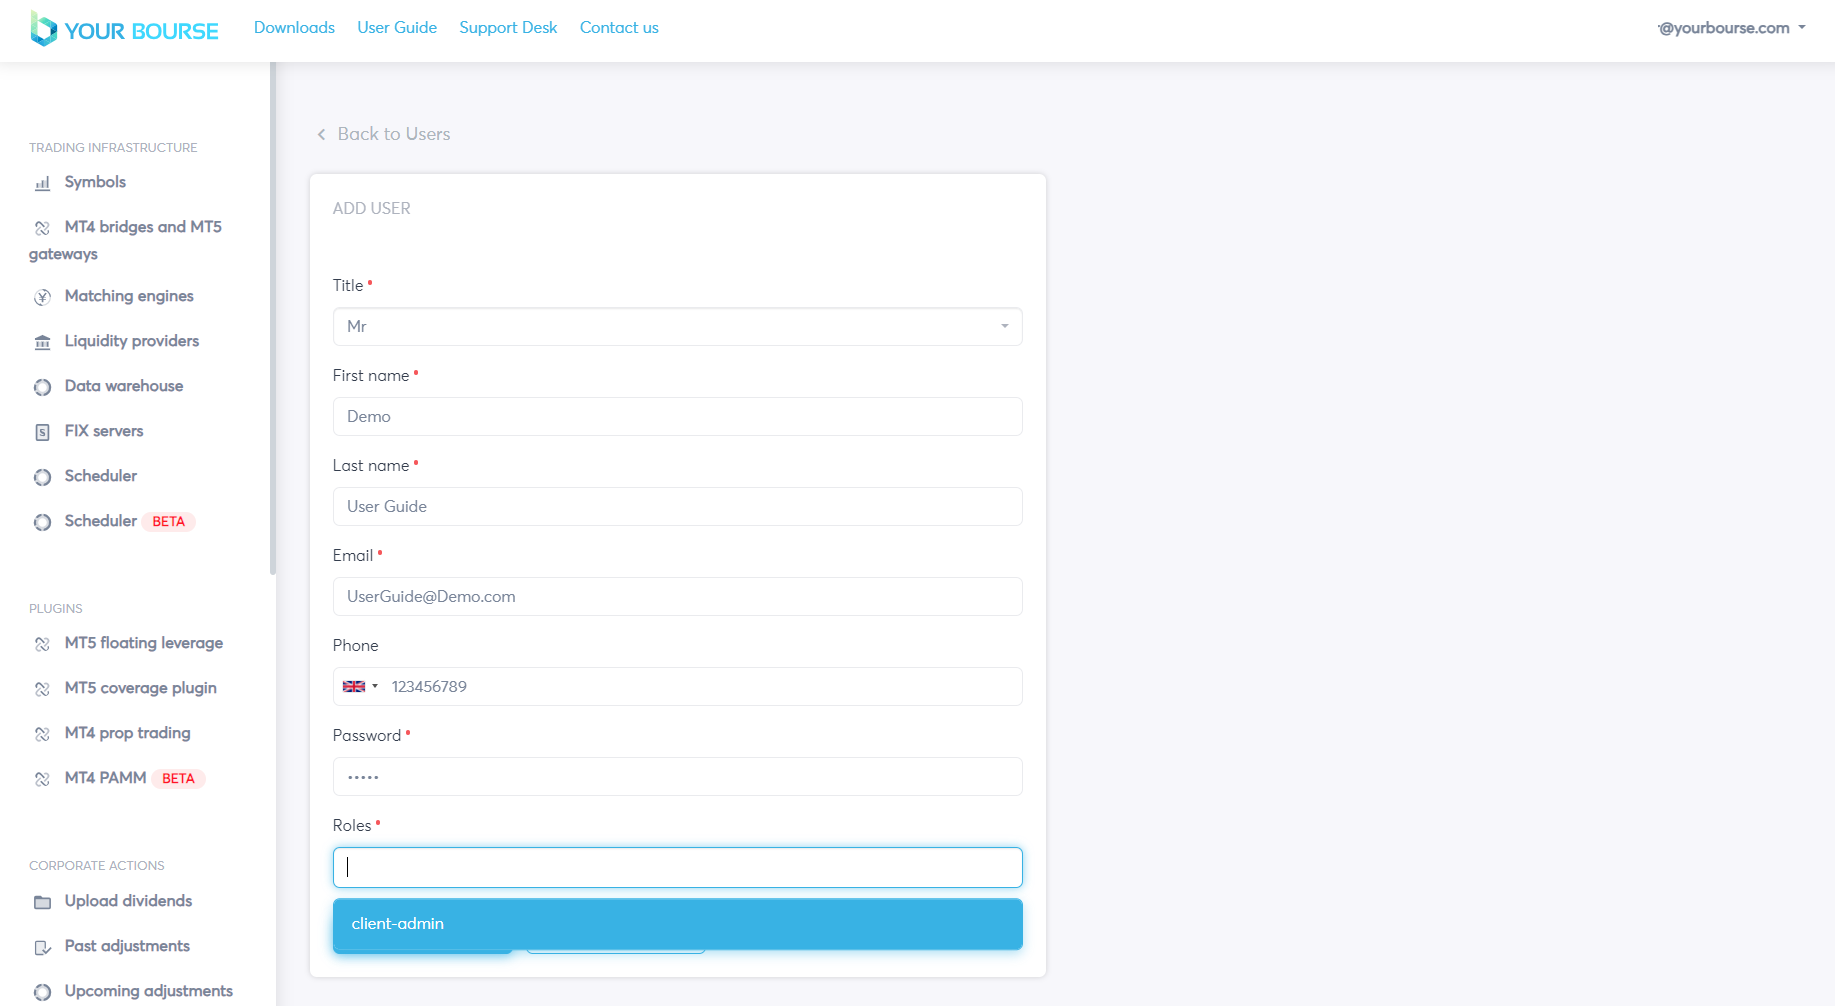
The “Roles” parameter is configured by selecting the “Roles” box opening a drop down menu. The drop down menu consists of roles that have already been configured through the Role Management feature.
The user needs to click on the desired role for the specific user.
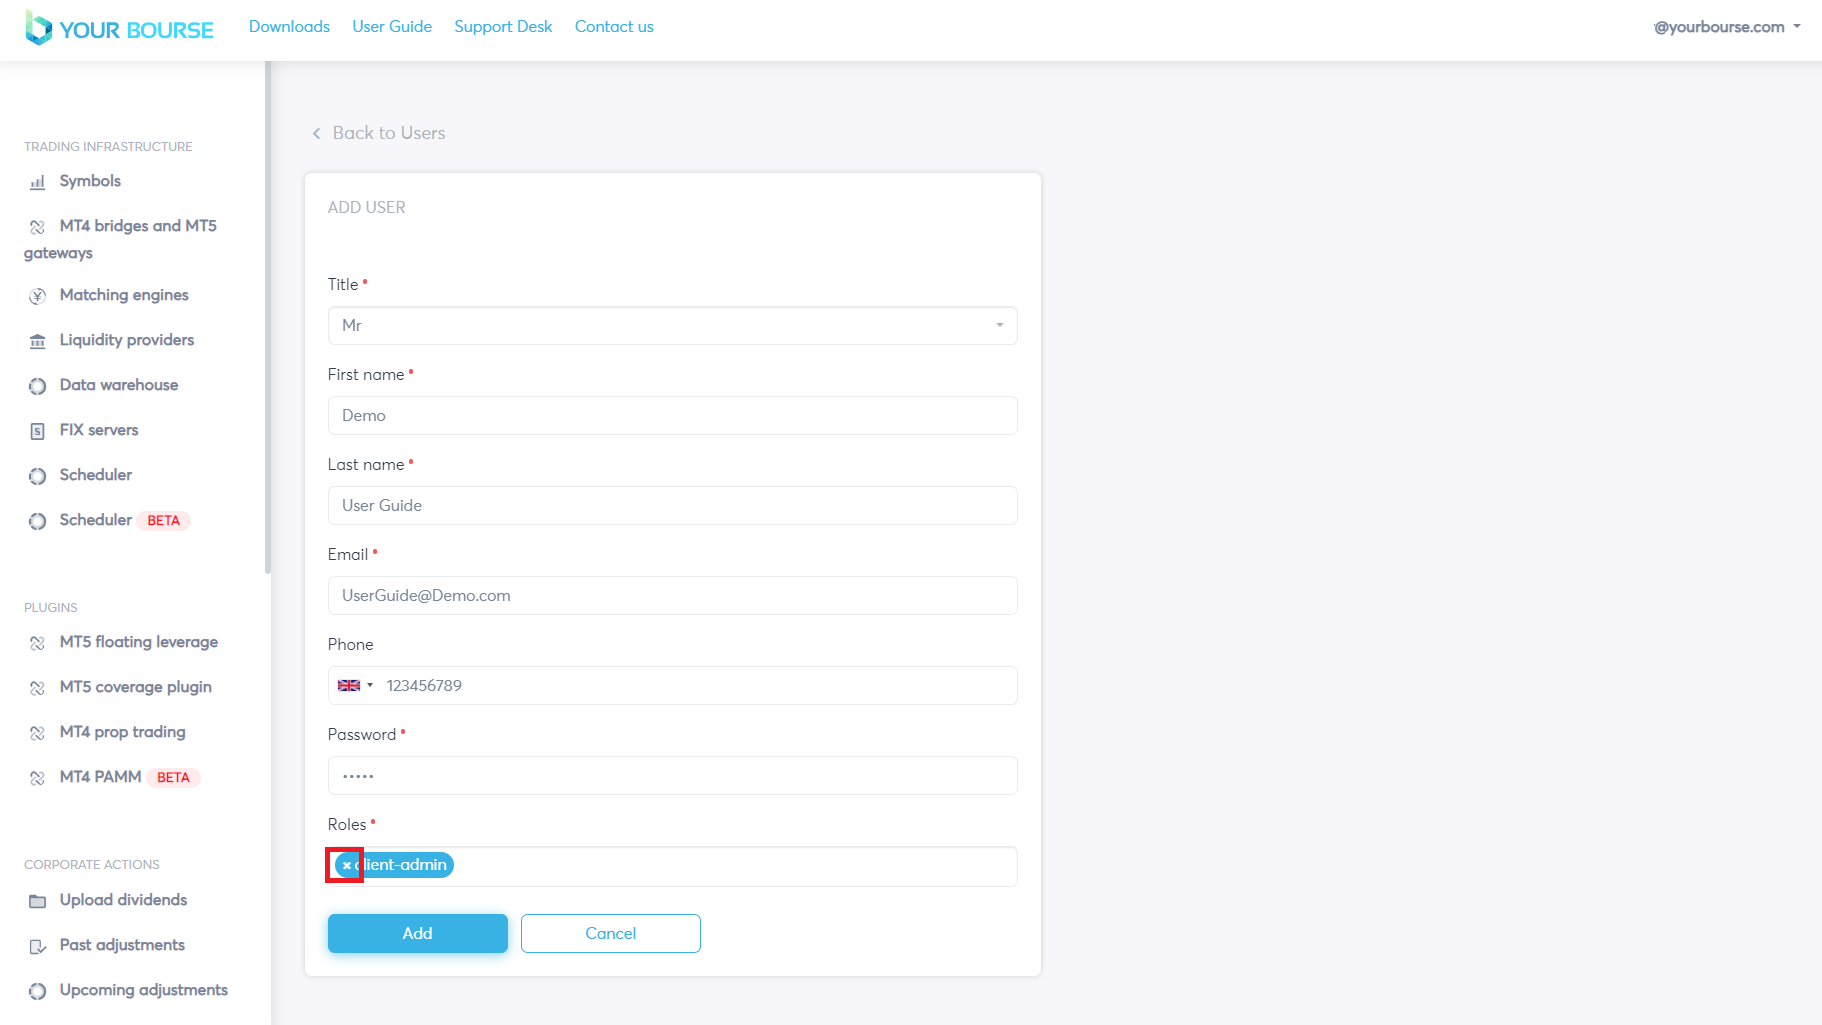
To remove a role the cross can be selected.
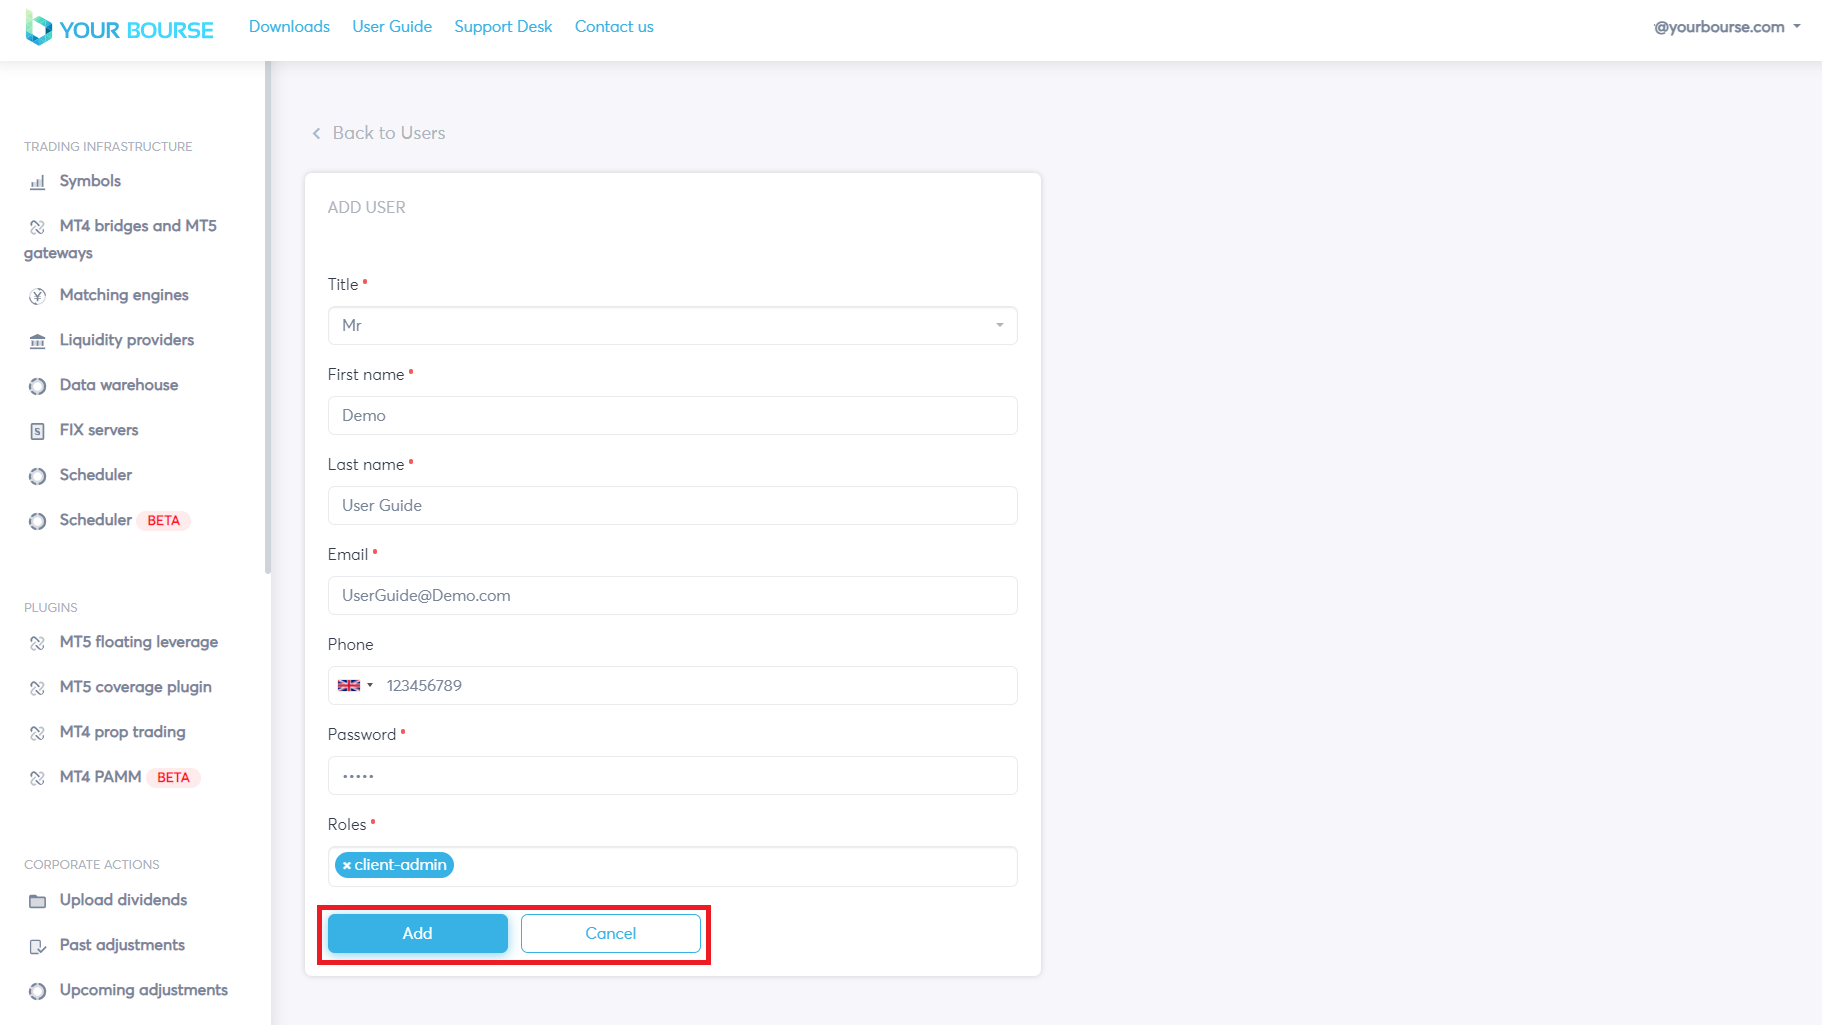
Once all the parameters have been configured the “Add” button can be pressed which will add the new user.
By clicking “Cancel” all changes are reverted and not saved.

The new user is displayed in the main table.
Main Table Management
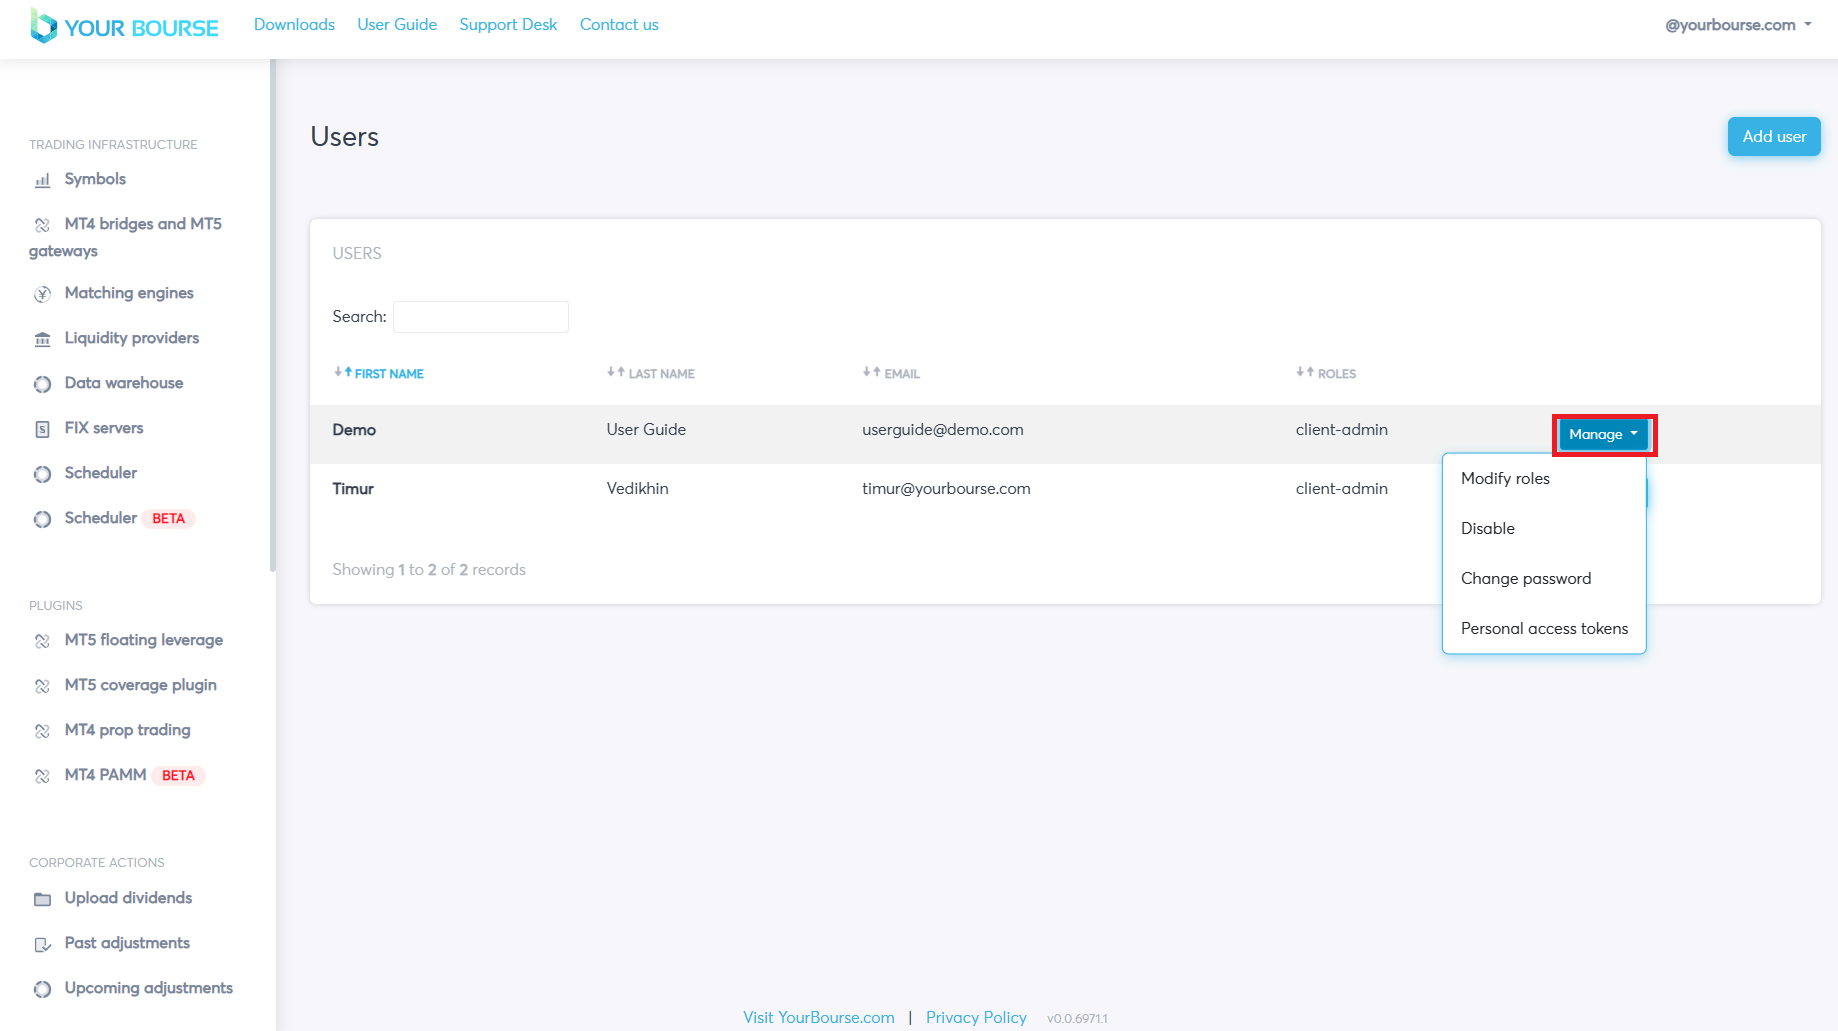
Once a user has been configured there are several further options that can be accessed by clicking the “Manage” button.
-
Modify roles- Allows the user to modify the roles allocated to the user.
-
Disable / Enable - When disable is clicked the user is temporarily disabled and when enable is clicked the user is temporarily enabled.
-
Change password - Enables the user to change the password for the specific account
-
Personal access tokens - specific token that can be used for the authorization and access to Swagger API system of the Your Bourse platform. Please check the information here (only for internal user guide)
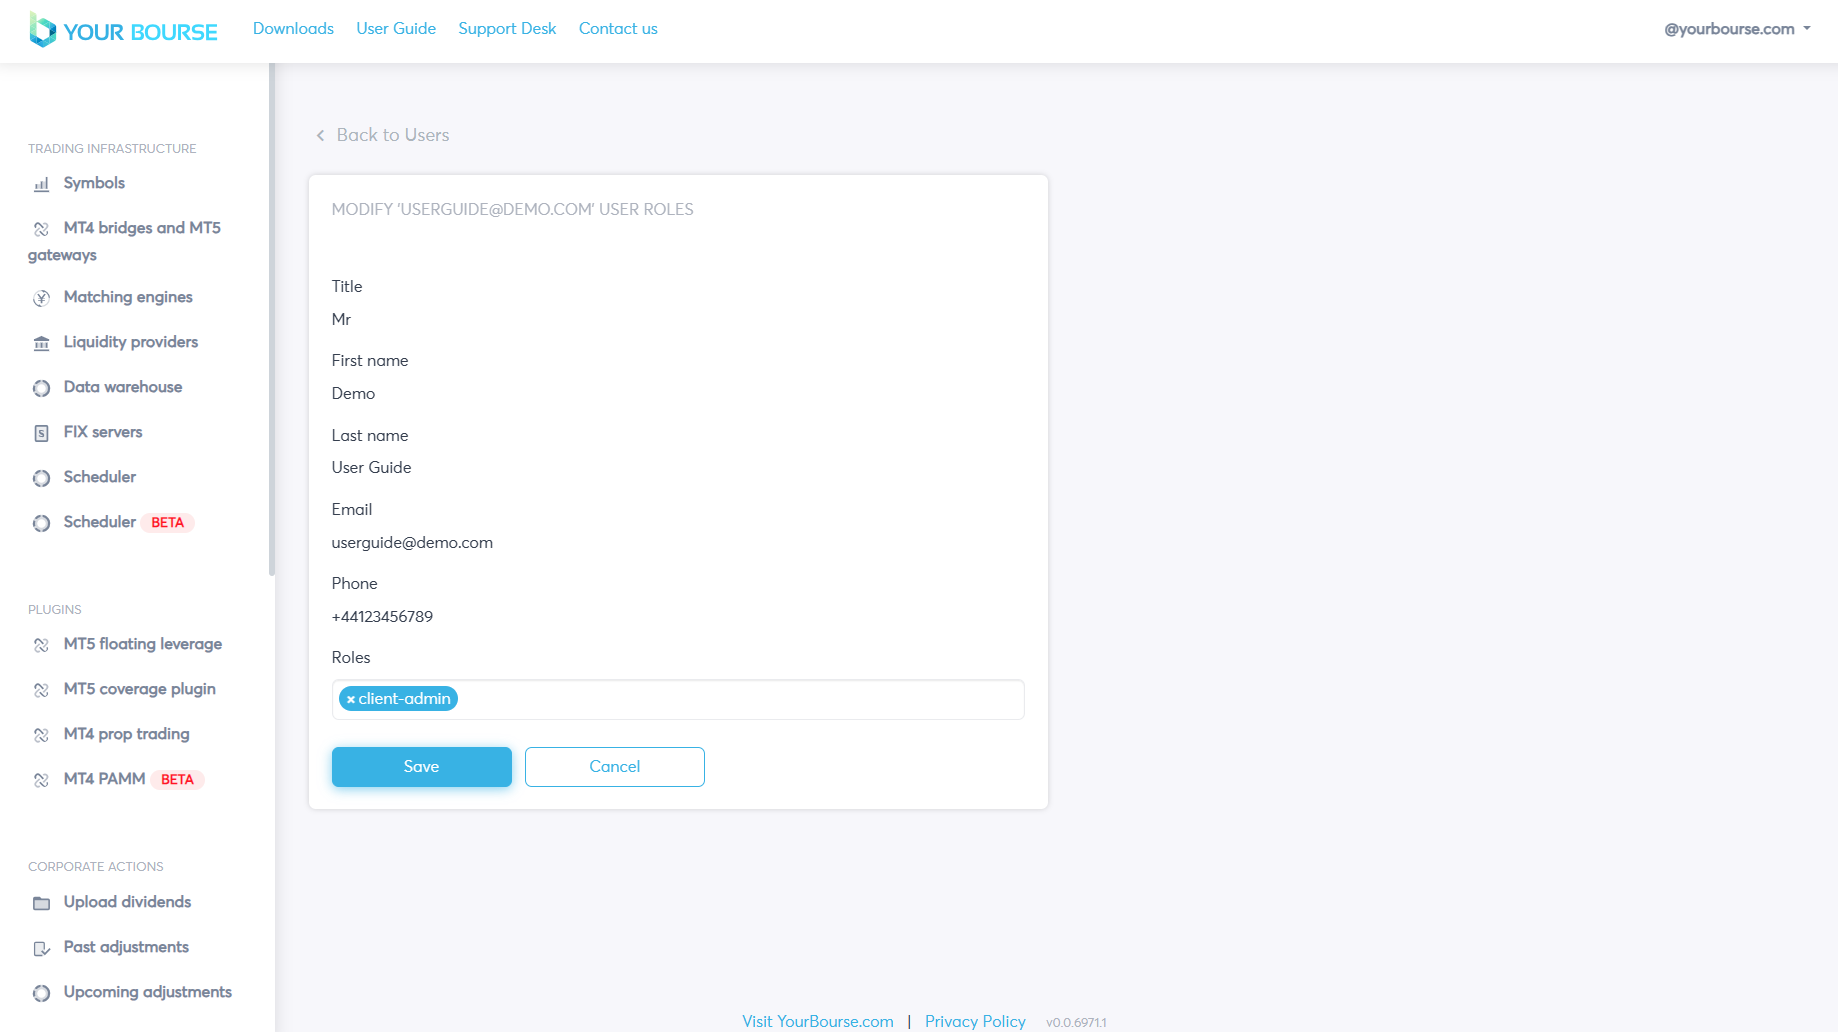
To modify a role the “Modify roles” button must be clicked. A new page is opened containing certain user specific parameter values.
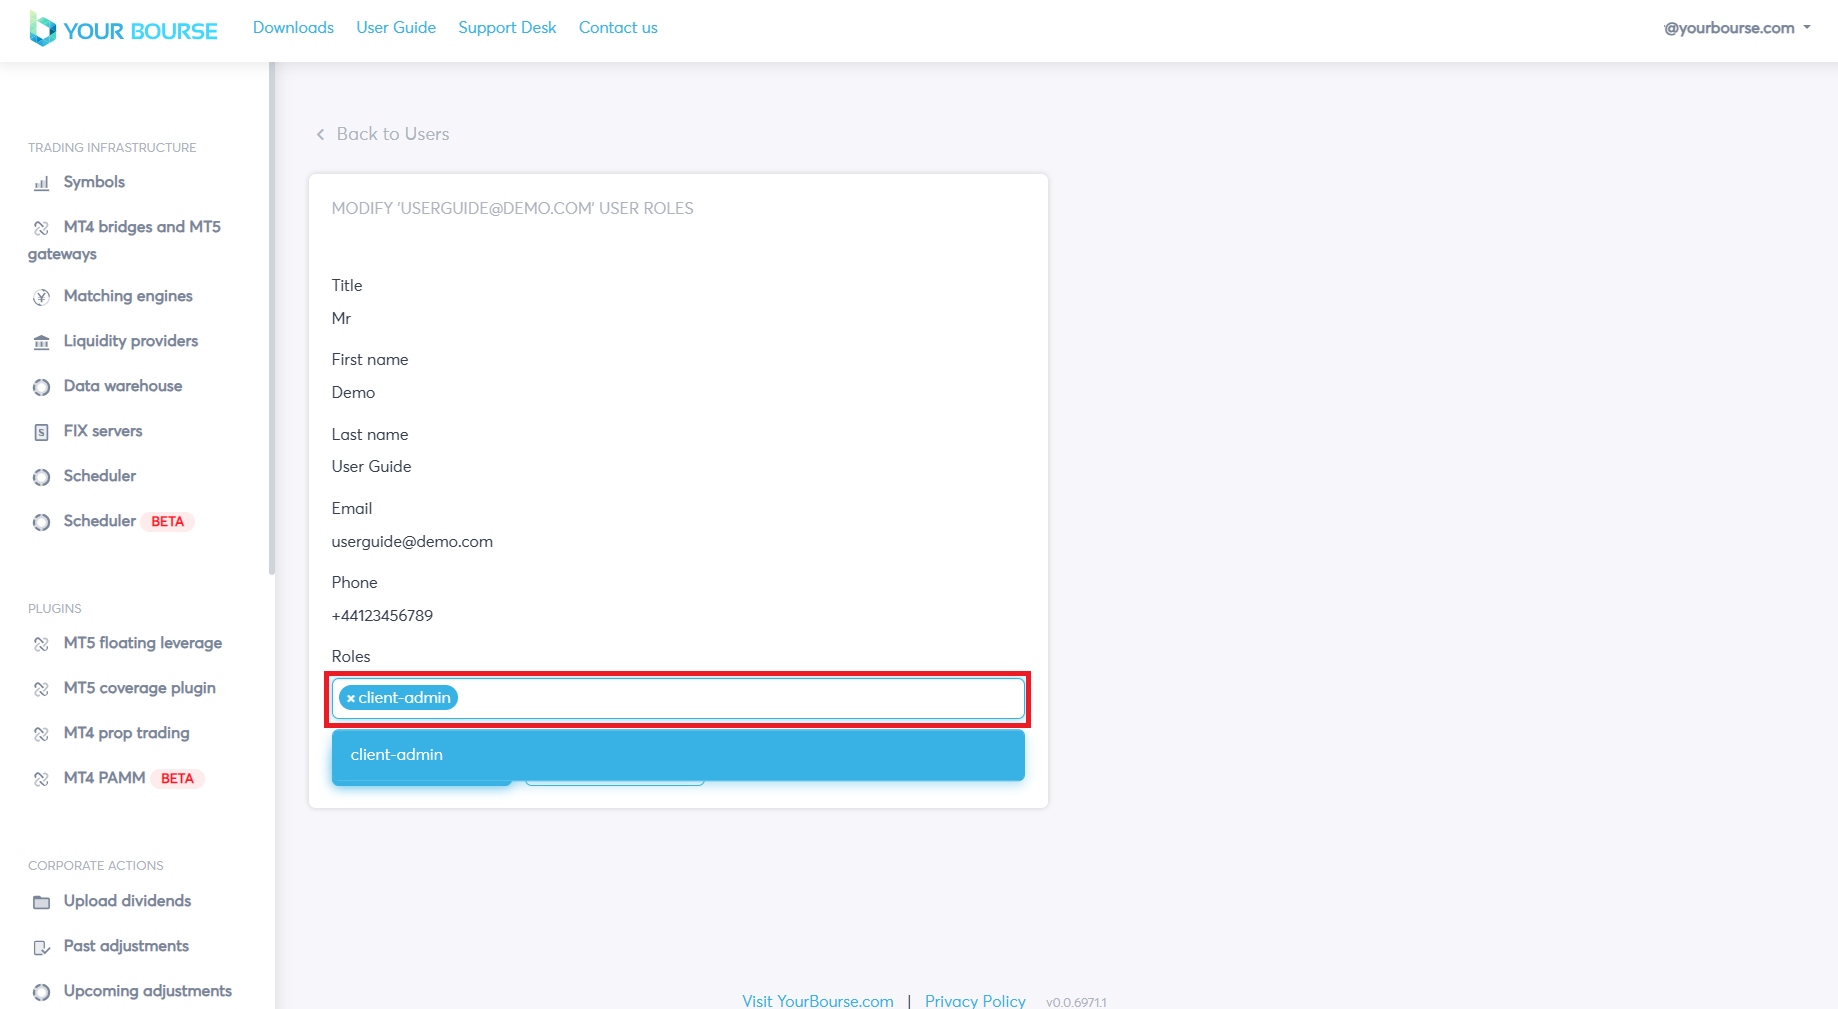
Additional roles can be added by clicking the “Roles” box and existing roles can be removed by clicking the cross.

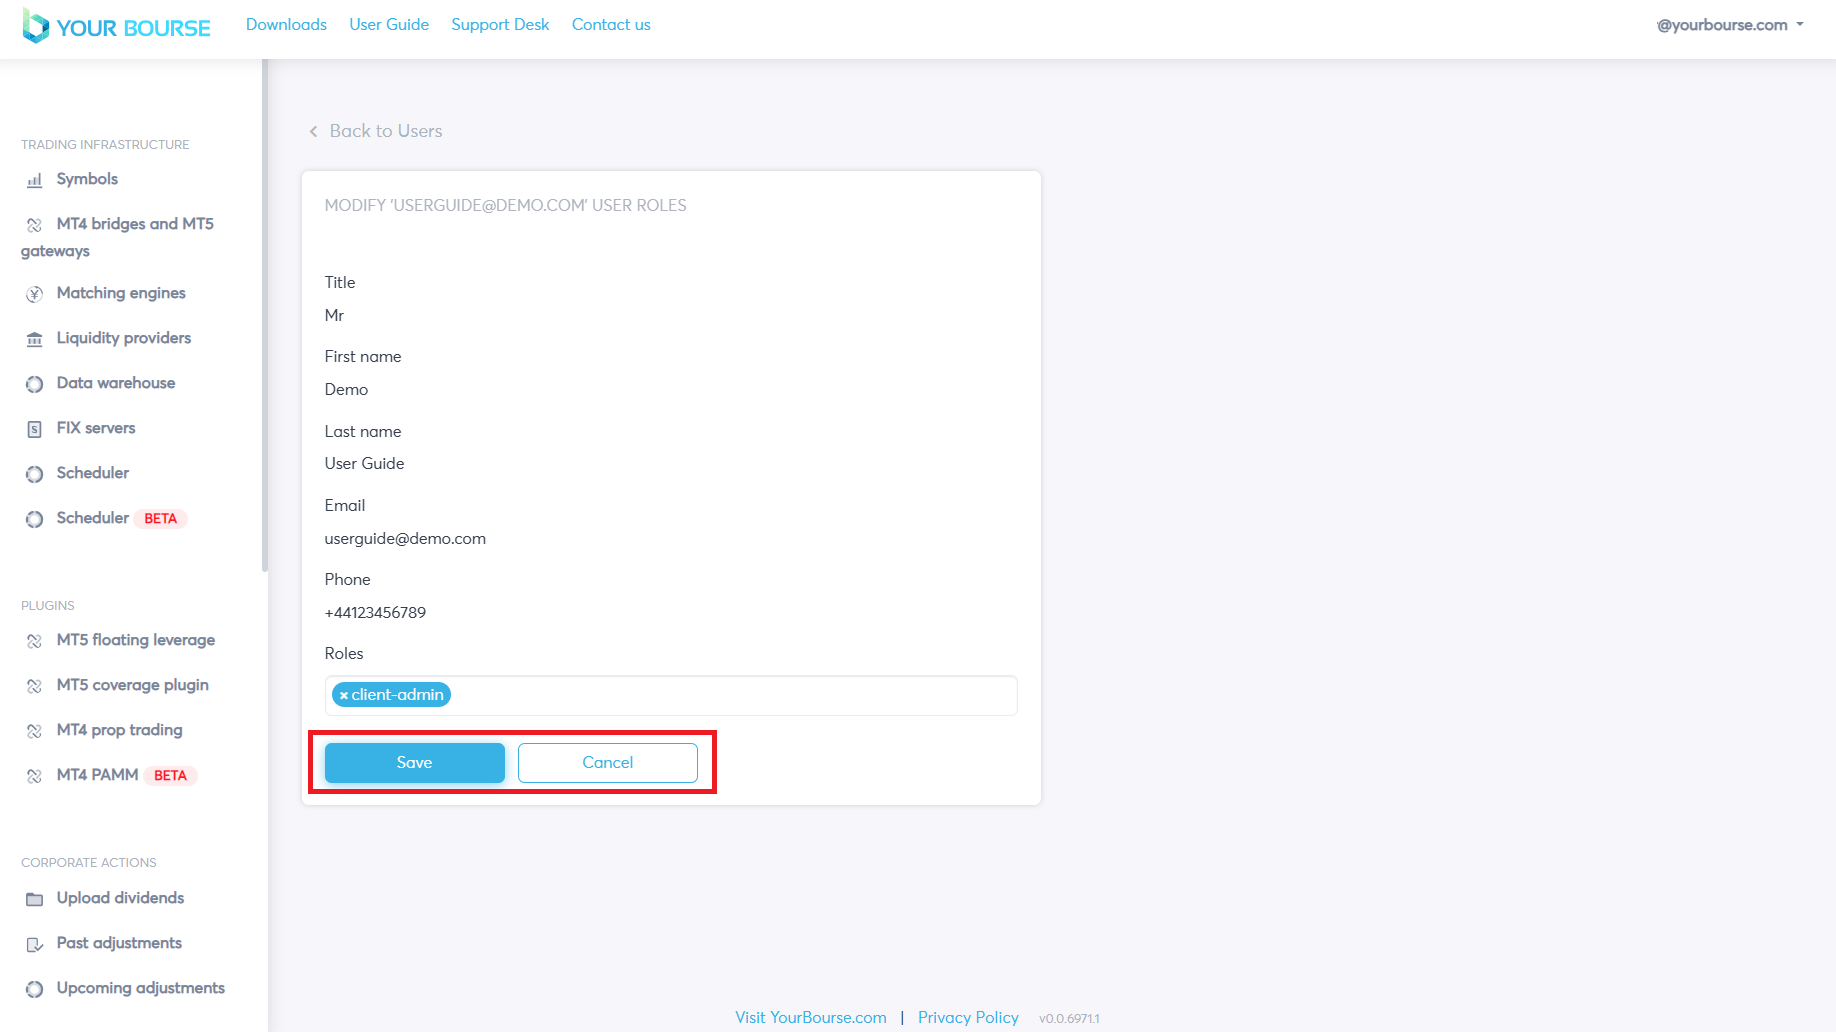
Once all the roles have been configured the “Save” button can be pressed which will save the new roles.
By clicking “Cancel” all changes are reverted and not saved.
To change the password of the user the “Manage” button is pressed followed by the “Change password” button. A new page is opened containing certain user specific parameters.
By clicking the “Password” box a new password can be entered.
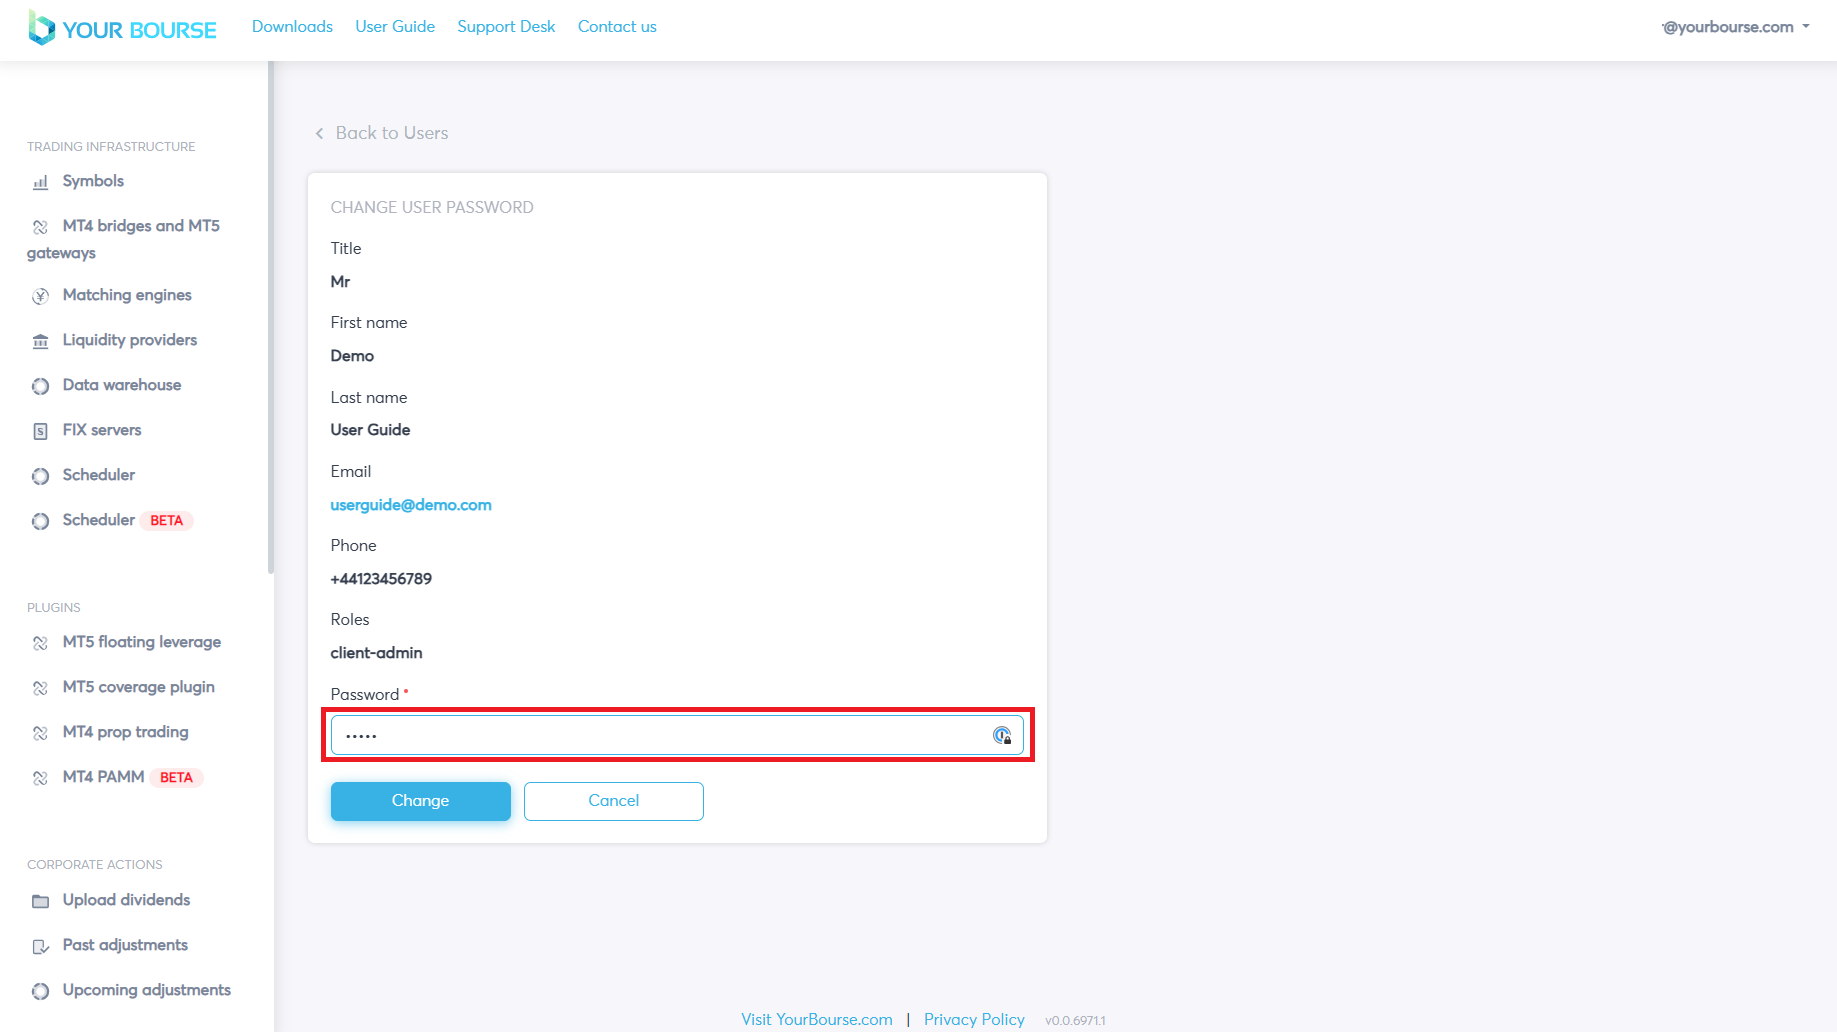
Once all the new password has been entered the “Change” button can be pressed which will save the new password.
By clicking “Cancel” all changes are reverted and not saved.
Specific users can be enabled or disabled by clicking the “Disable” or “Enable” buttons after selecting “Manage”.
Here the user is initially enabled but after selecting the “Disable” button they are disabled.
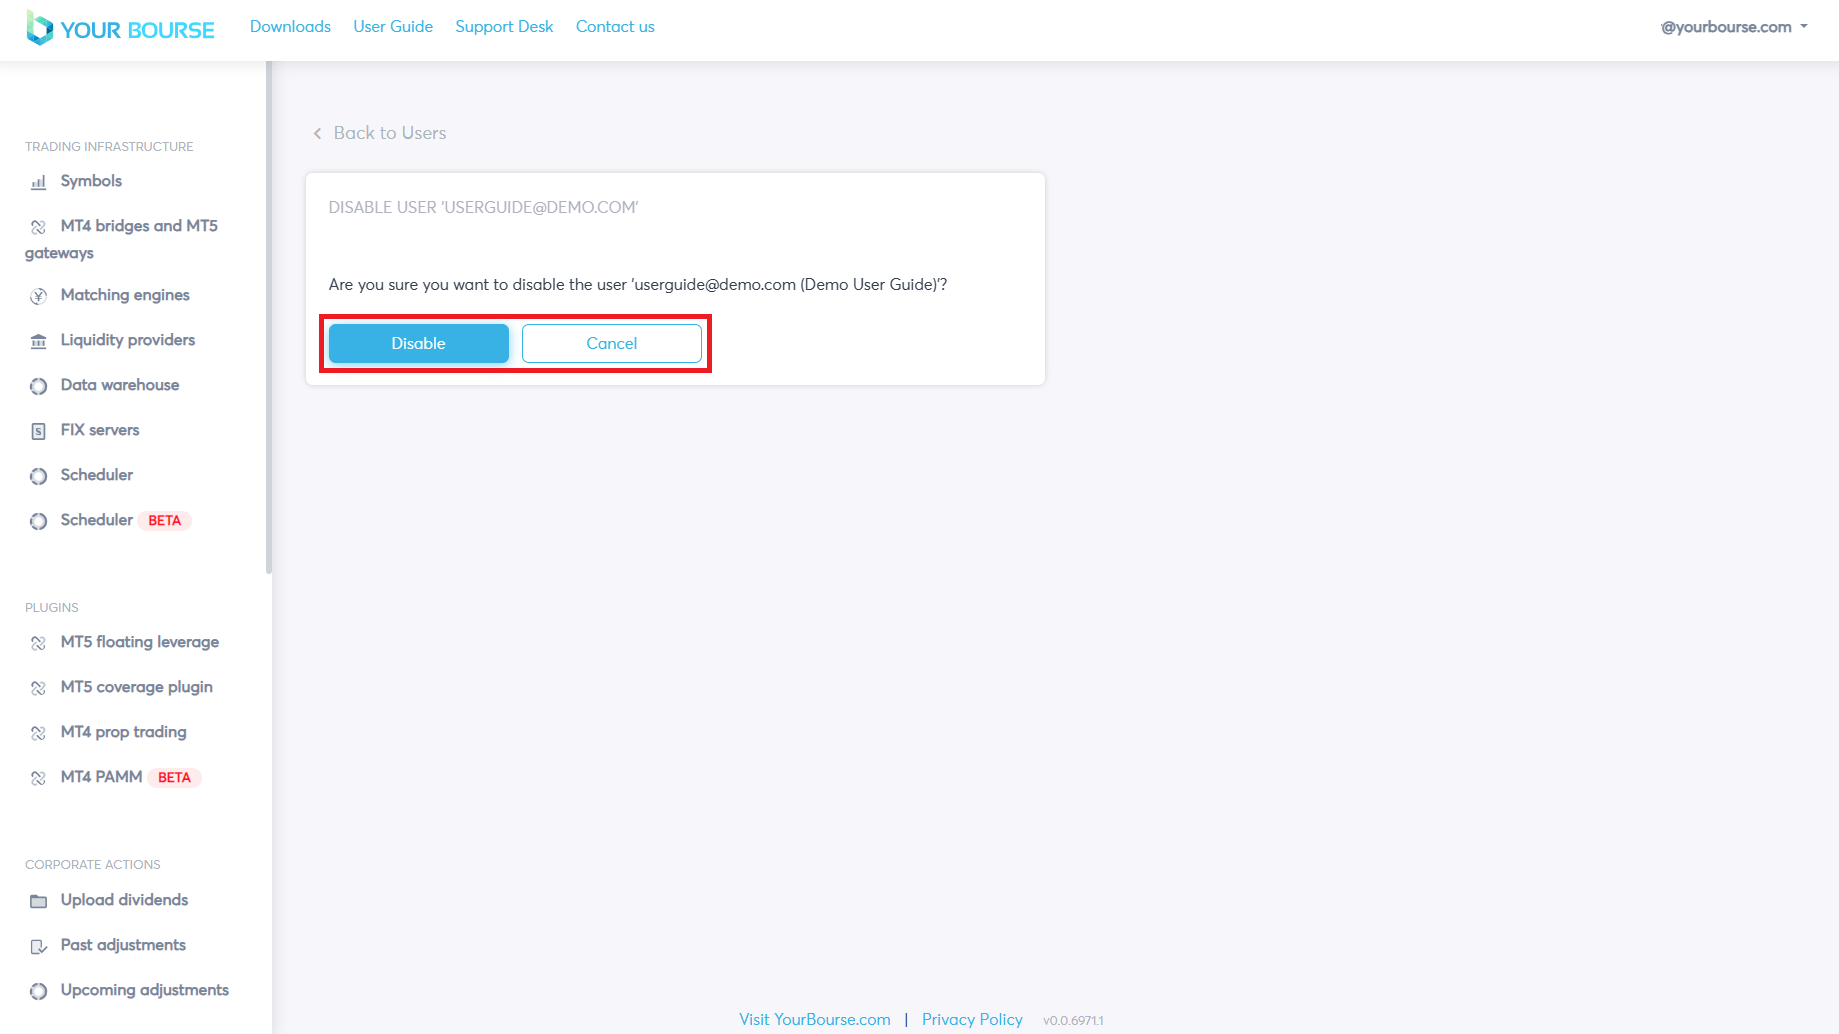
After selecting the disabled button a new page is opened confirming the decision.
To confirm this decision the “Disable” button can be pressed which will disable the user.
By clicking “Cancel” all changes are reverted and not saved
The specific user now has grey text to show it is disabled.
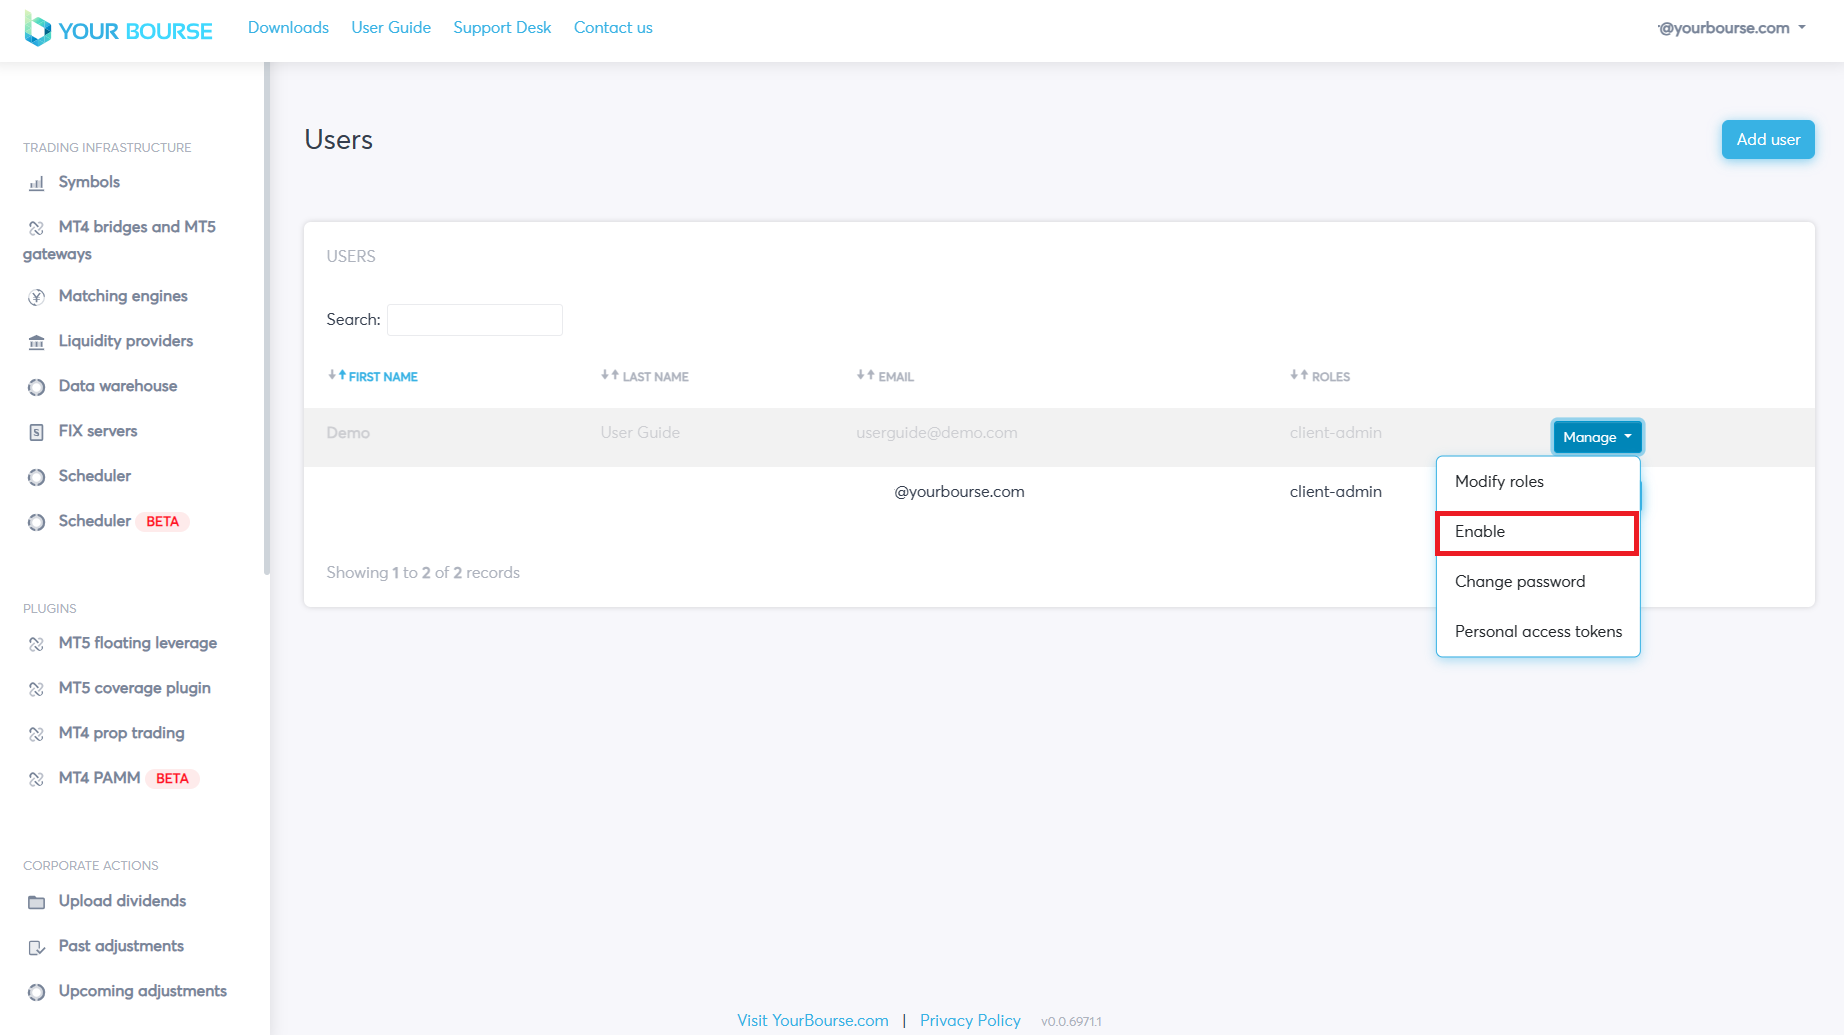
They can be re-enabled by selecting the “Manage” button followed by the “Enable” button.
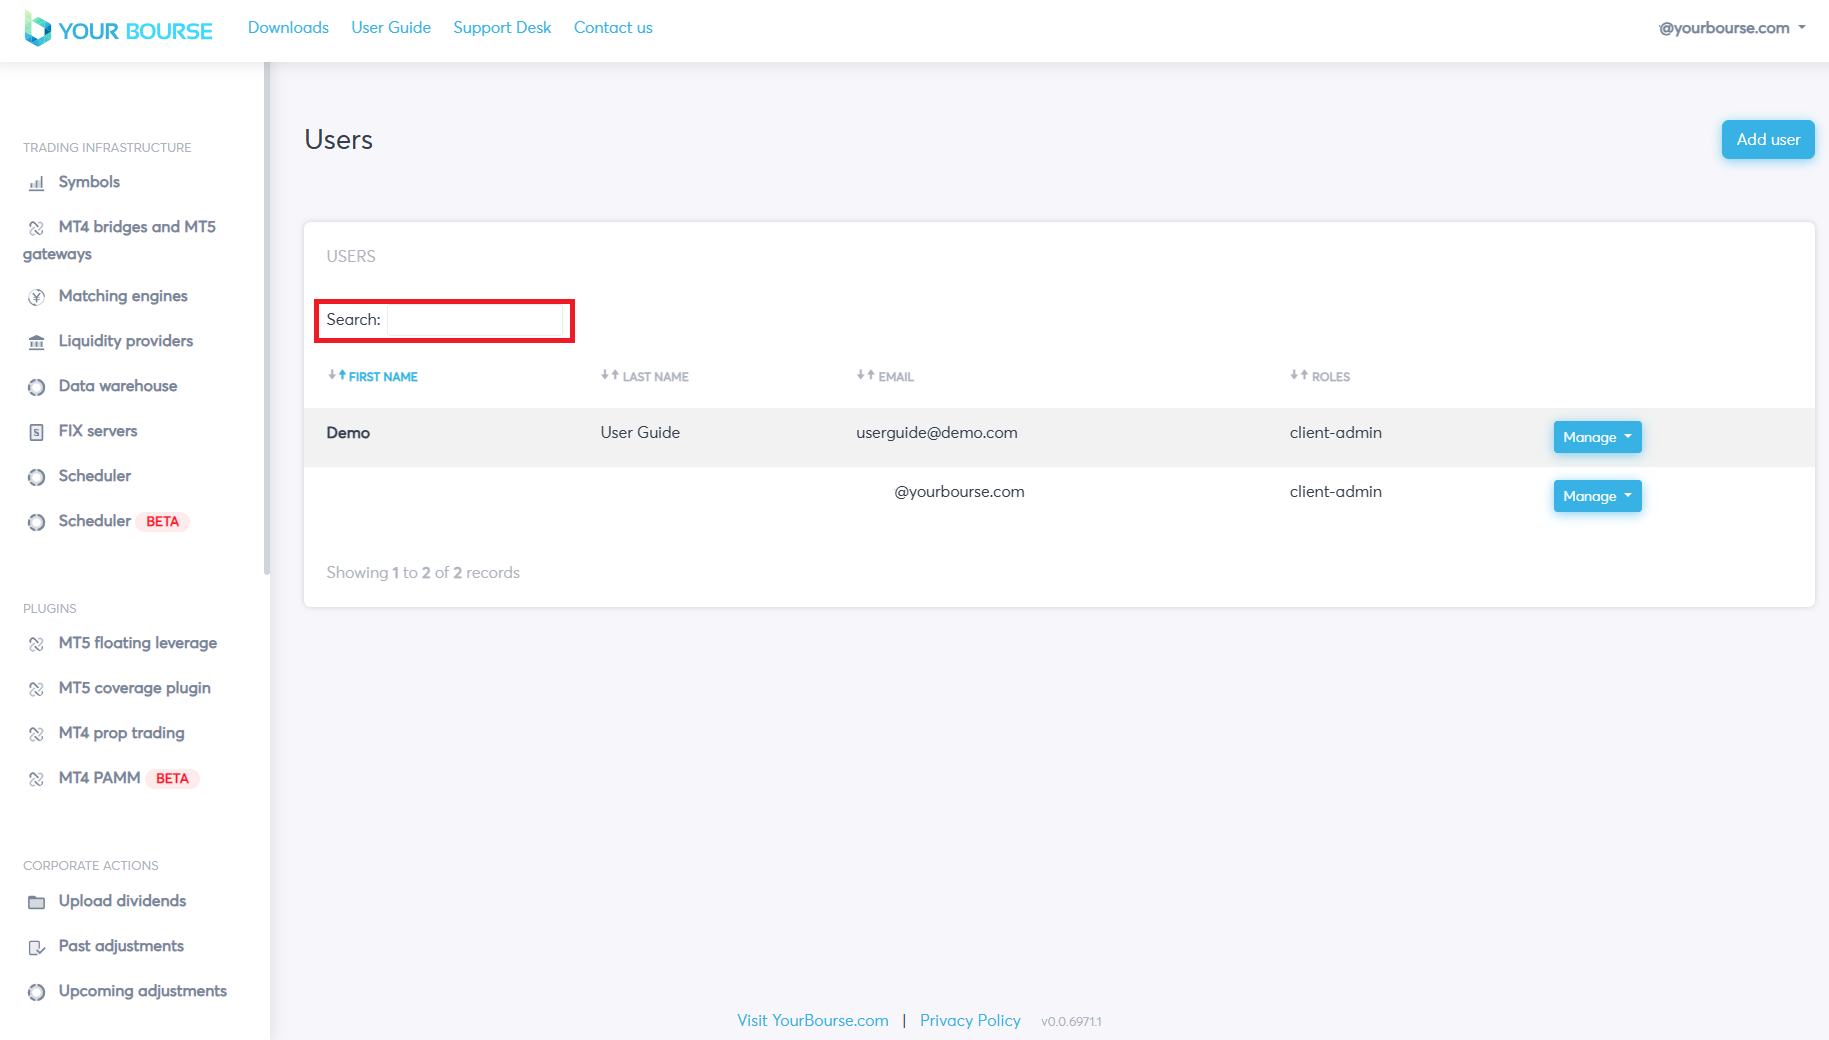
The main table can also be manipulated in its display, specific users can be searched for by selecting the ”Search” box.
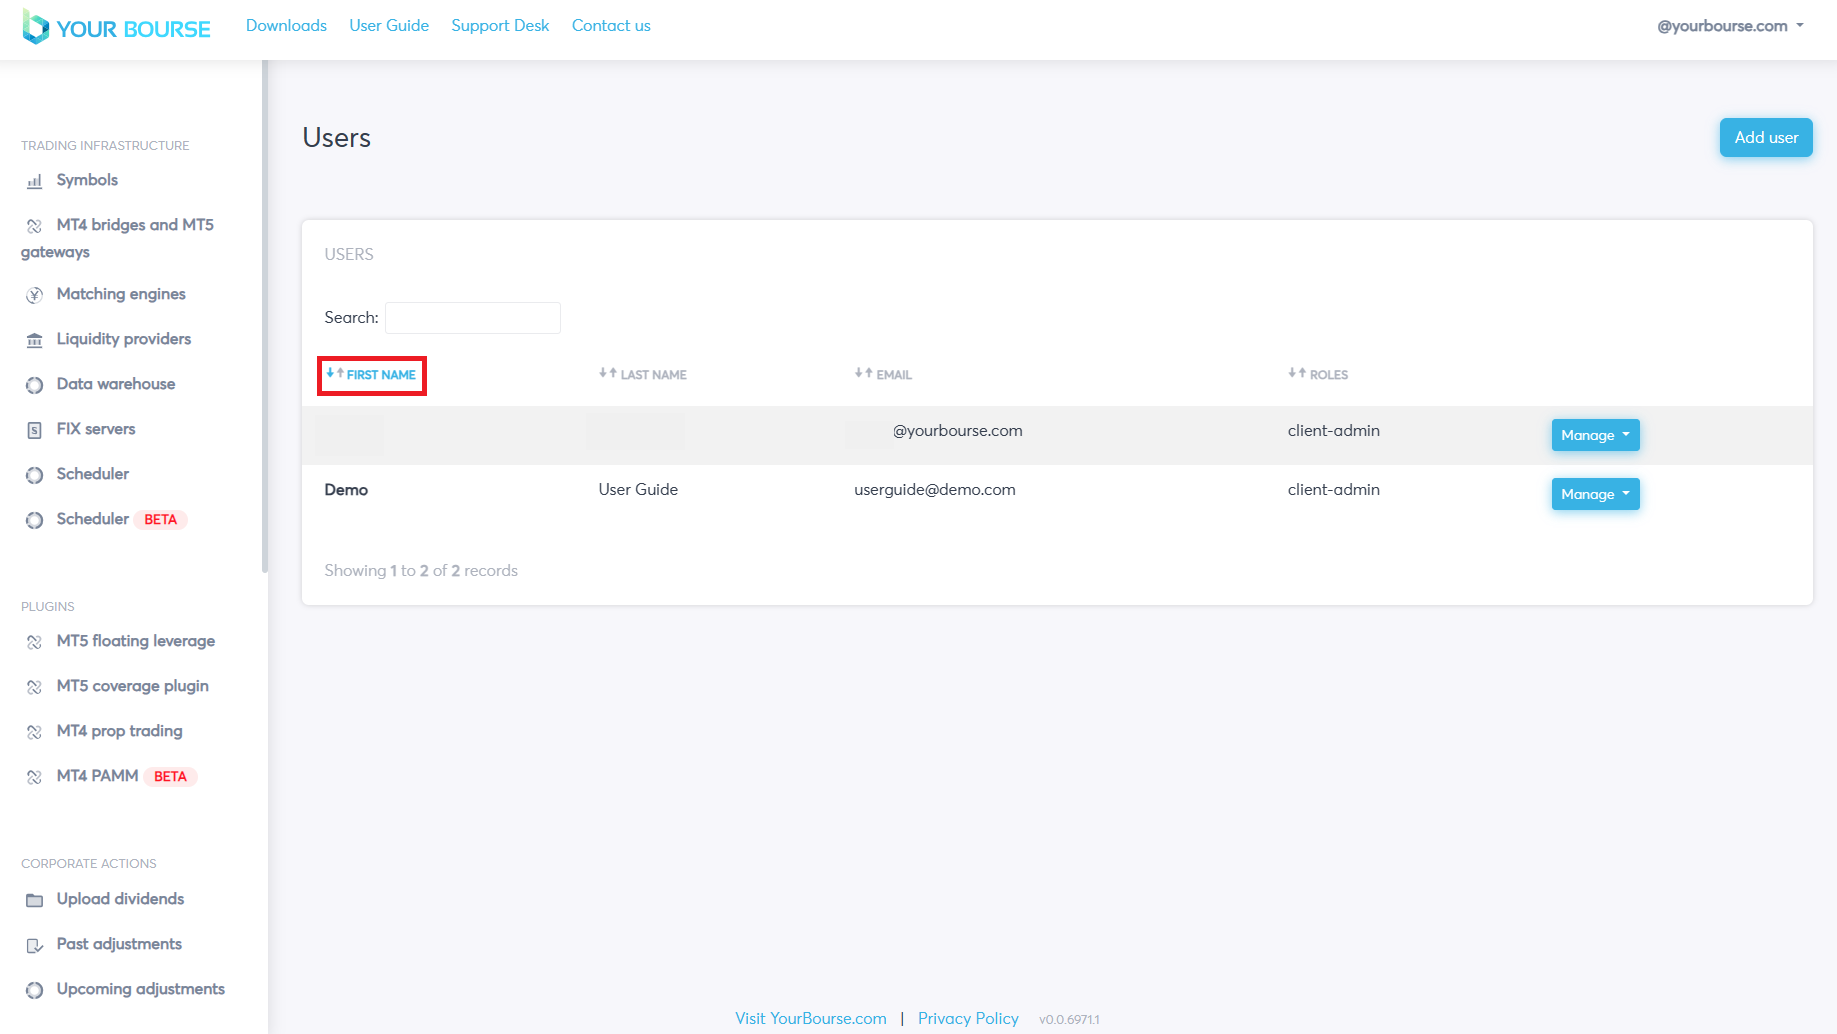
Similarly the order of the users can be changed by manipulation the arrows by each parameter.
e.g. here the “FIRST NAME” parameter is selected, now listing the users in non-alphabetical order.